NexDome online
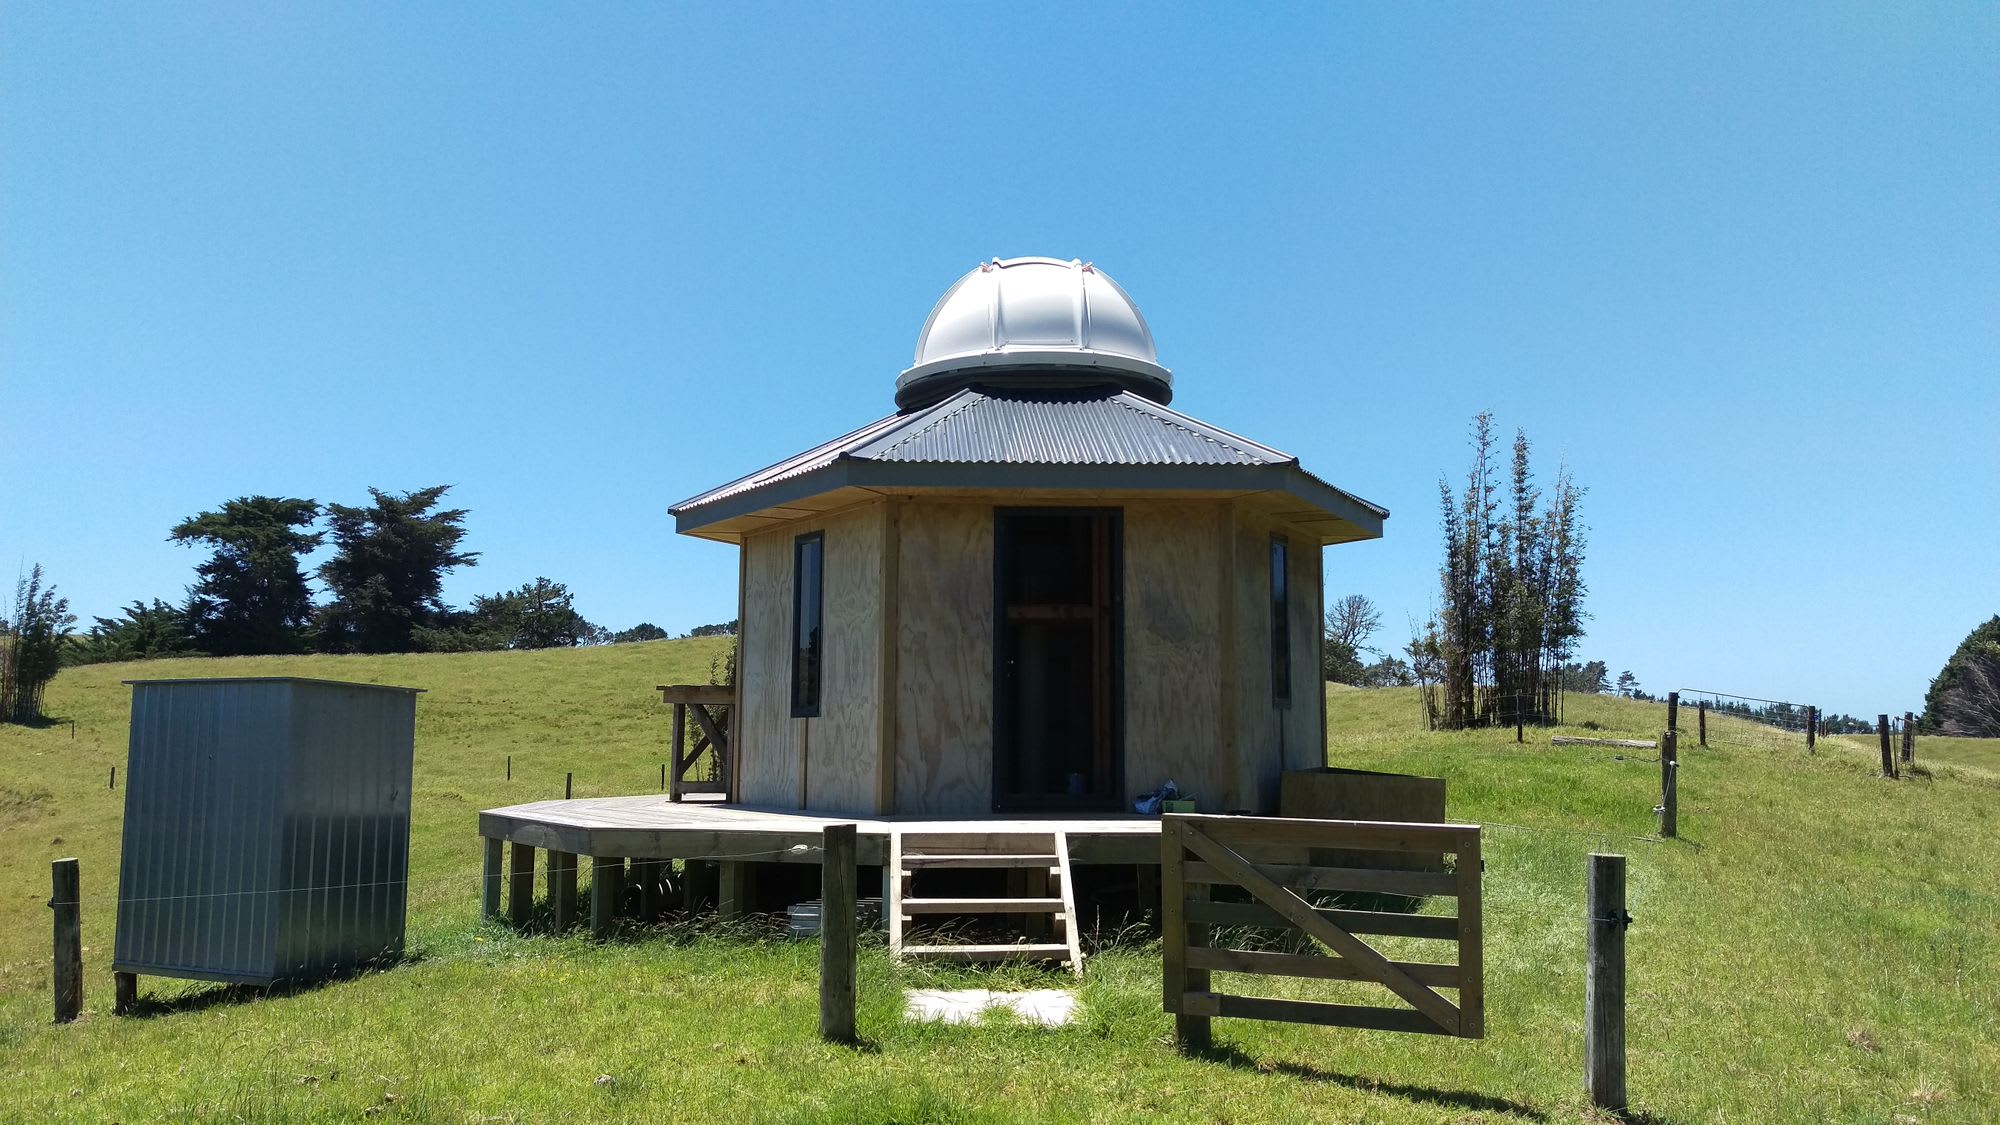
After returning from a 3 month hiatus in Australia to a spell of fine weather, the Dome is finally up and in place. There's still a little bit to be done before the observatory will be fully functional but the hard part is done. It certainly wasn't without it's challenges though and there may be a few more to come.
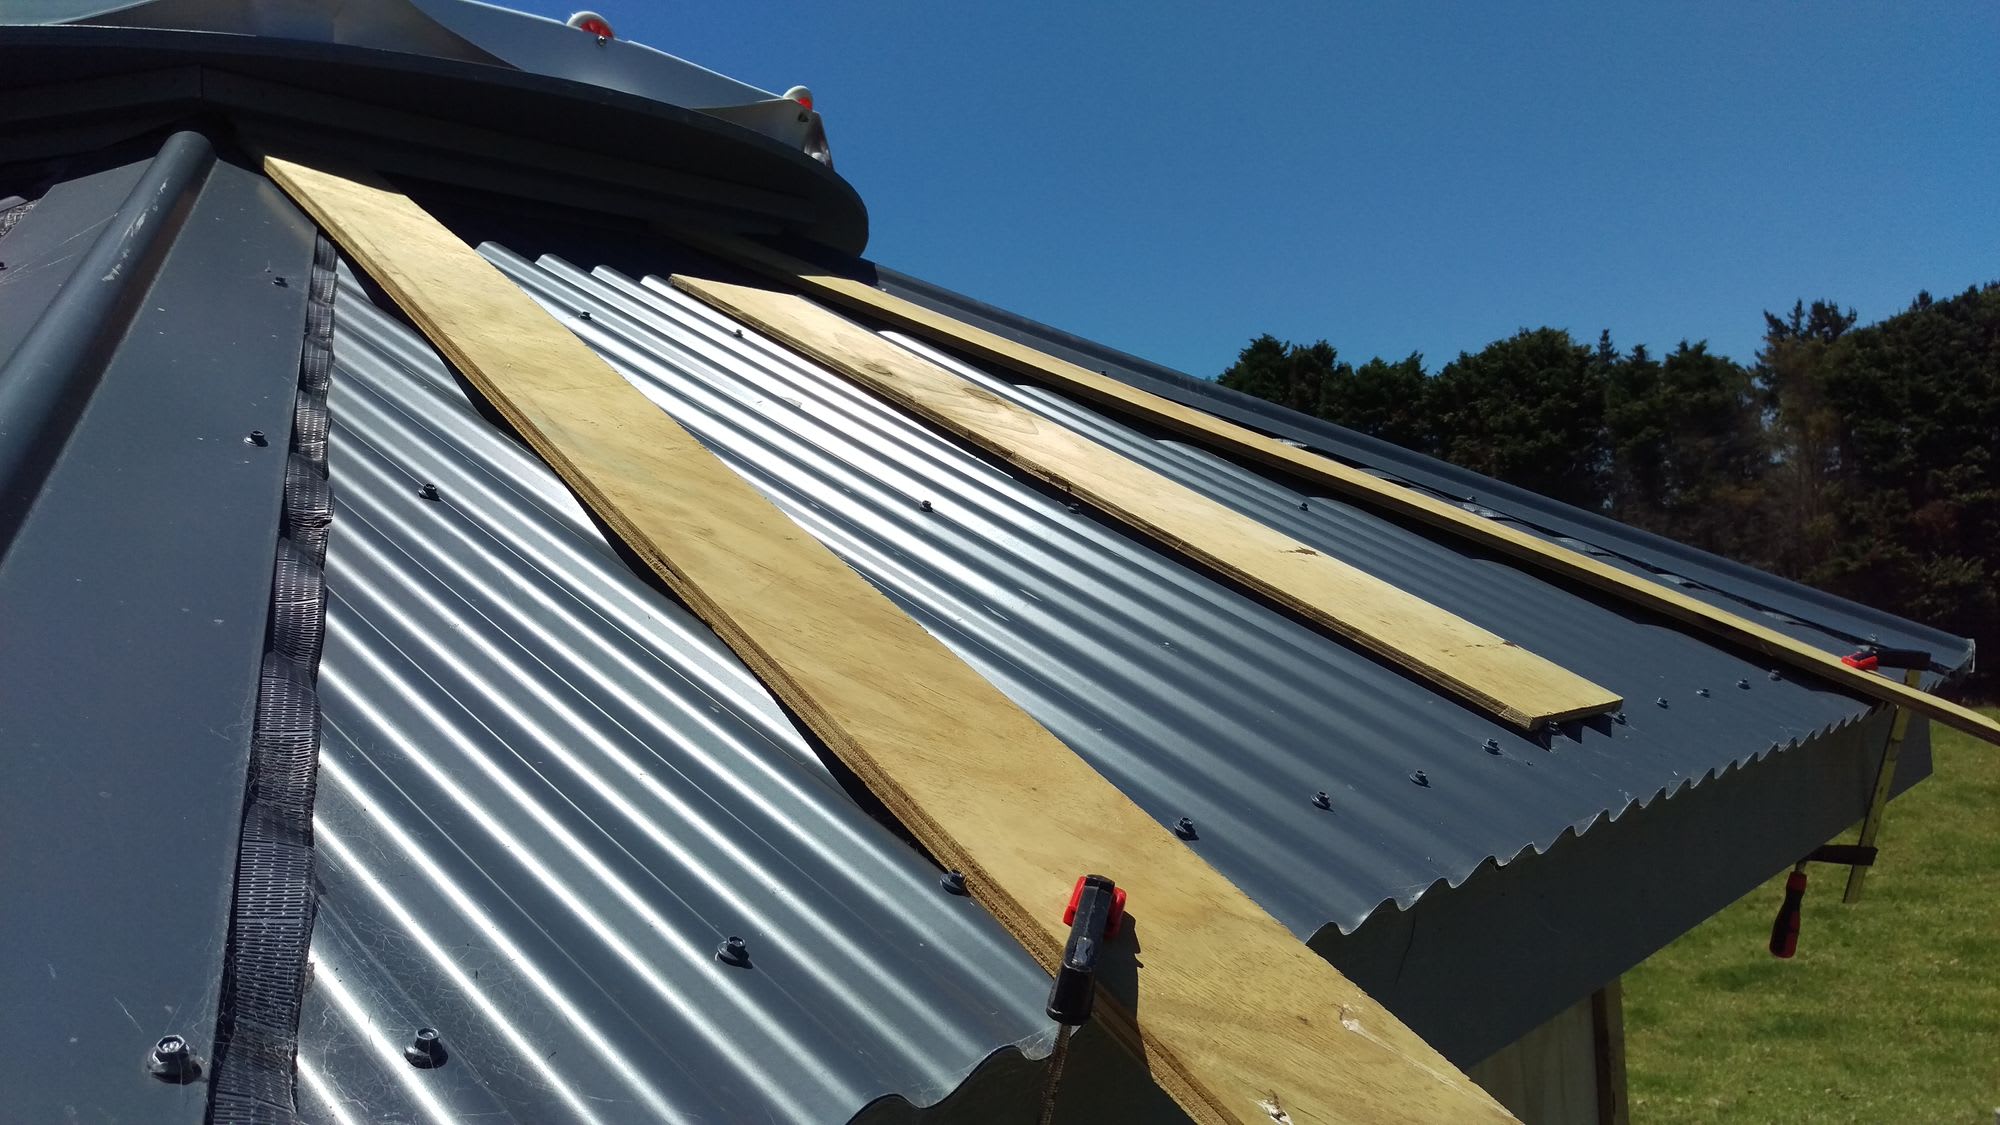
The first step was removing the temporary plywood roof. To our bemusement we found the boards wouldn't budge even after unscrewing them. Turns out some of the sealant we'd used for waterproofing was of the adhesive variety so we had to bash the thing open. We were off to a great start.
With the roof open, our next objective was to fix some more timber around the opening to build out a bigger platform to attach our wooden ring to. We'd already prepared the timber some months back so we just need to trim it a little bit to fit then nail it in. This ring would serve as a platform to sit the dome on.
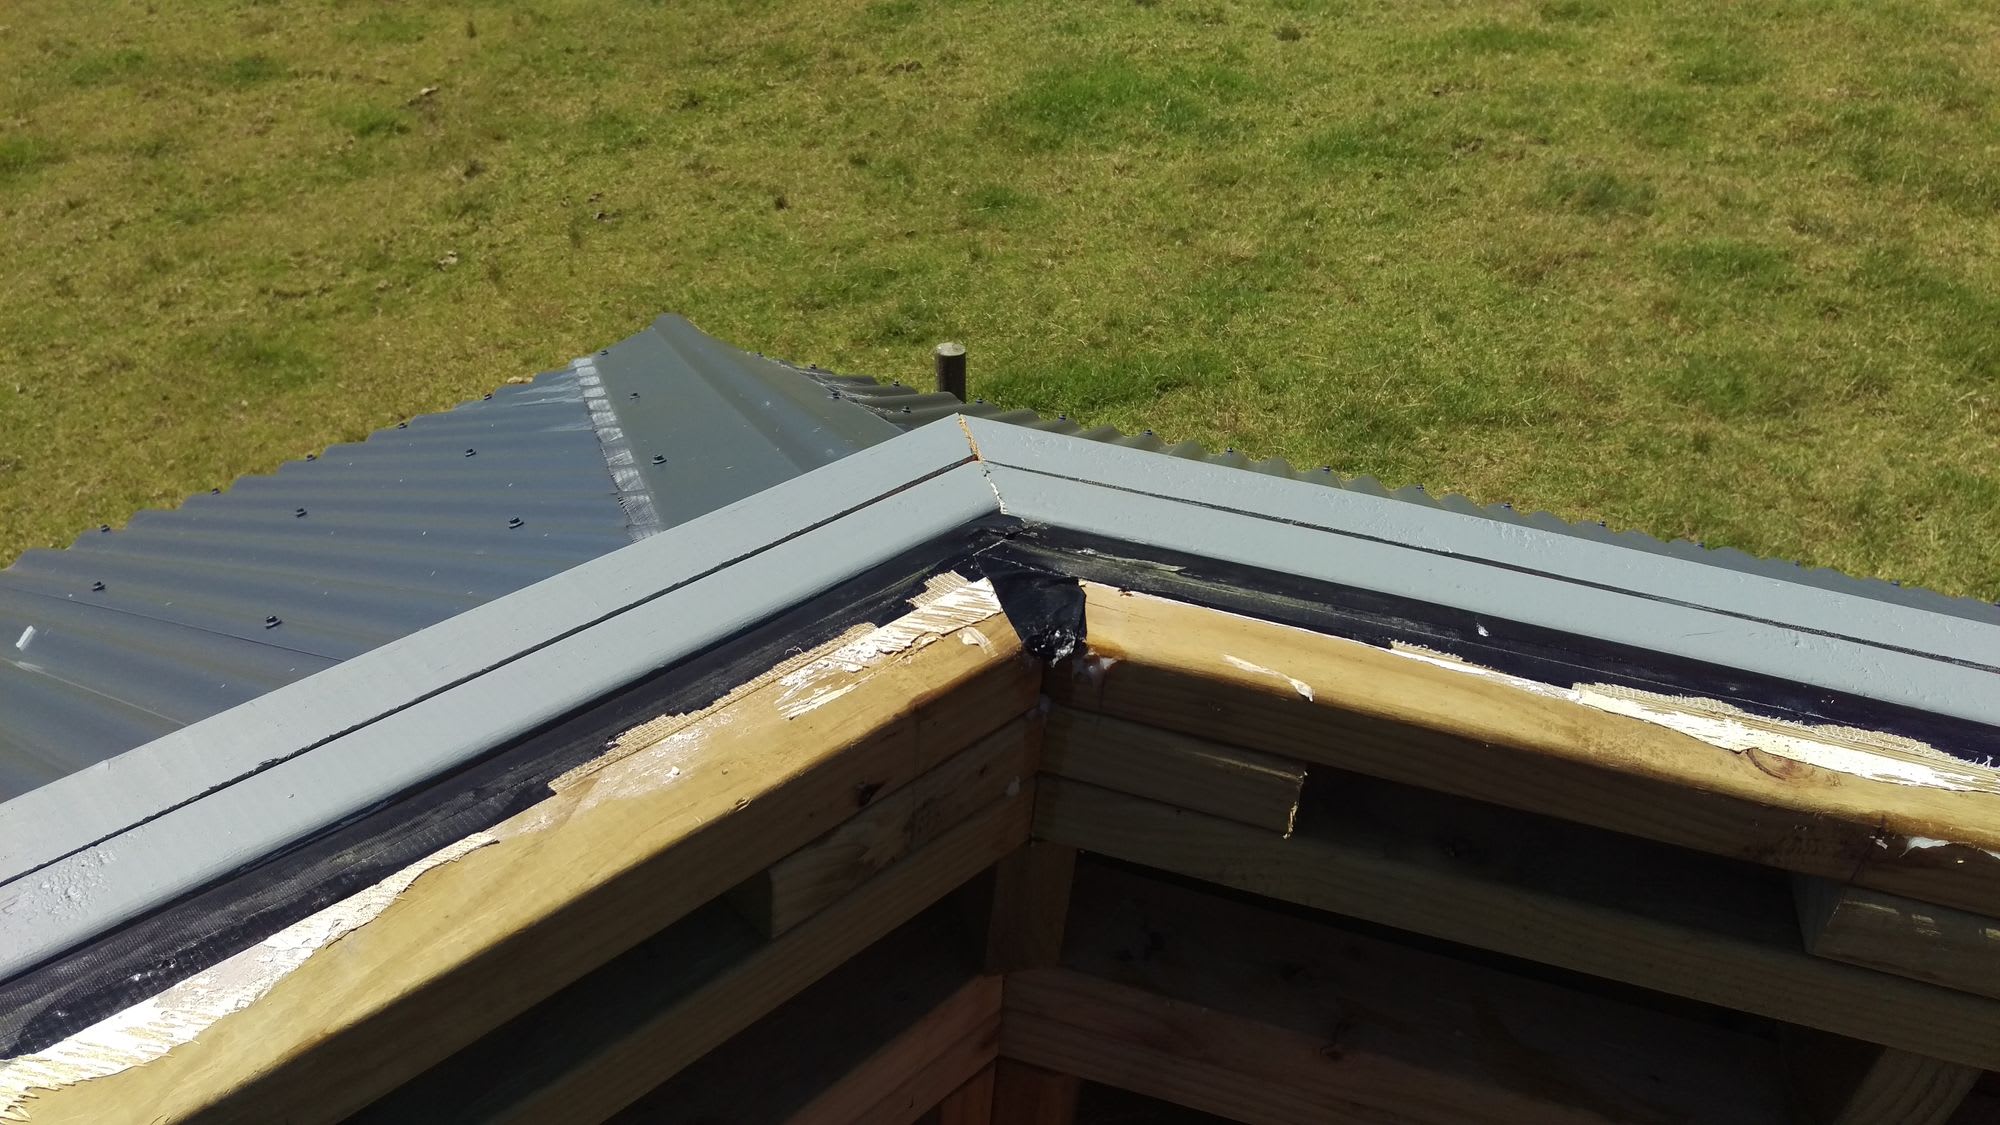
It took more time than expect to trim the boards up but the end result was pretty good. We hauled the ring up with ropes and fixed it with screws after centering it relative to the pier.
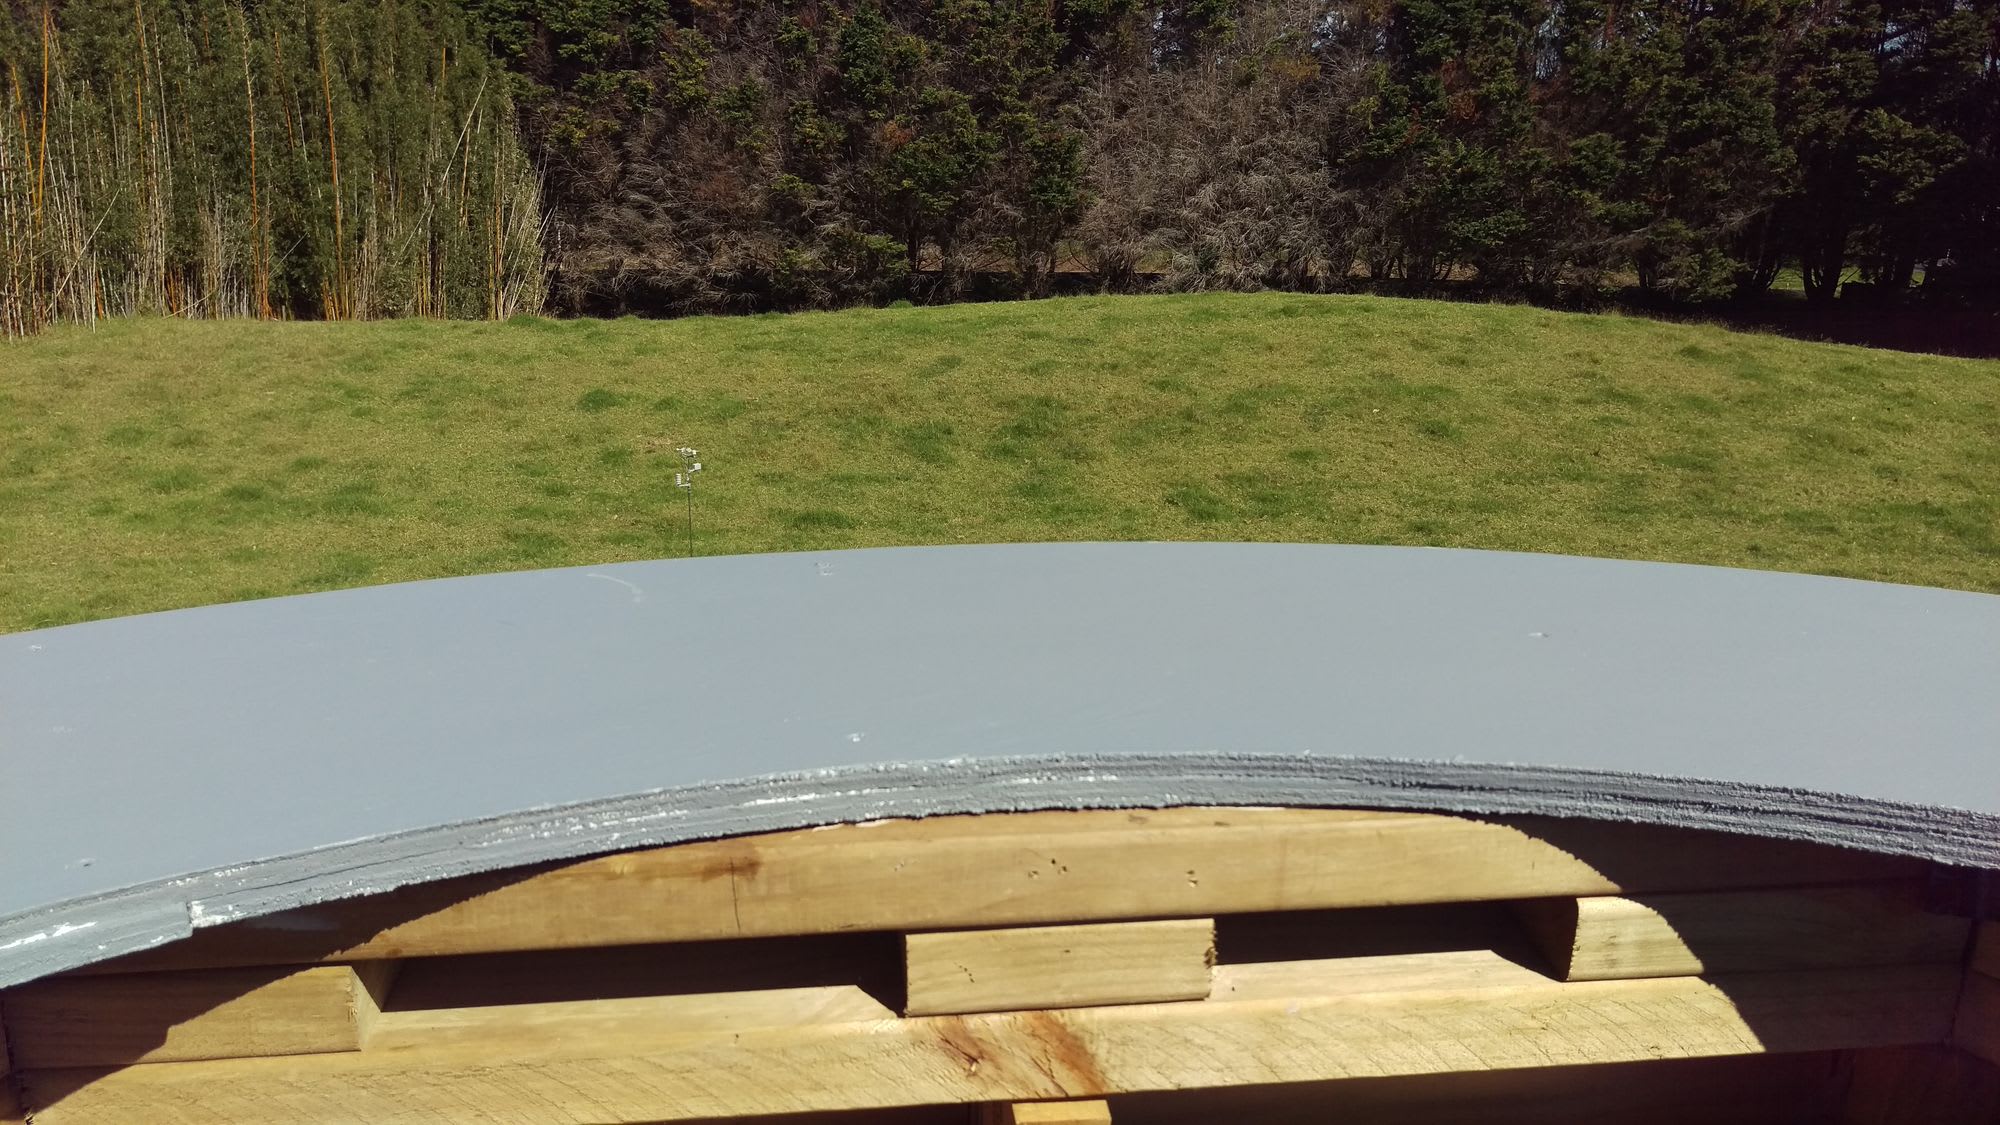
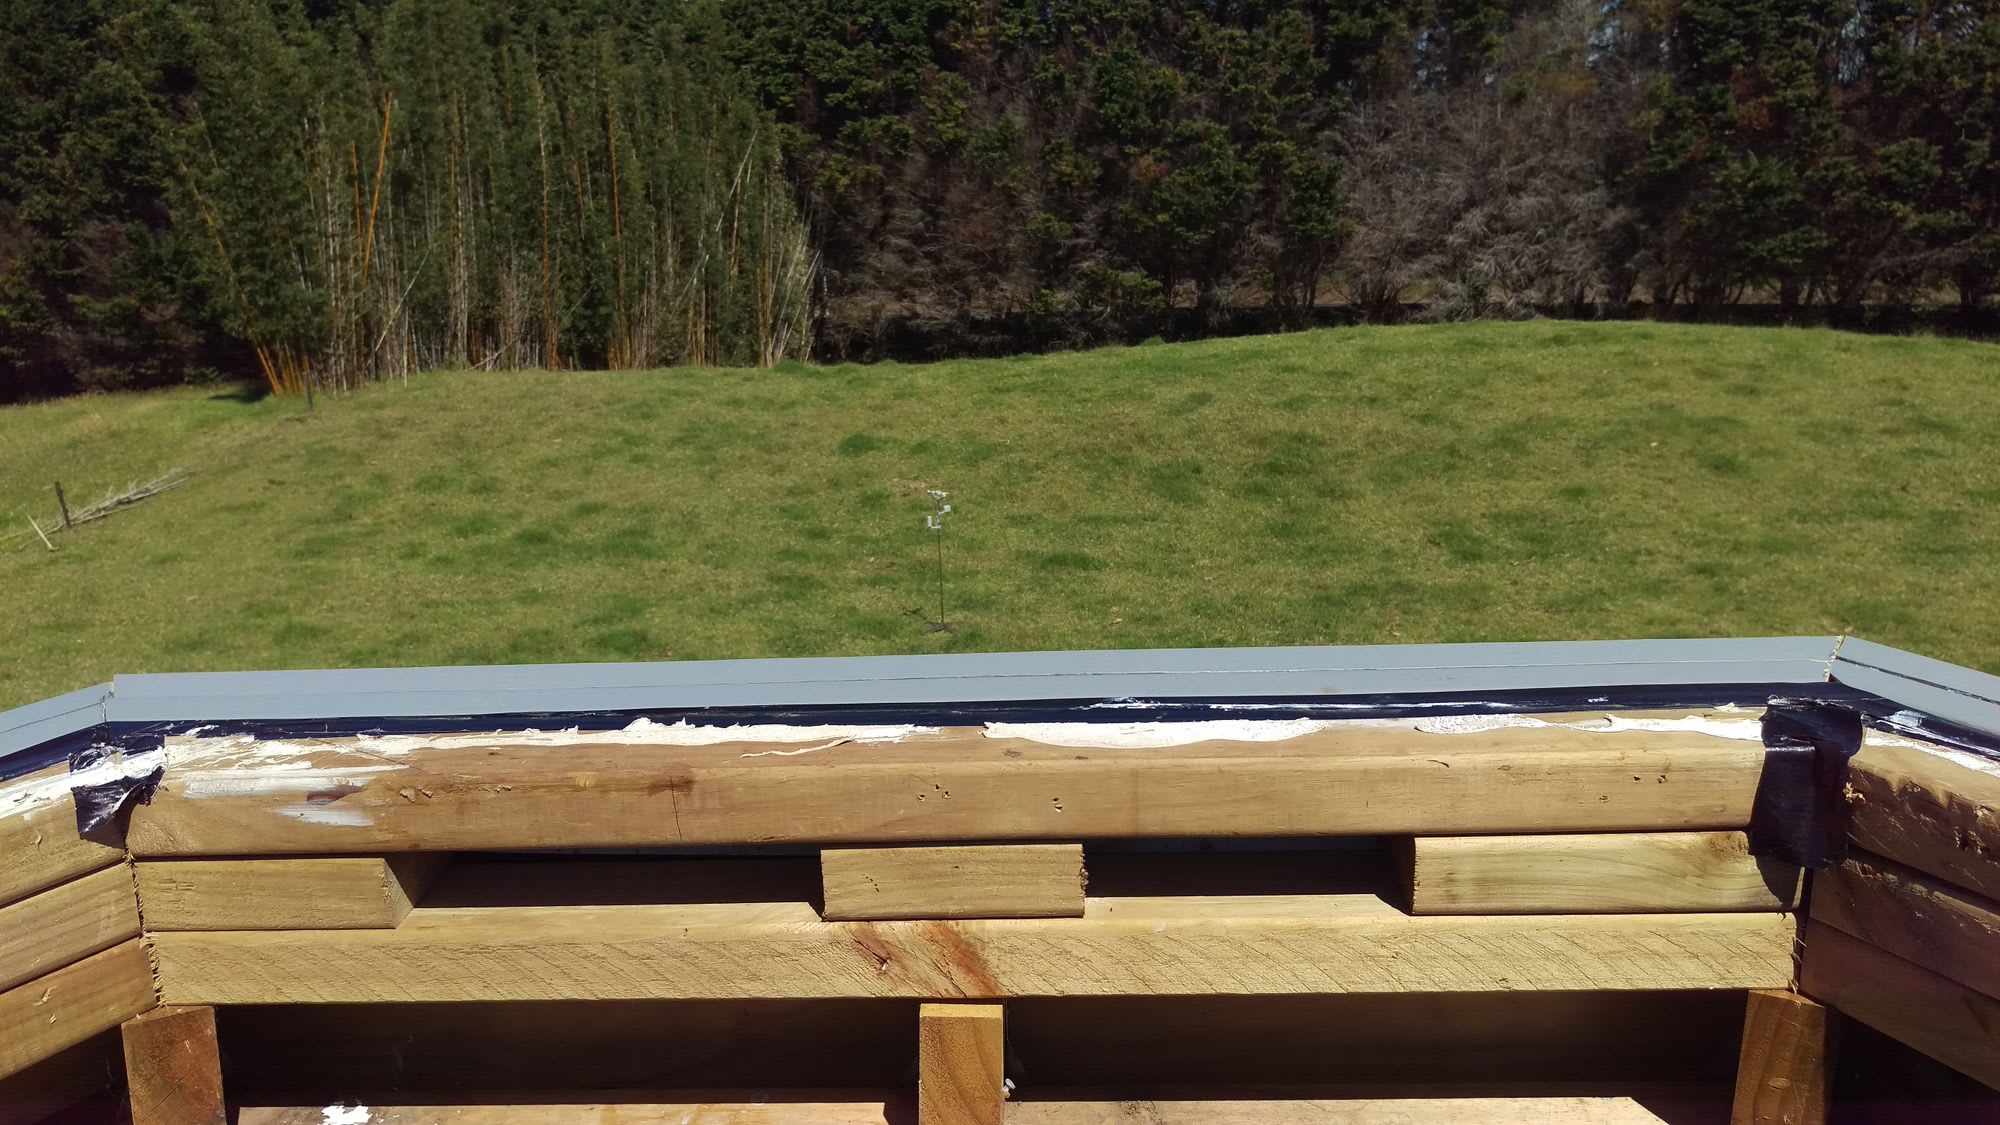
We eagerly proceeded to get the dome ring into place to see how well it would fit. It was a bit tight with some of the outer screw holes sitting very close to the edge of the platform but it would have to do.
At this point we were also faced with the conundrum of whether or not we should screw the dome ring down before hauling up the dome itself so we could be sure the shape of the ring would fit the dome alright. The latter would've been ideal but the nature of our structure meant that once the dome went up it would have to go straight into place. The roof is too steep to stand on so we can't manipulate the dome from the outside nor sit it anywhere while we make adjustments. In the end we elected to screw it down and just hope for the best.
With the dome ring in place, assembly of the Nexdome itself began. It comes in about a dozen pieces which all need to be slotted and bolted together. Like any sort of flat pack assembly, it seems simply enough in theory but in practice it's always more difficult than anticipated. The included instructions were very minimalist and even had some minor errors which didn't aid the process. Further to that, the provided collection of nuts/bolts/screws was a total mess. There was a vast excess of washers but not enough bolts forcing me to go out and buy some more from the hardware store. Not a major but definitely annoying when you've forked up so much money for the product in the first place.
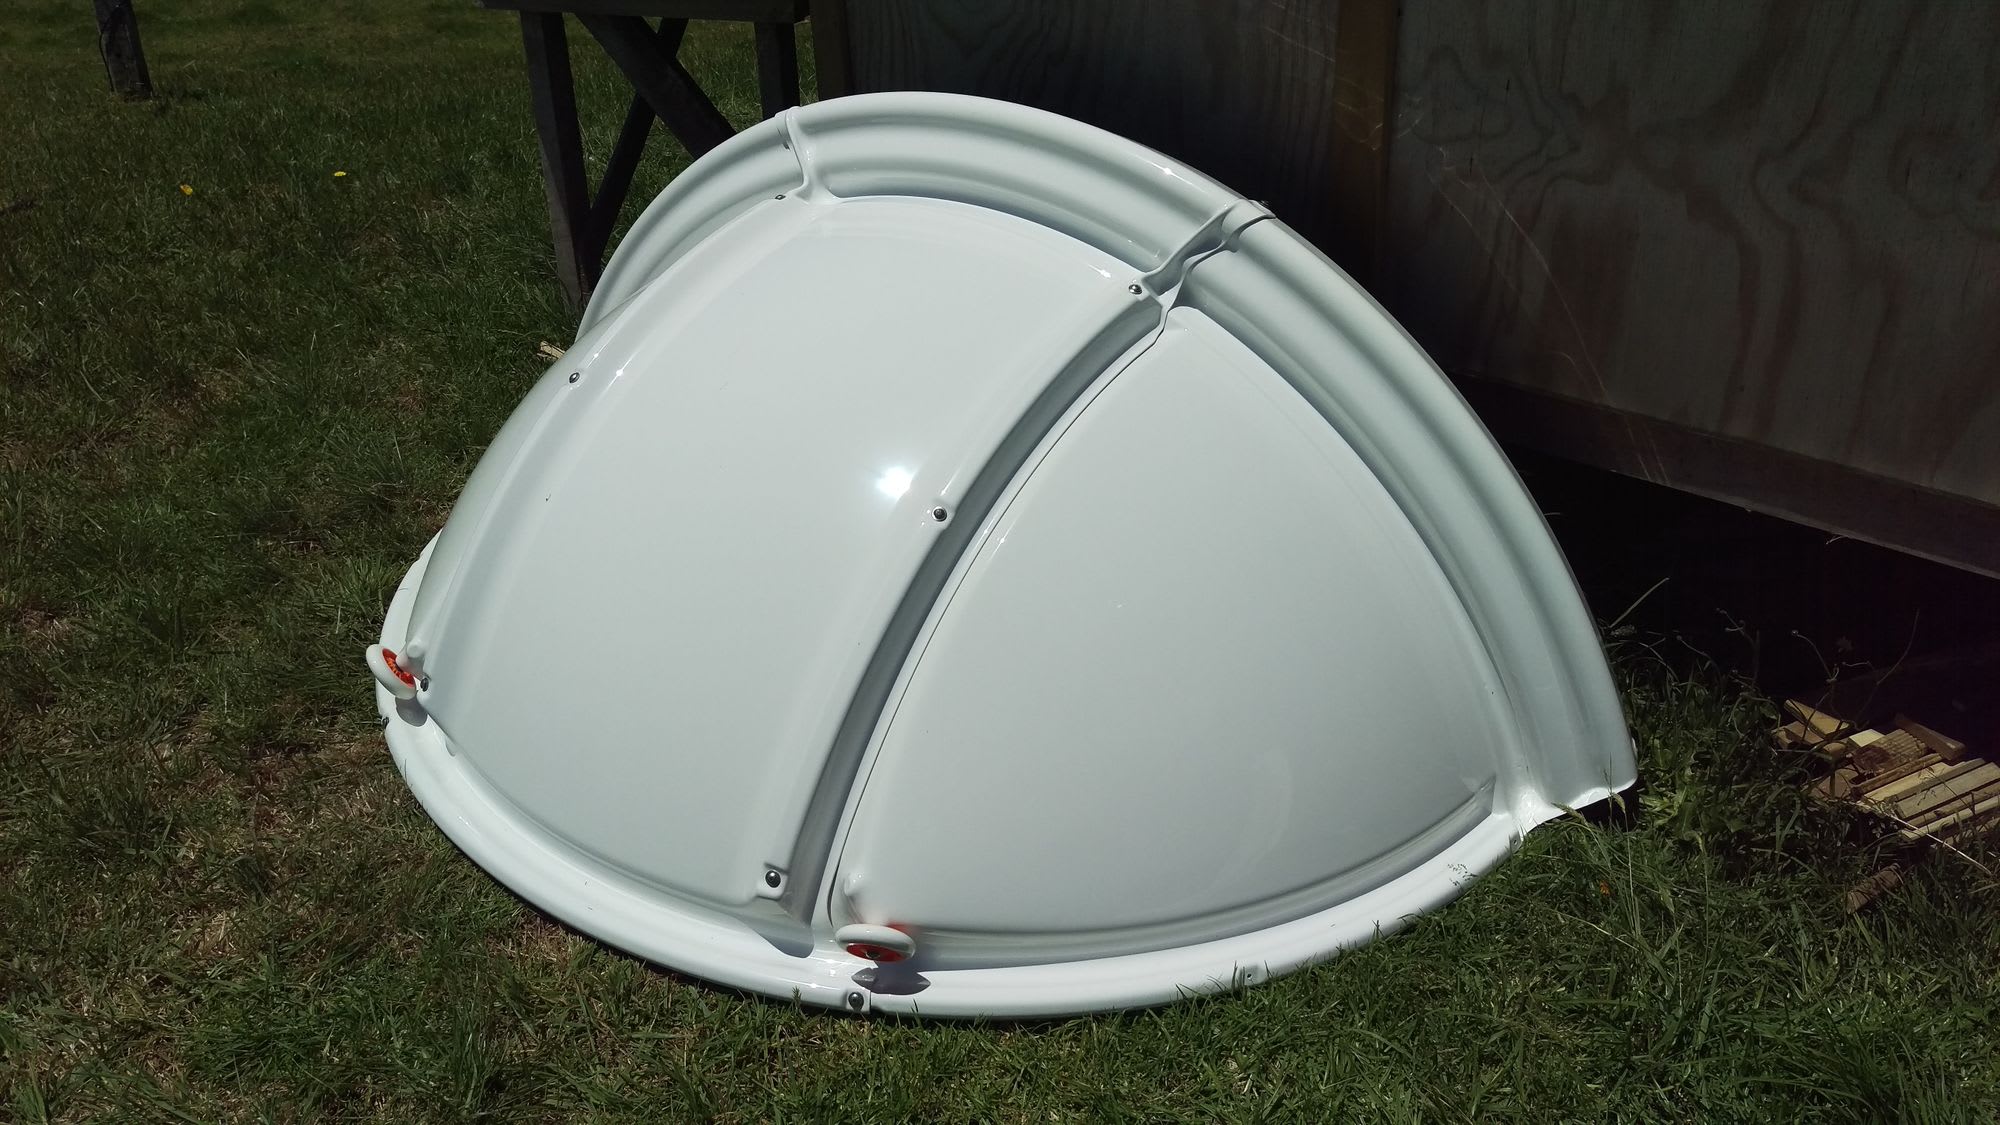
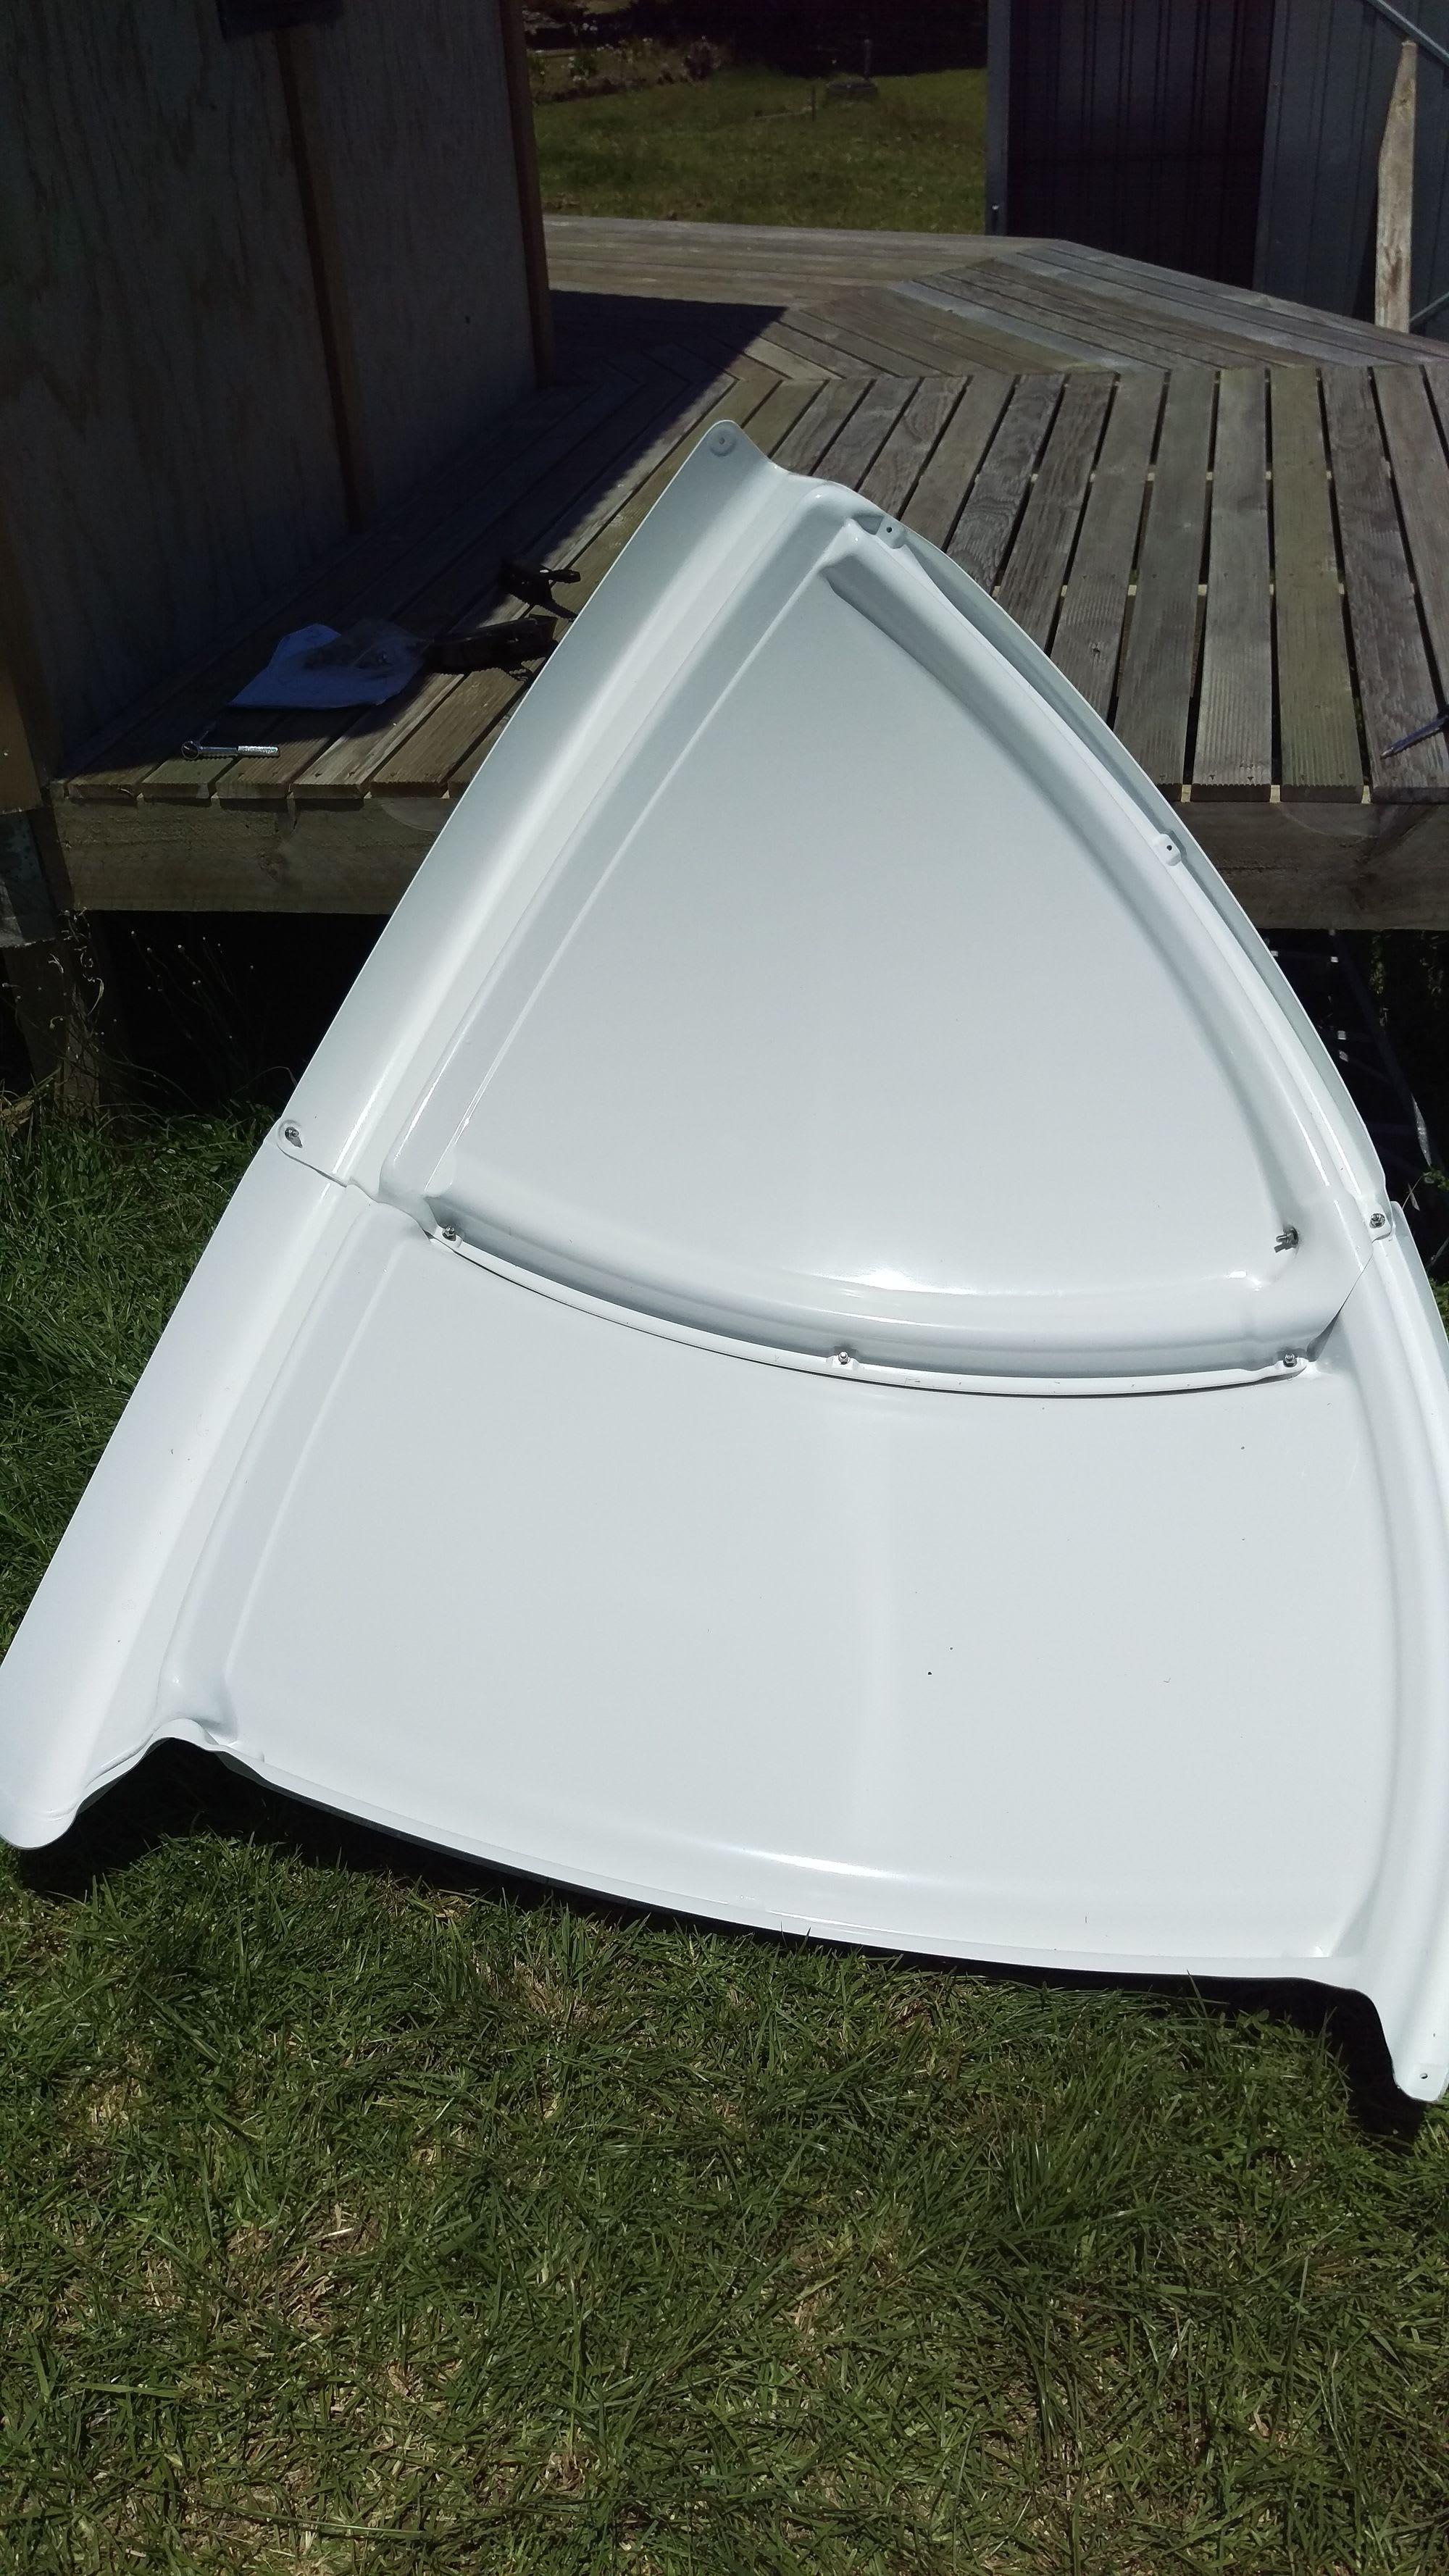
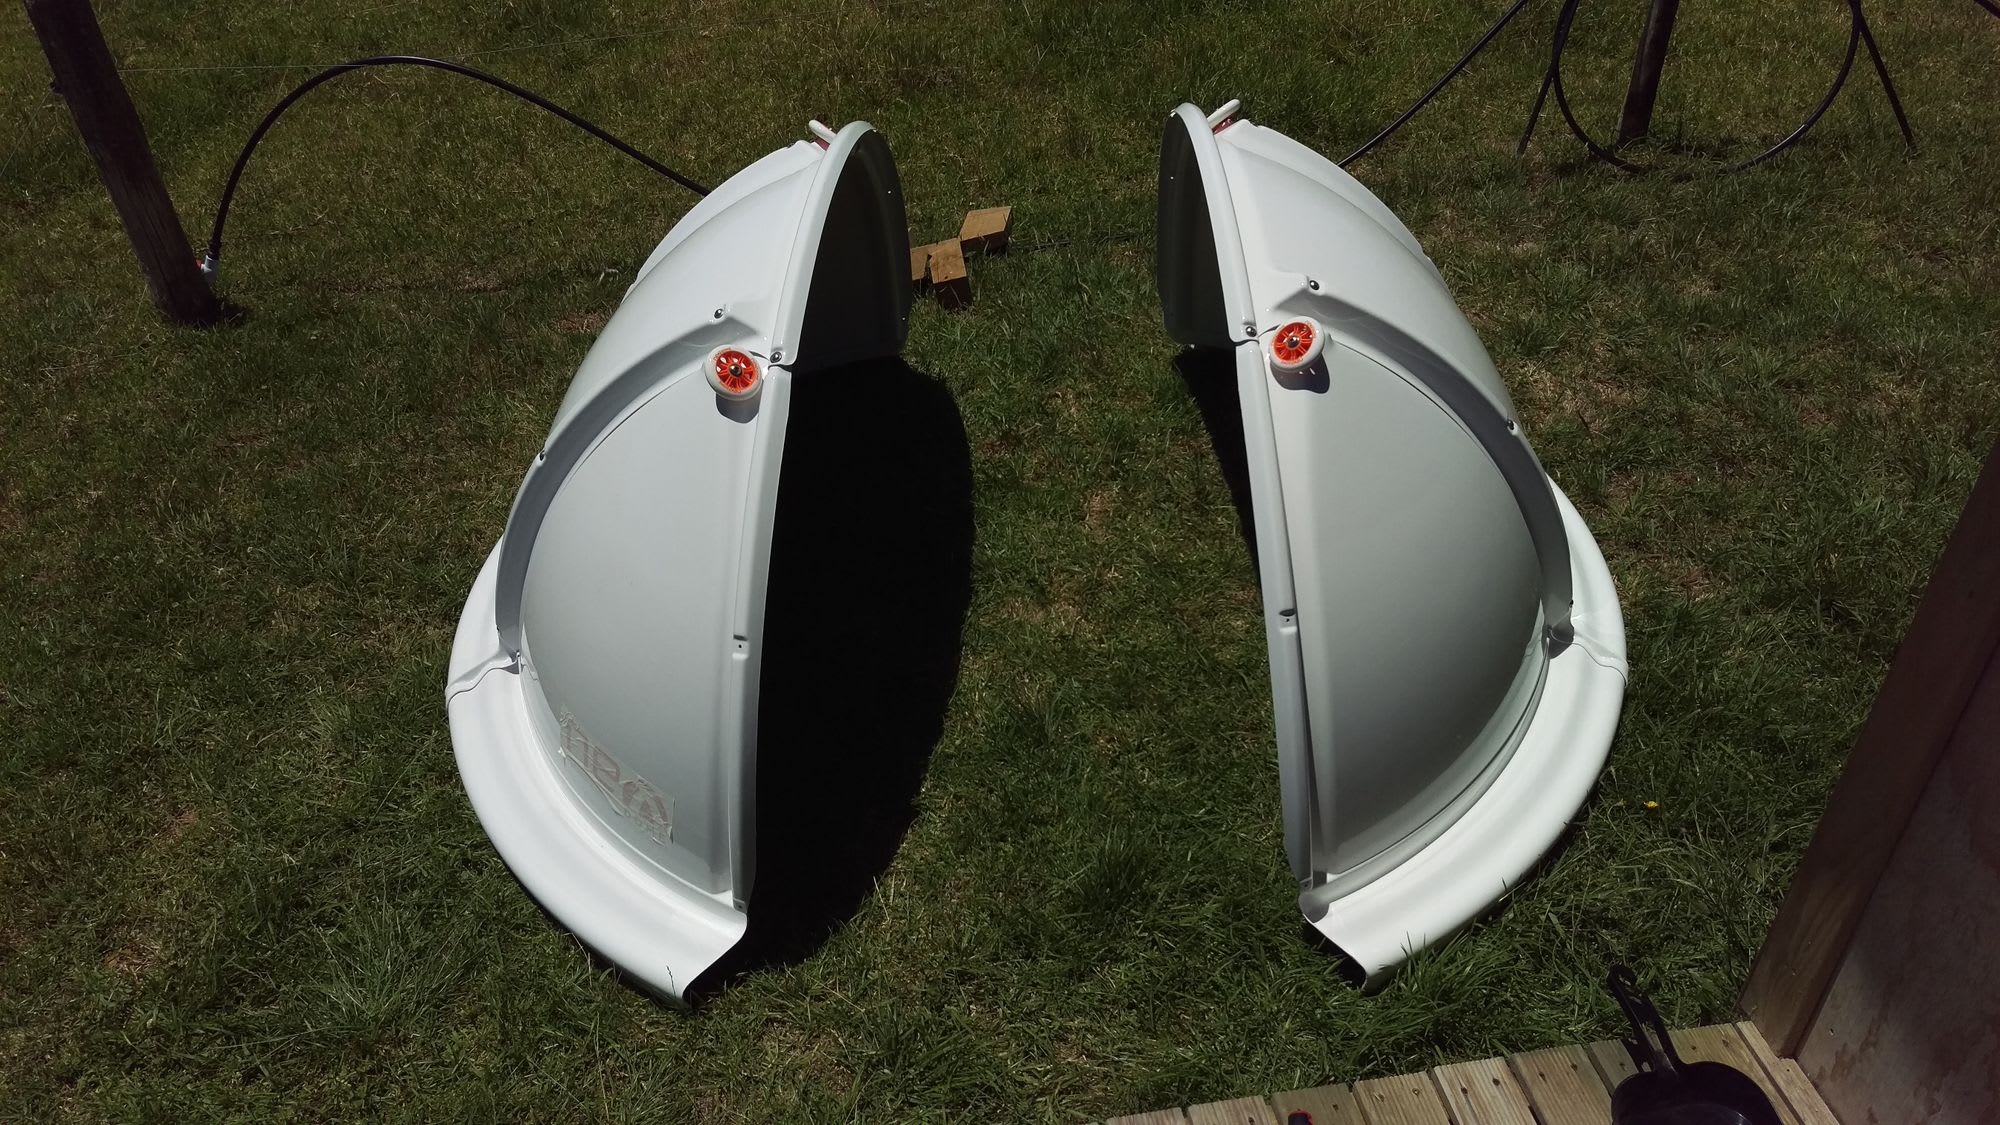
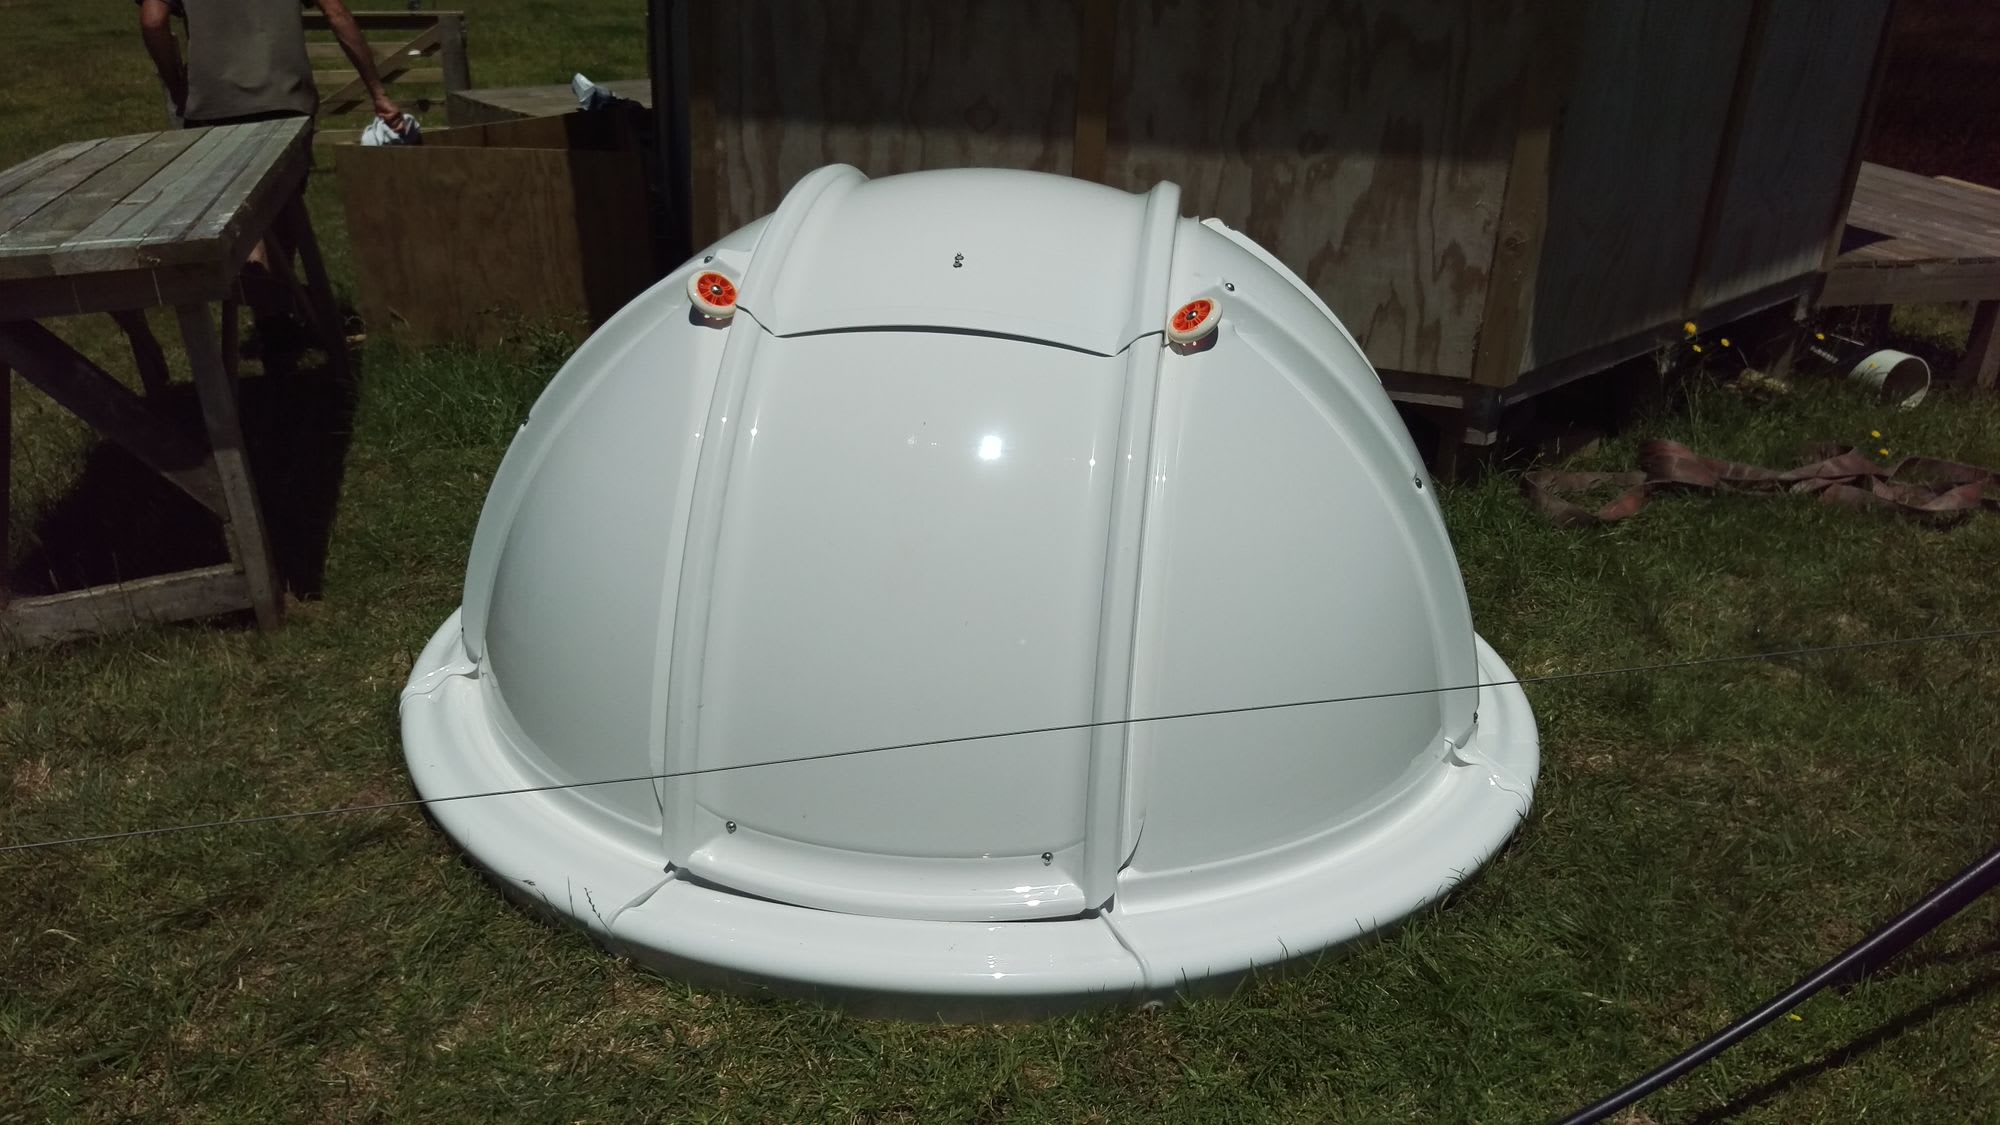
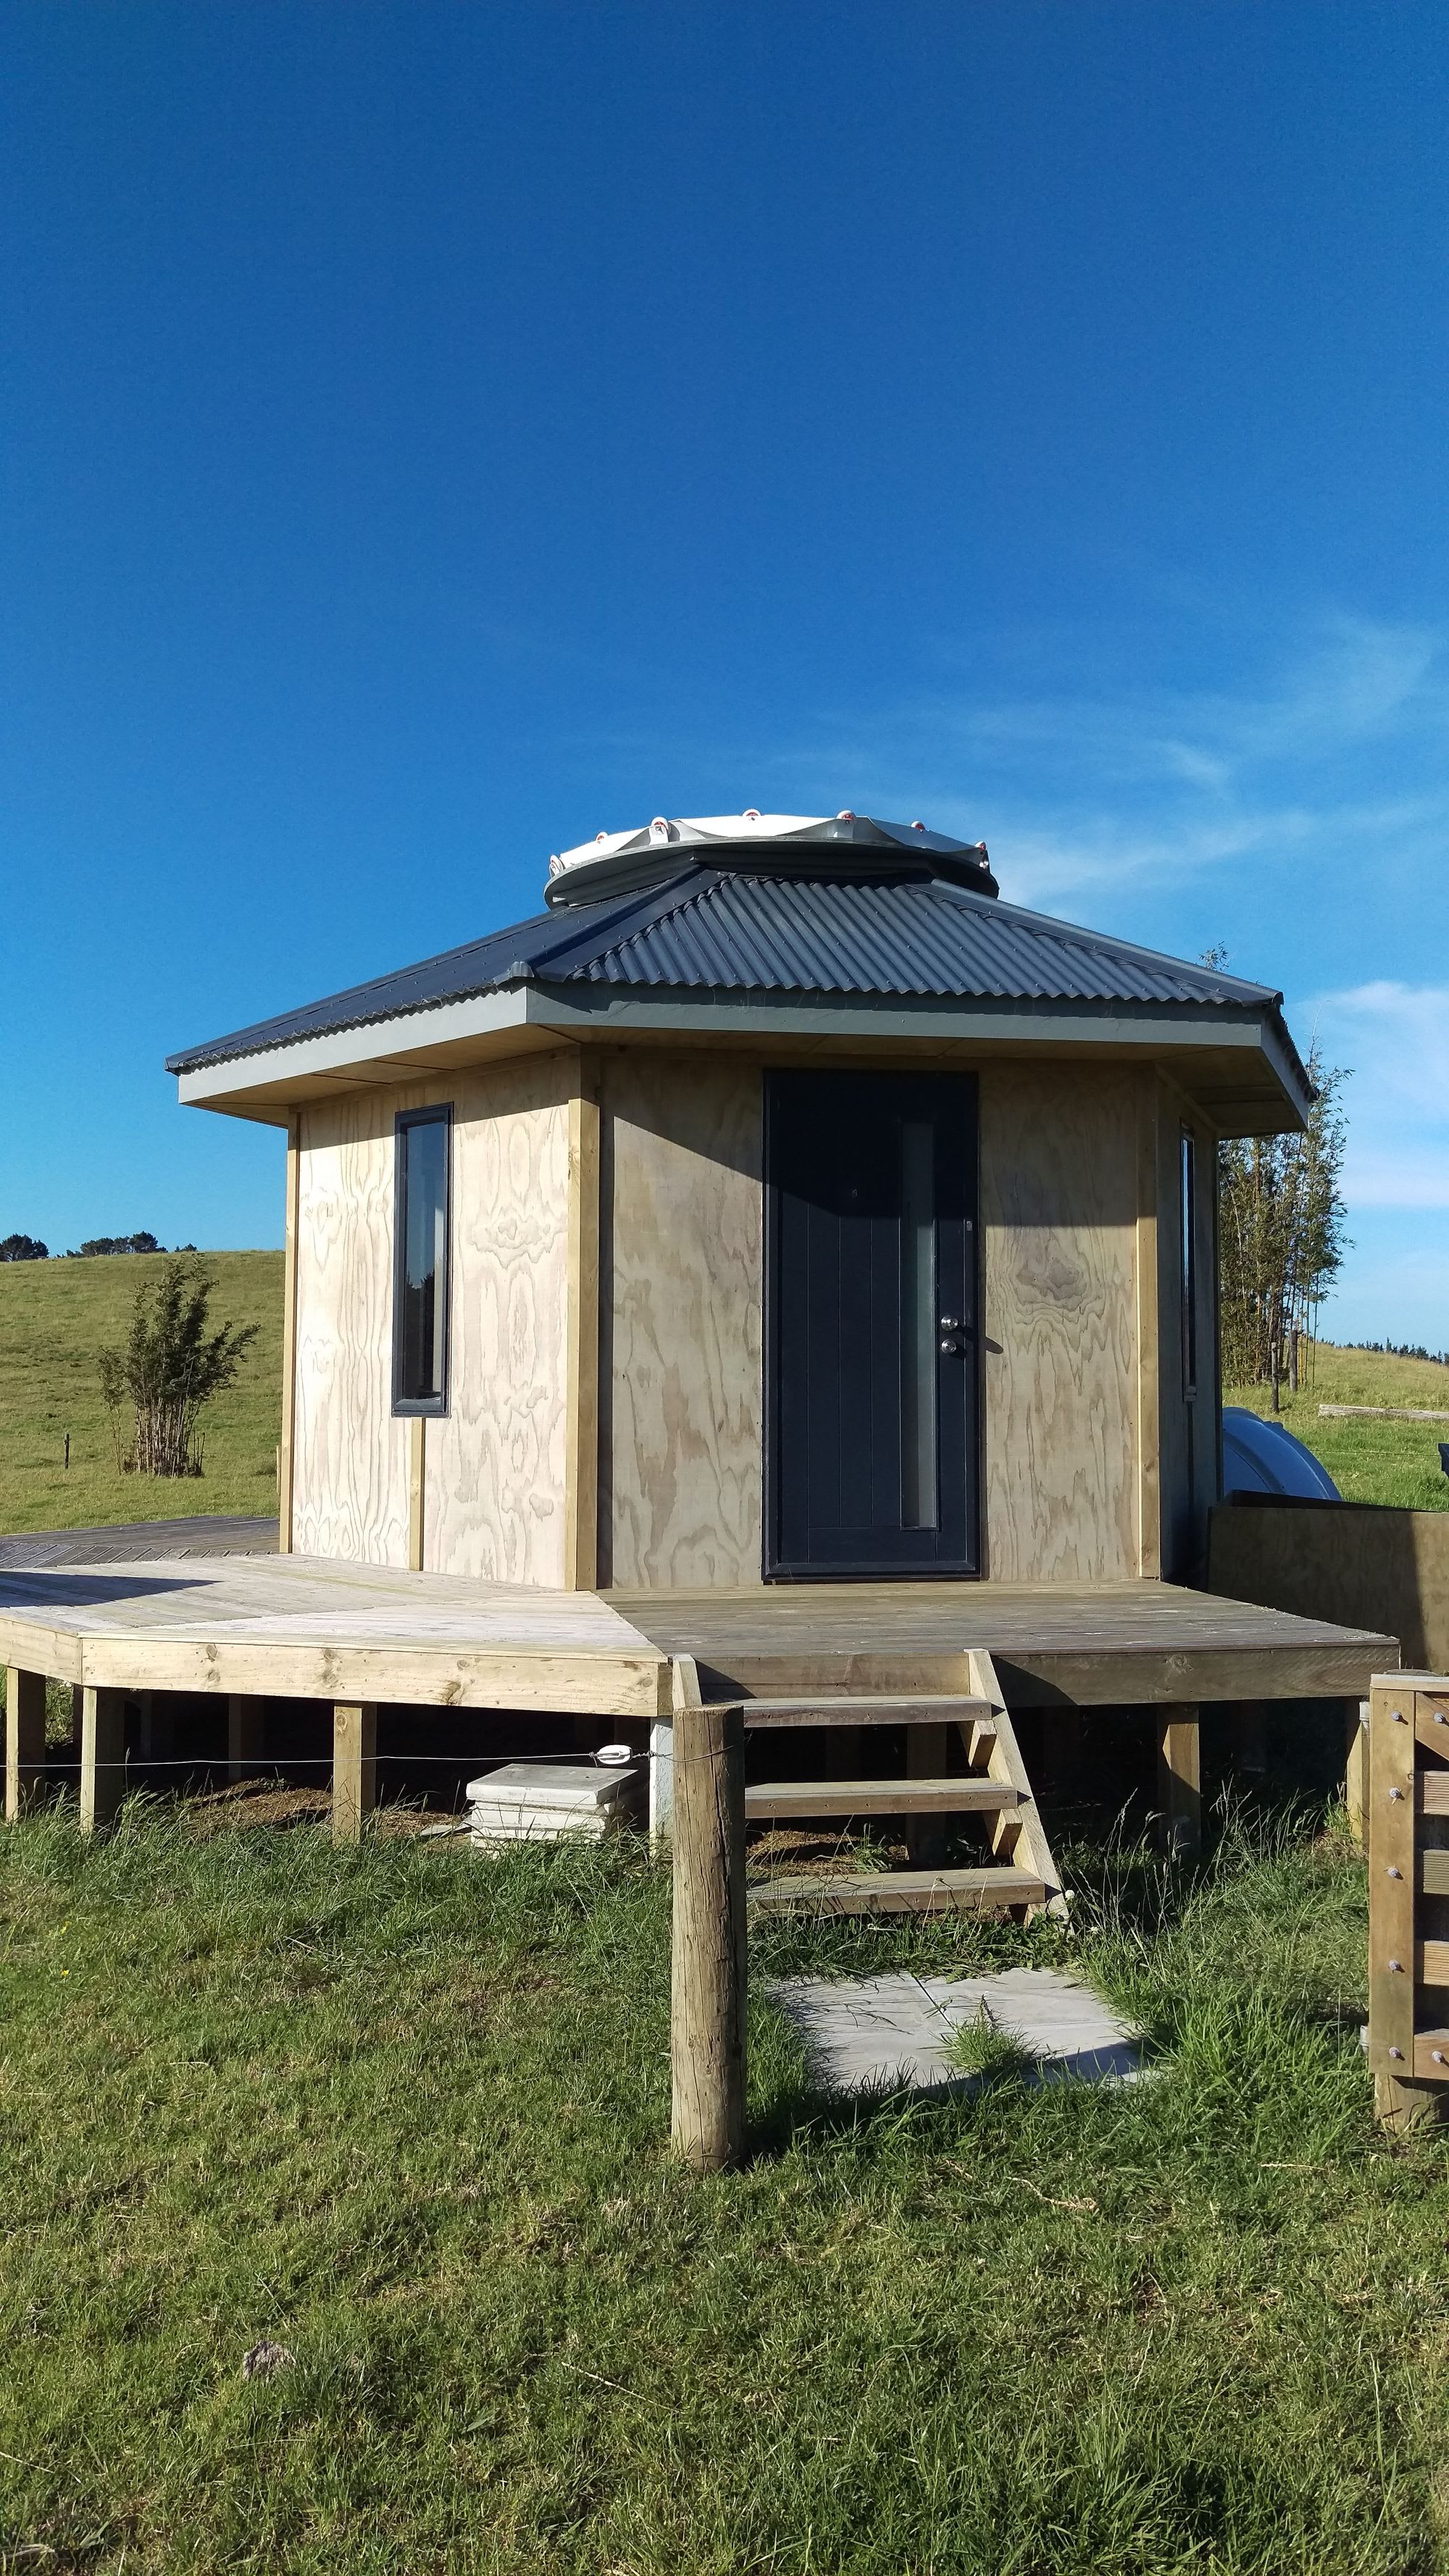
My concern with this sort of thing is always that some holes won't line up for the bolt/screws/nails and of course this case was no exception. Most of the time and effort of assembly was spent trying to contort the pieces in to place in order to get the bolts in. Fortunately there was no need to drill anything in the end and it all came together. With the dome assembled, the next step would be the my most dreaded, and ultimately, the most challenging part of the entire process: getting the damn thing on the roof.
The challenge presented by the dome is a matter of getting a large, bulky and fragile object, from the ground, on to a roof 3 meters up from it. It has over 2 meters diameter, weighs over 50kg and when you lift it at an angle, it feels like the joints could buckle at any moment. The initial plan of just tipping it up on its end and pushing it on to the roof very quickly became an obviously bad idea. It is just too bulky and heavy to lift at such an extreme angle and would probably buckle as well. We needed some leverage so we could lift it up at a more forgiving angle. Unfortunately the deck around the structure is shorter than the diameter of the dome which means getting in behind it at a flatter angle would be really awkward as well as risky due to there being a bit of a drop off from the deck.
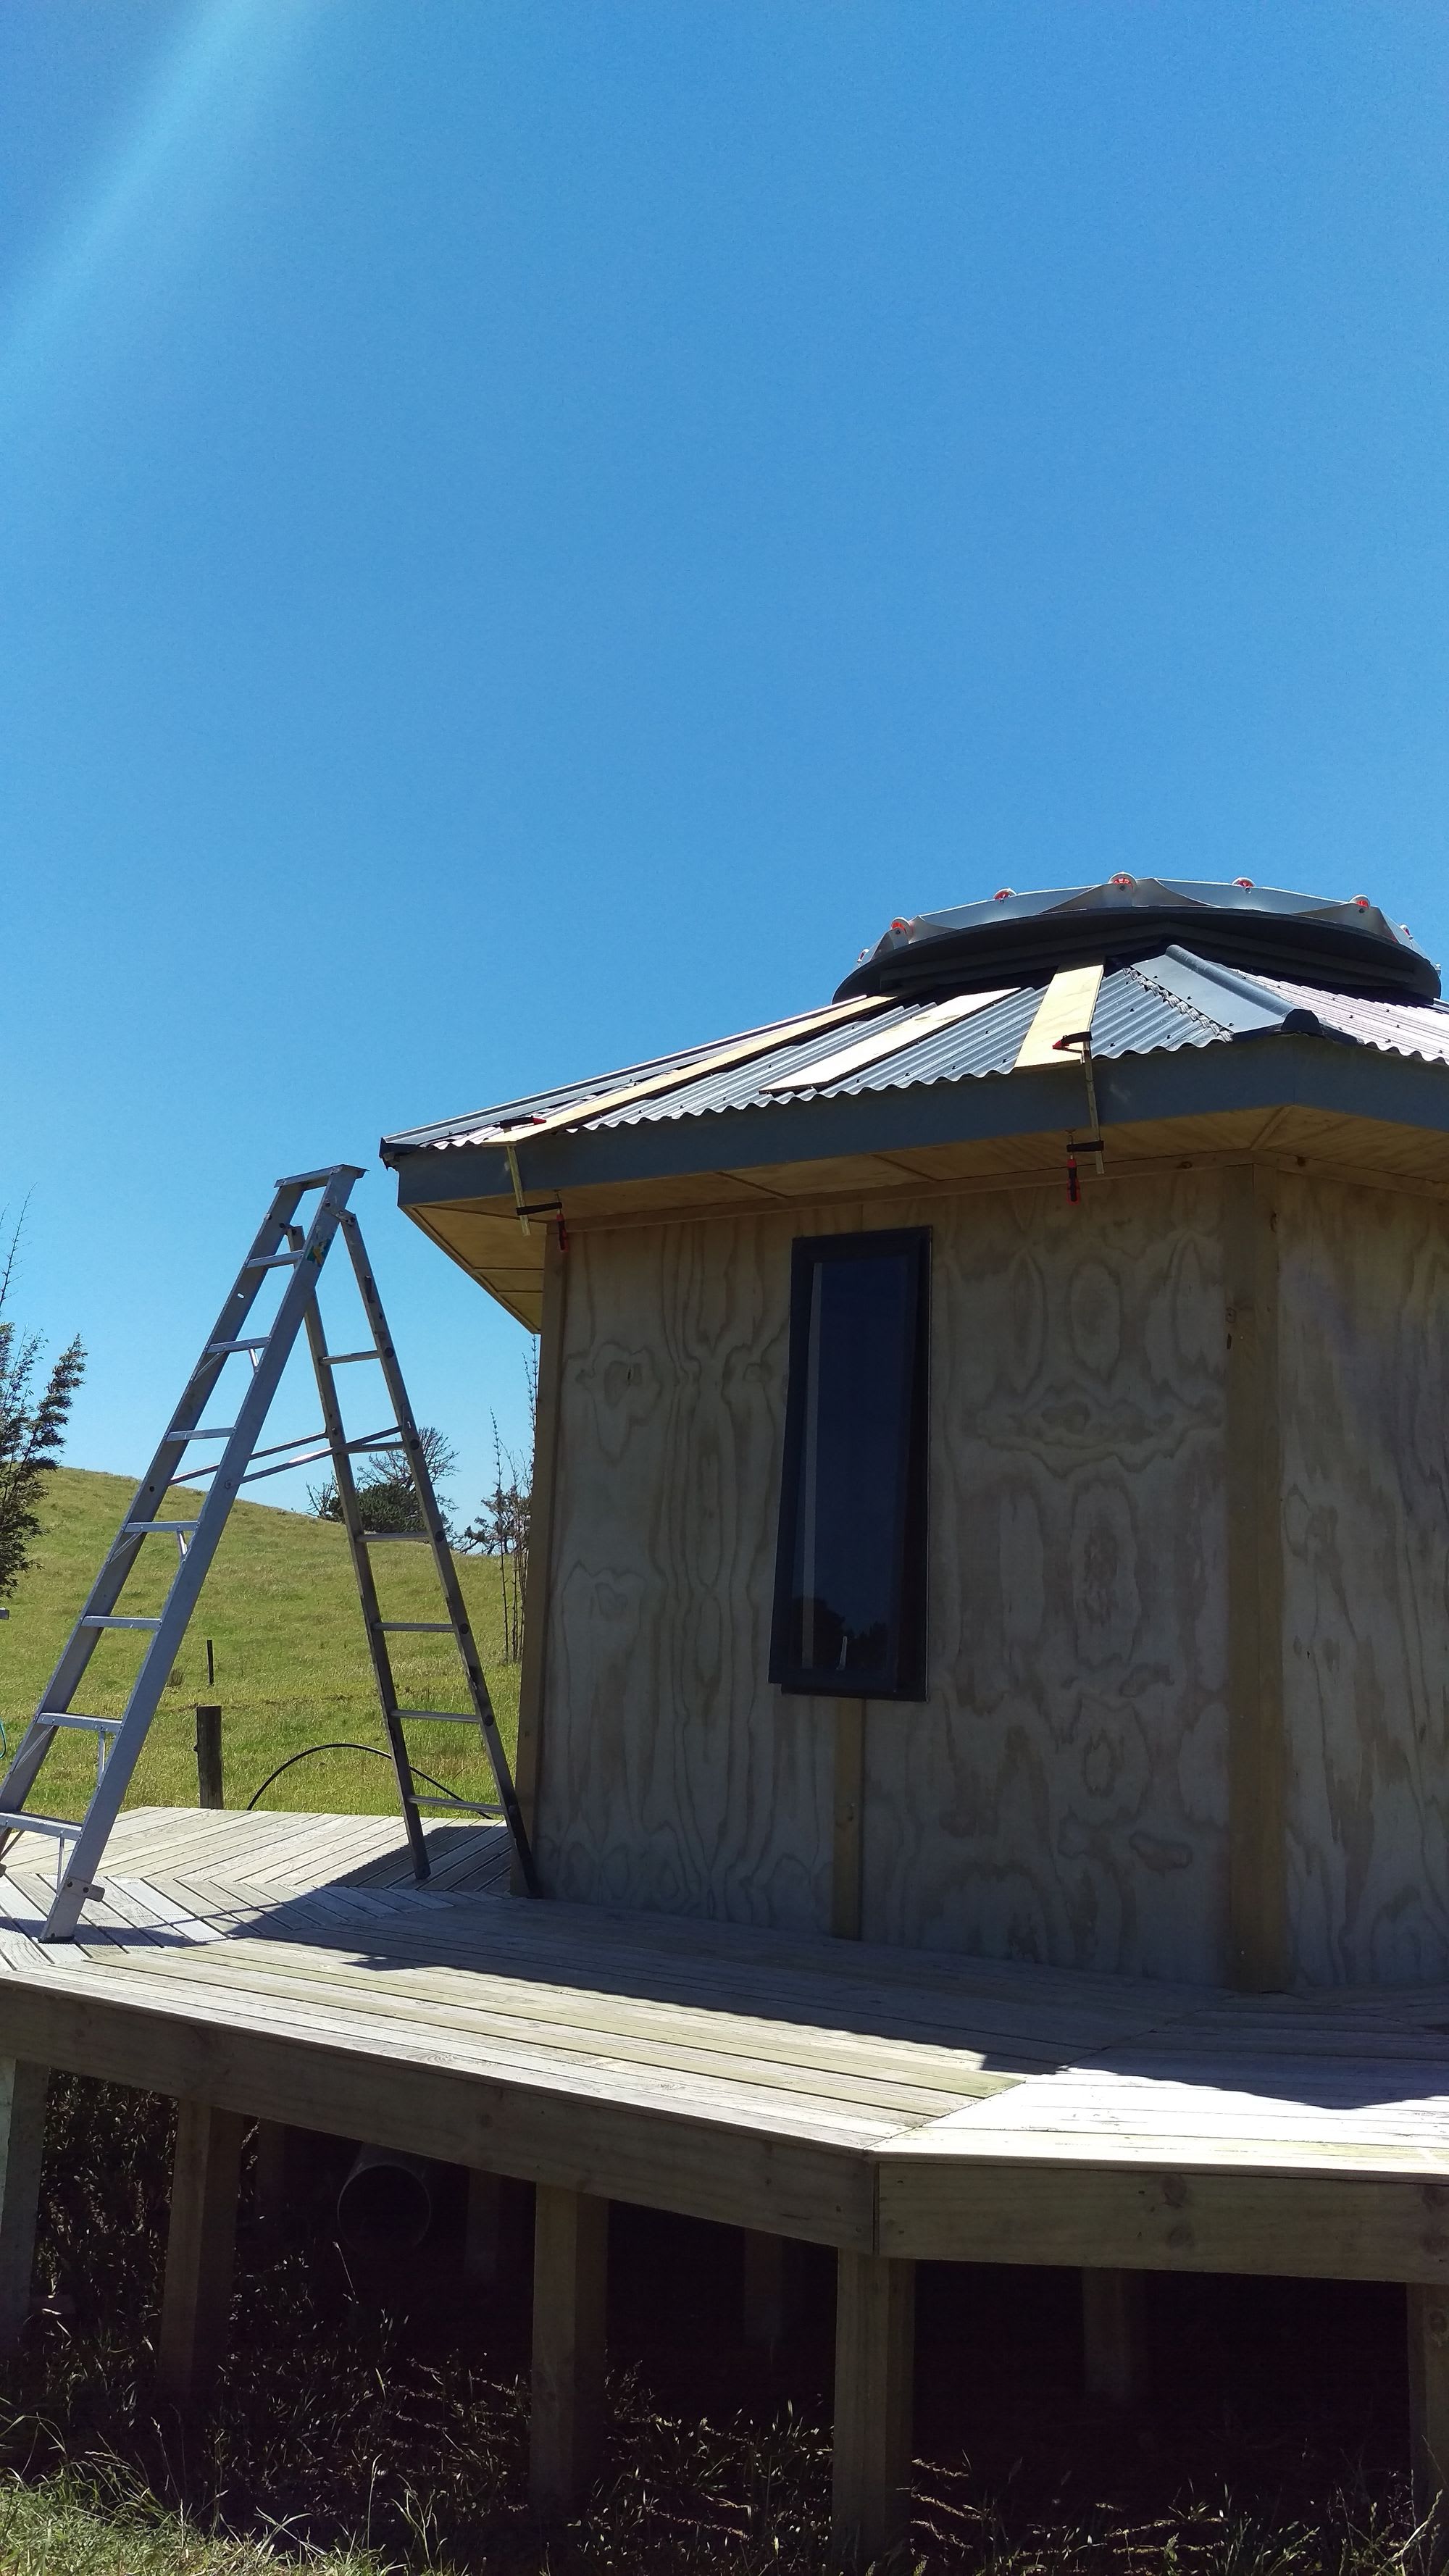
In the end we threw caution to the wind. With Dad pushing up one end of the dome from ground level and me lifting from underneath the center of the dome, while on a table perched at the very edge of the deck, we had enough leverage to get one end of the dome onto the roof and sit the other end on the table. From there we squeezed onto one end of the table each and hauled the whole thing all the way up on to the roof. It was a nightmare of maneuver in terms of safety standards but we got through it all without anyone toppling to their doom. We went into the obs and pulled it up to the ring. With a bit of prodding at the edges it seemed to fall into place. I immediately started rotating it and sure enough it was working. After one complete rotation I finally felt relief. This was always going to be the most difficult and most delicate stage of the operation and at last it was done. There was and still is a bit more work to be done before the observatory is ready for use but I'll leave it there for now.
