Final prep for Dome & Observatory
With the dome finally in place, the hard part of the project was complete. Getting the observatory to a usable state still required a little more work though. First up was the weatherproofing.
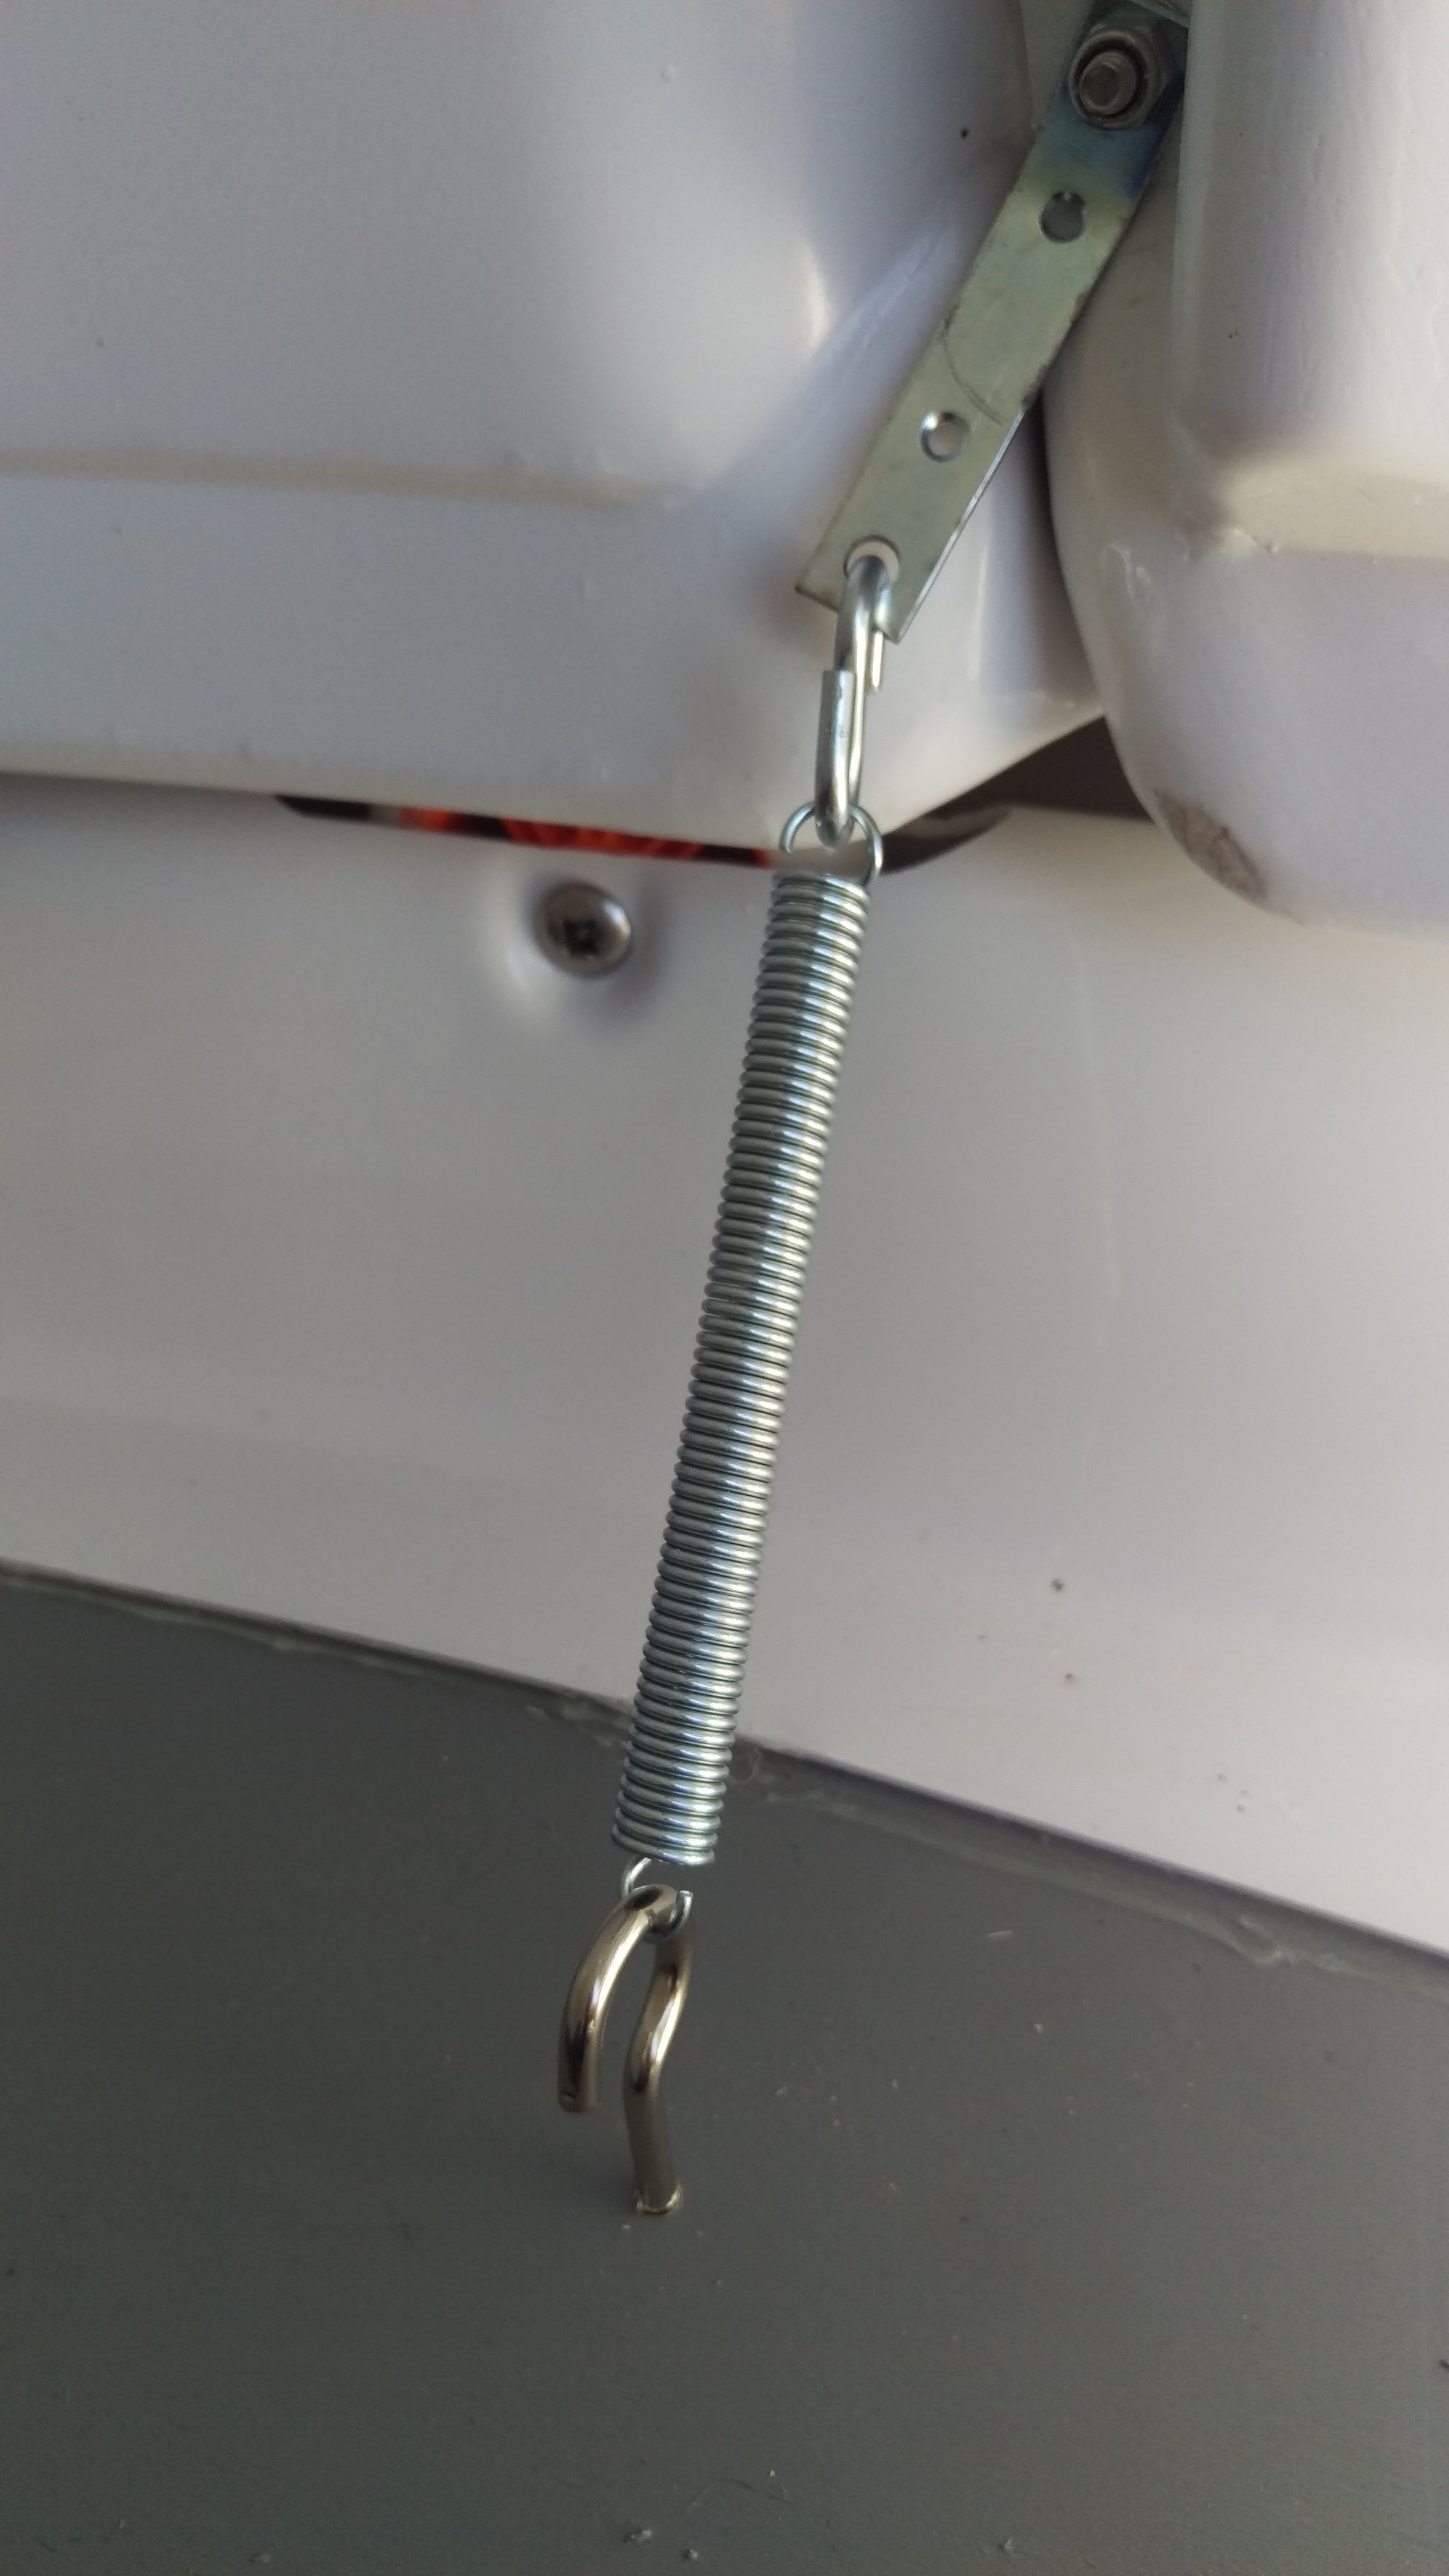
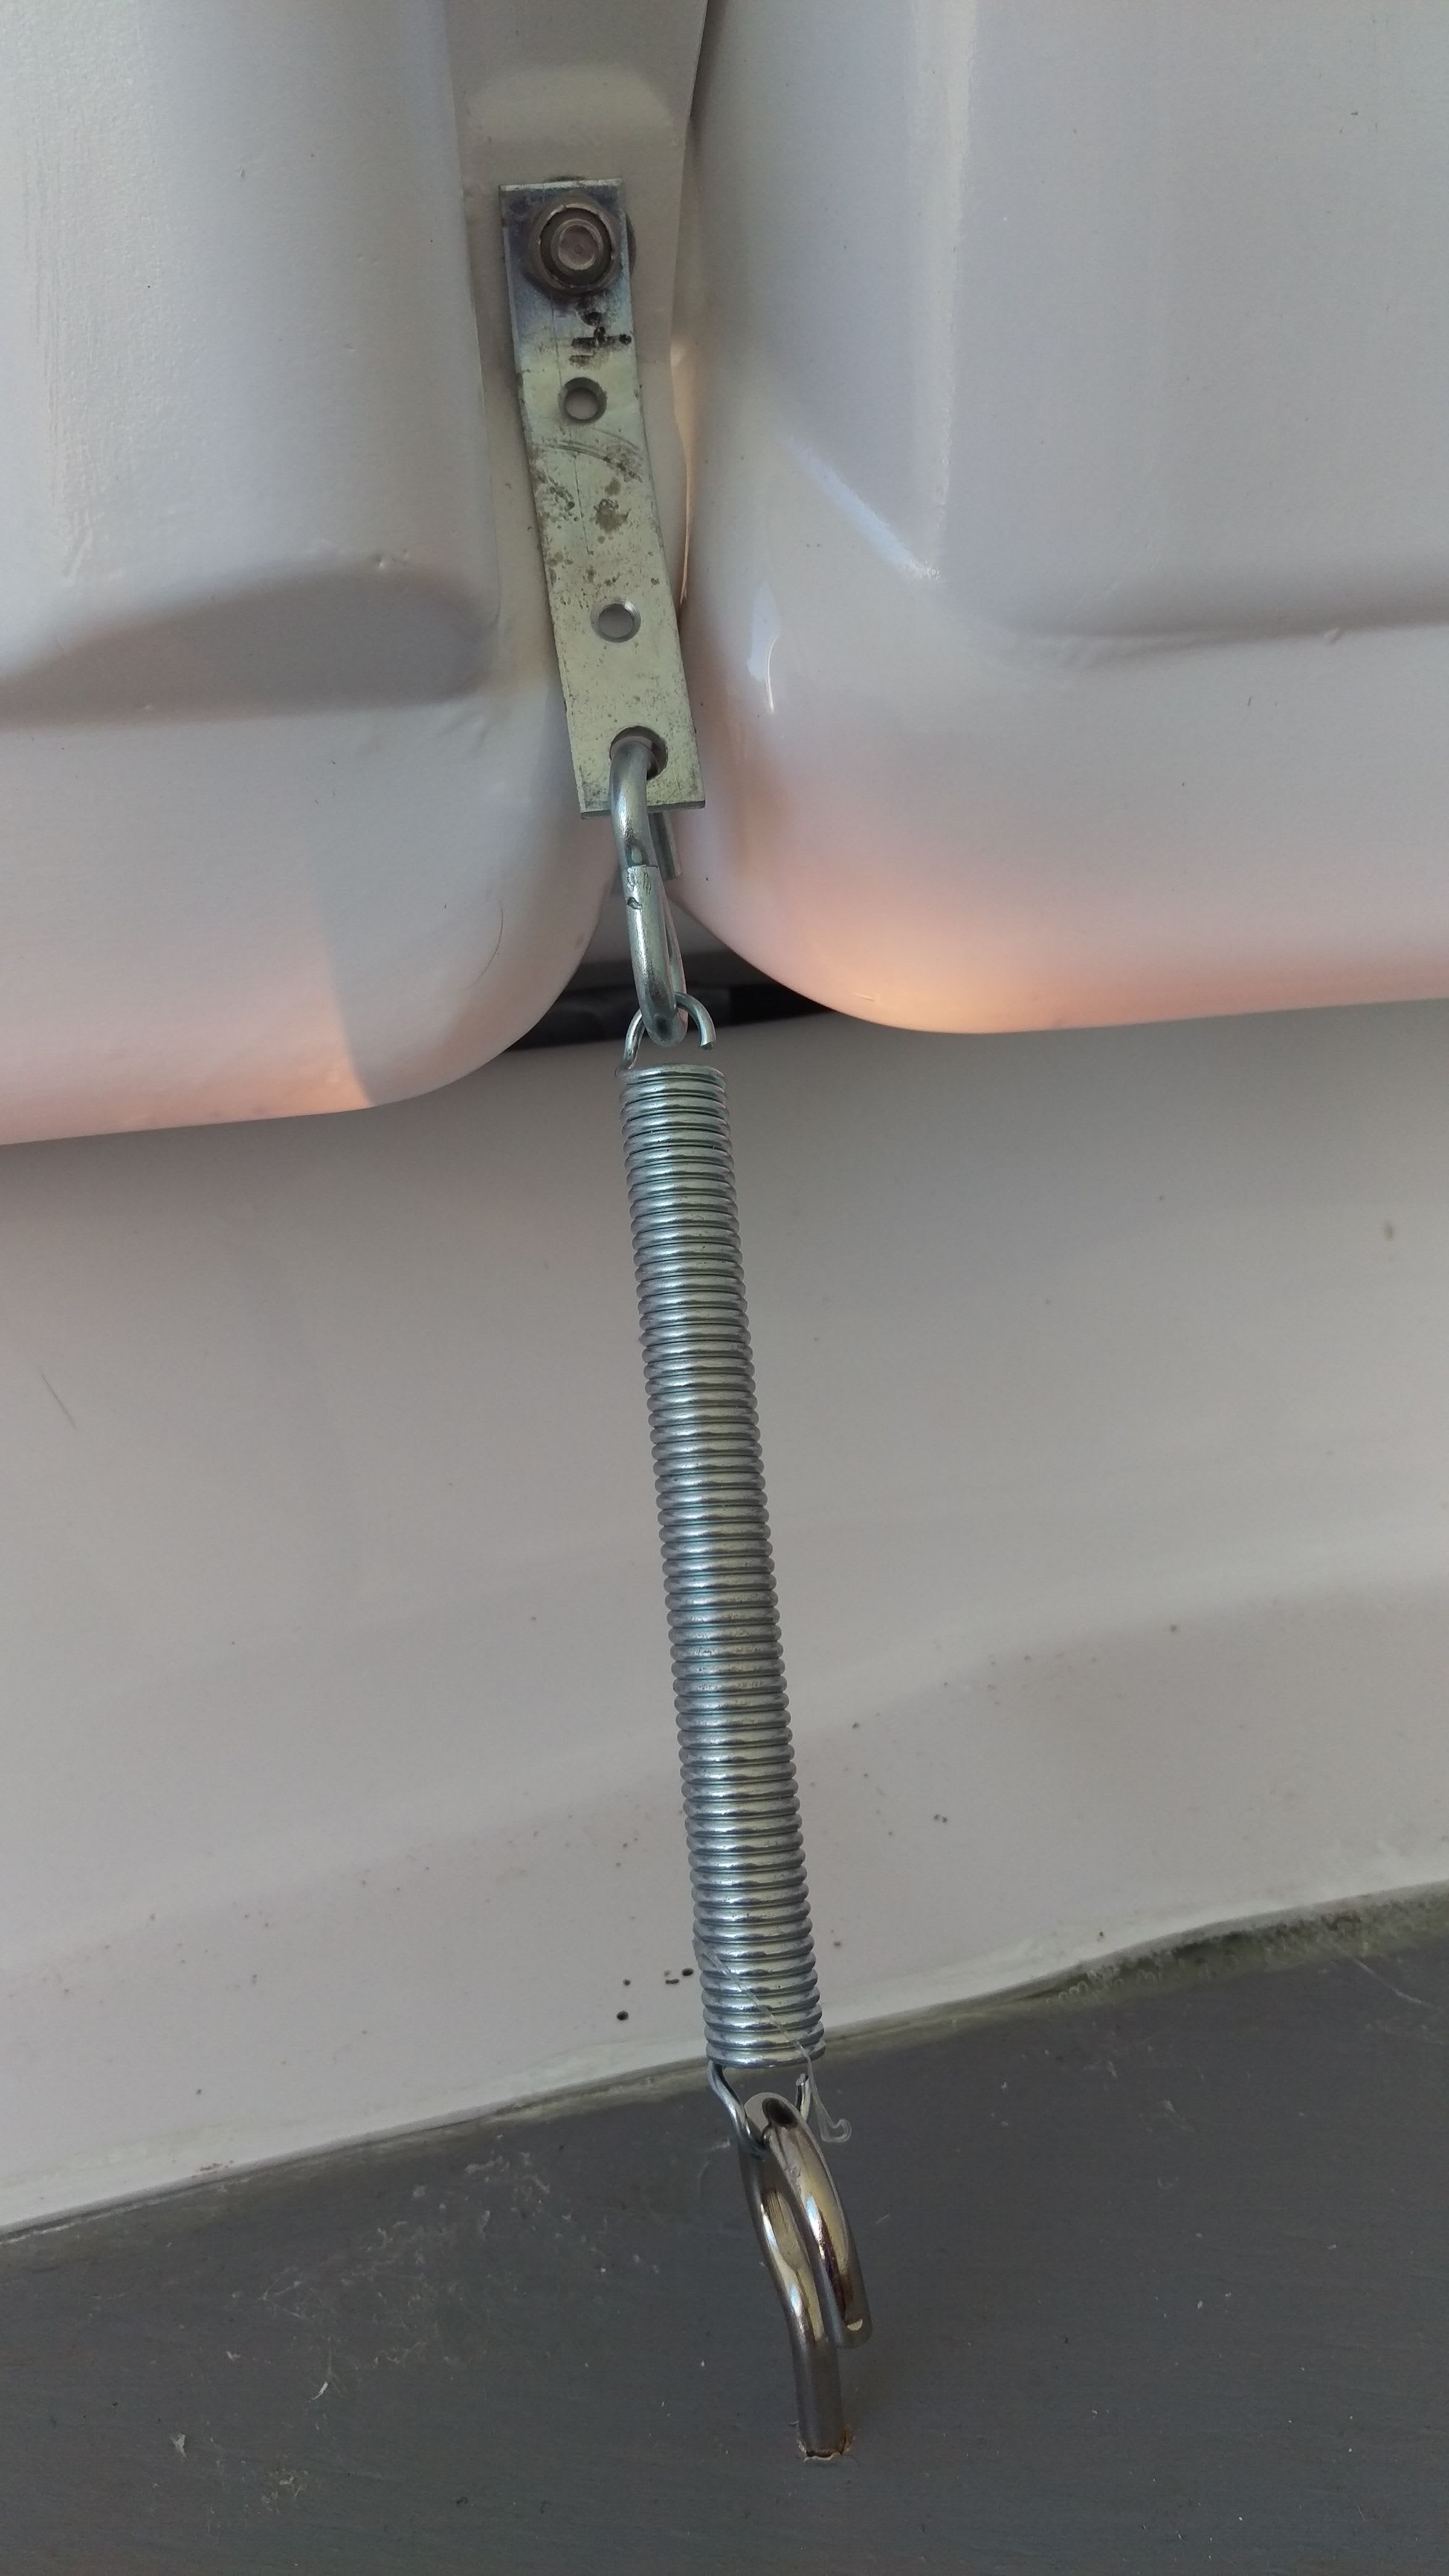
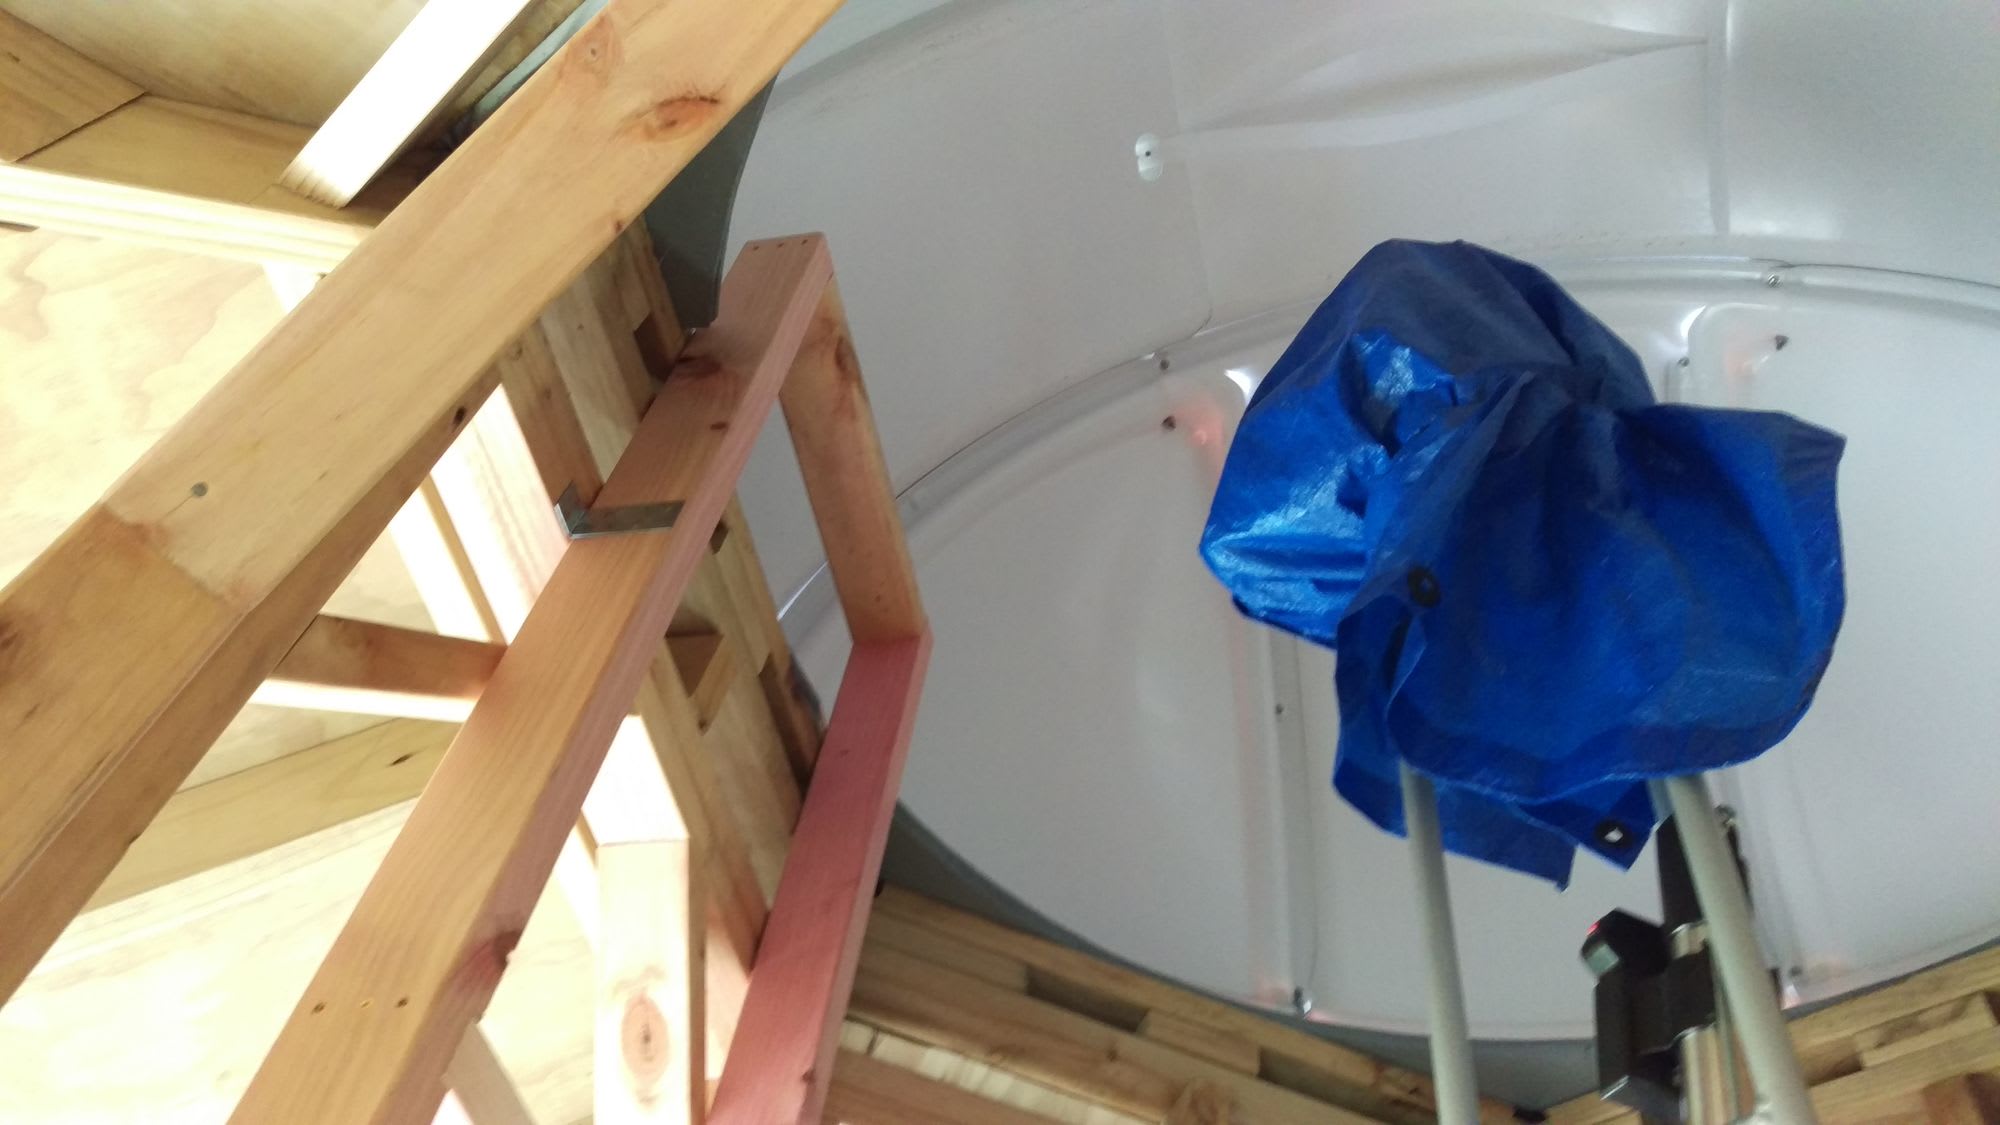
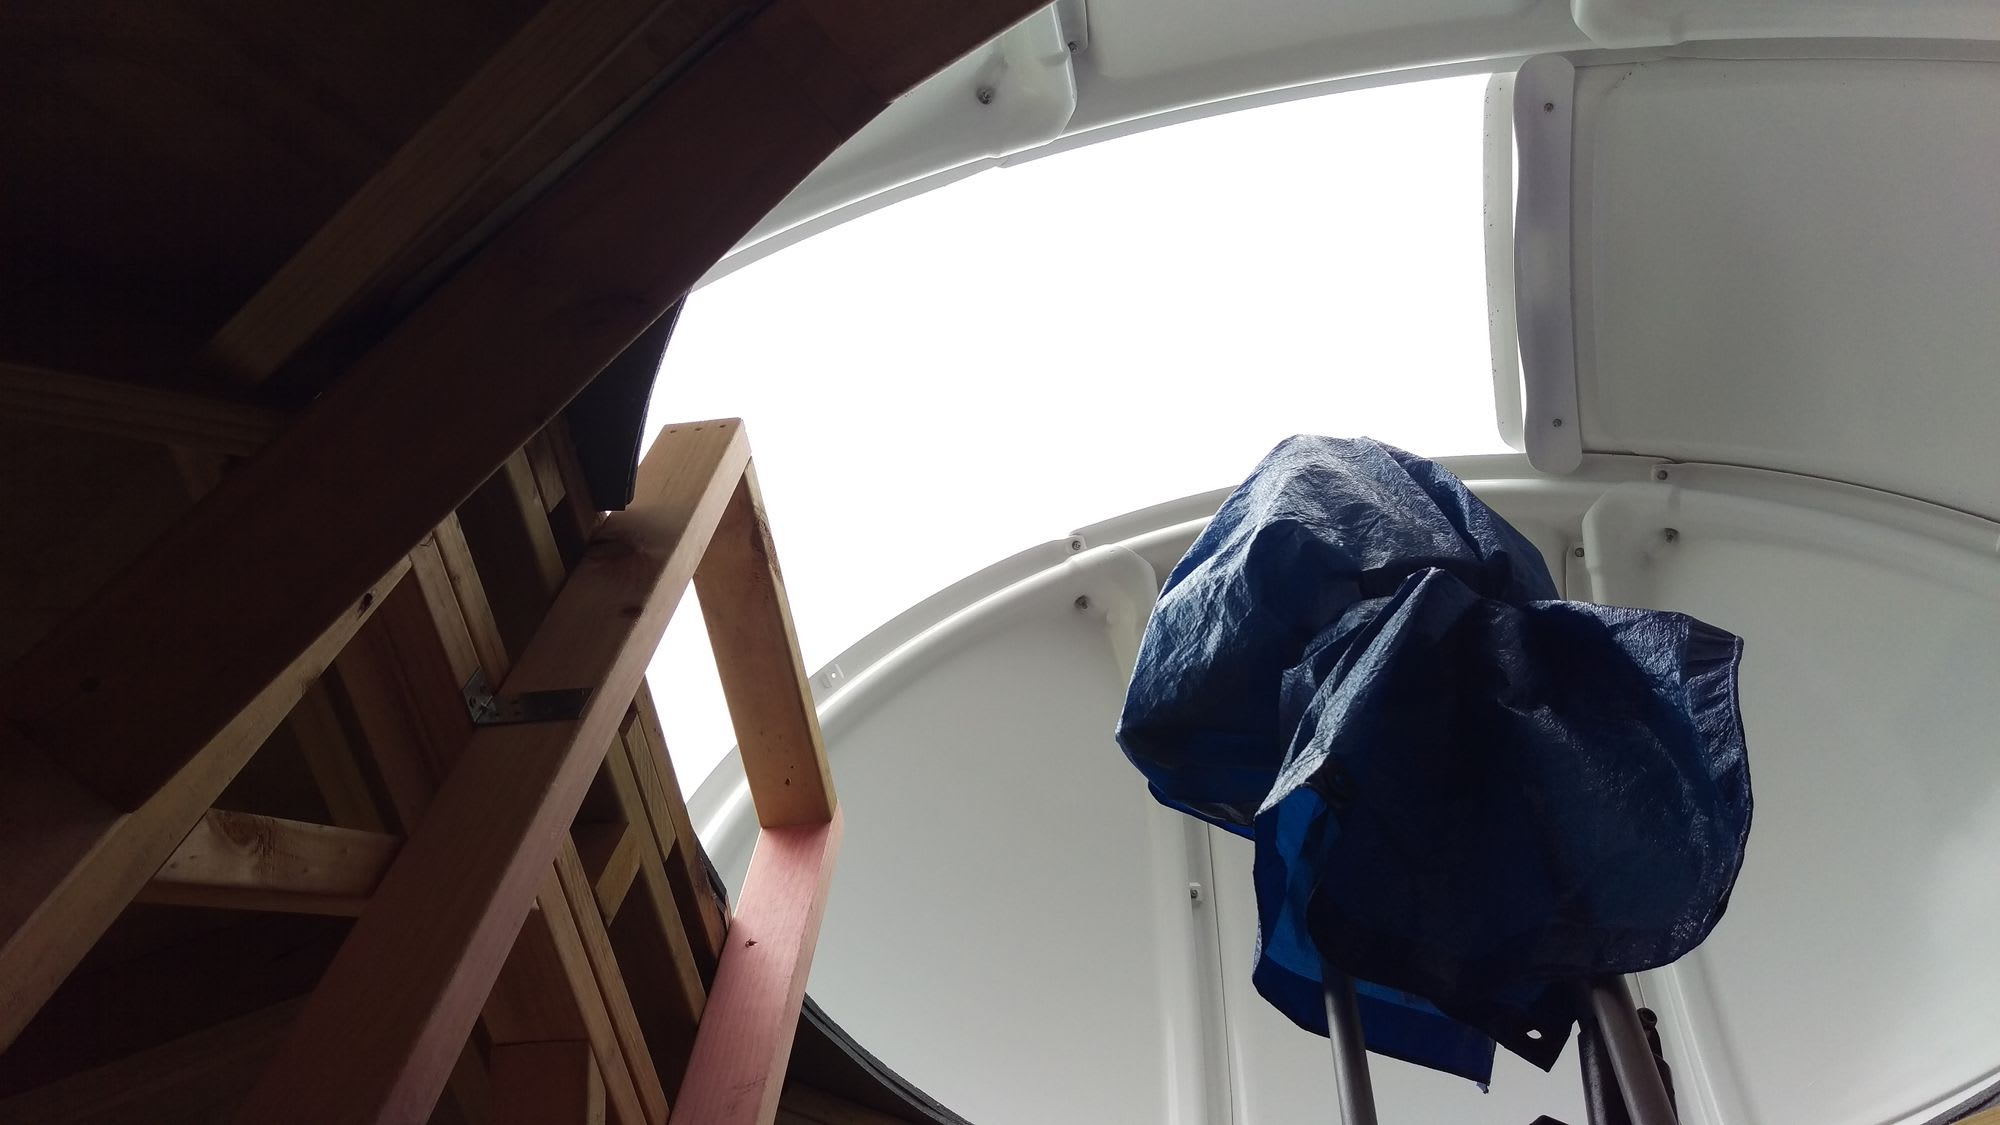
The NexDome is one of the cheapest astro domes out there but like everything in astro, it's not actually 'cheap'. That's why the first instinct after installing the damn thing is to make sure it isn't gonna blow away. When assembling the dome I made sure to secure a few flat metal braces (although I did need to bend them a bit to fit the shape of the wall - see above images) under the interior nuts on the lower walls so I could tie it down with something later. After humming and hah'ing over what material to tie it down with we settled on these springs. They're easy to connect/disconnect and provide a lot of force while still having a bit of give in them. Overall I think it's a good solution. I've got 4 in place around the dome which is probably overkill but I don't have to hook them all up if I don't feel like it. The NexDome is supposed to be able to handle some high winds just sitting freely on its own but knowing that it's tied down makes me a bit less anxious when the winds kick up.
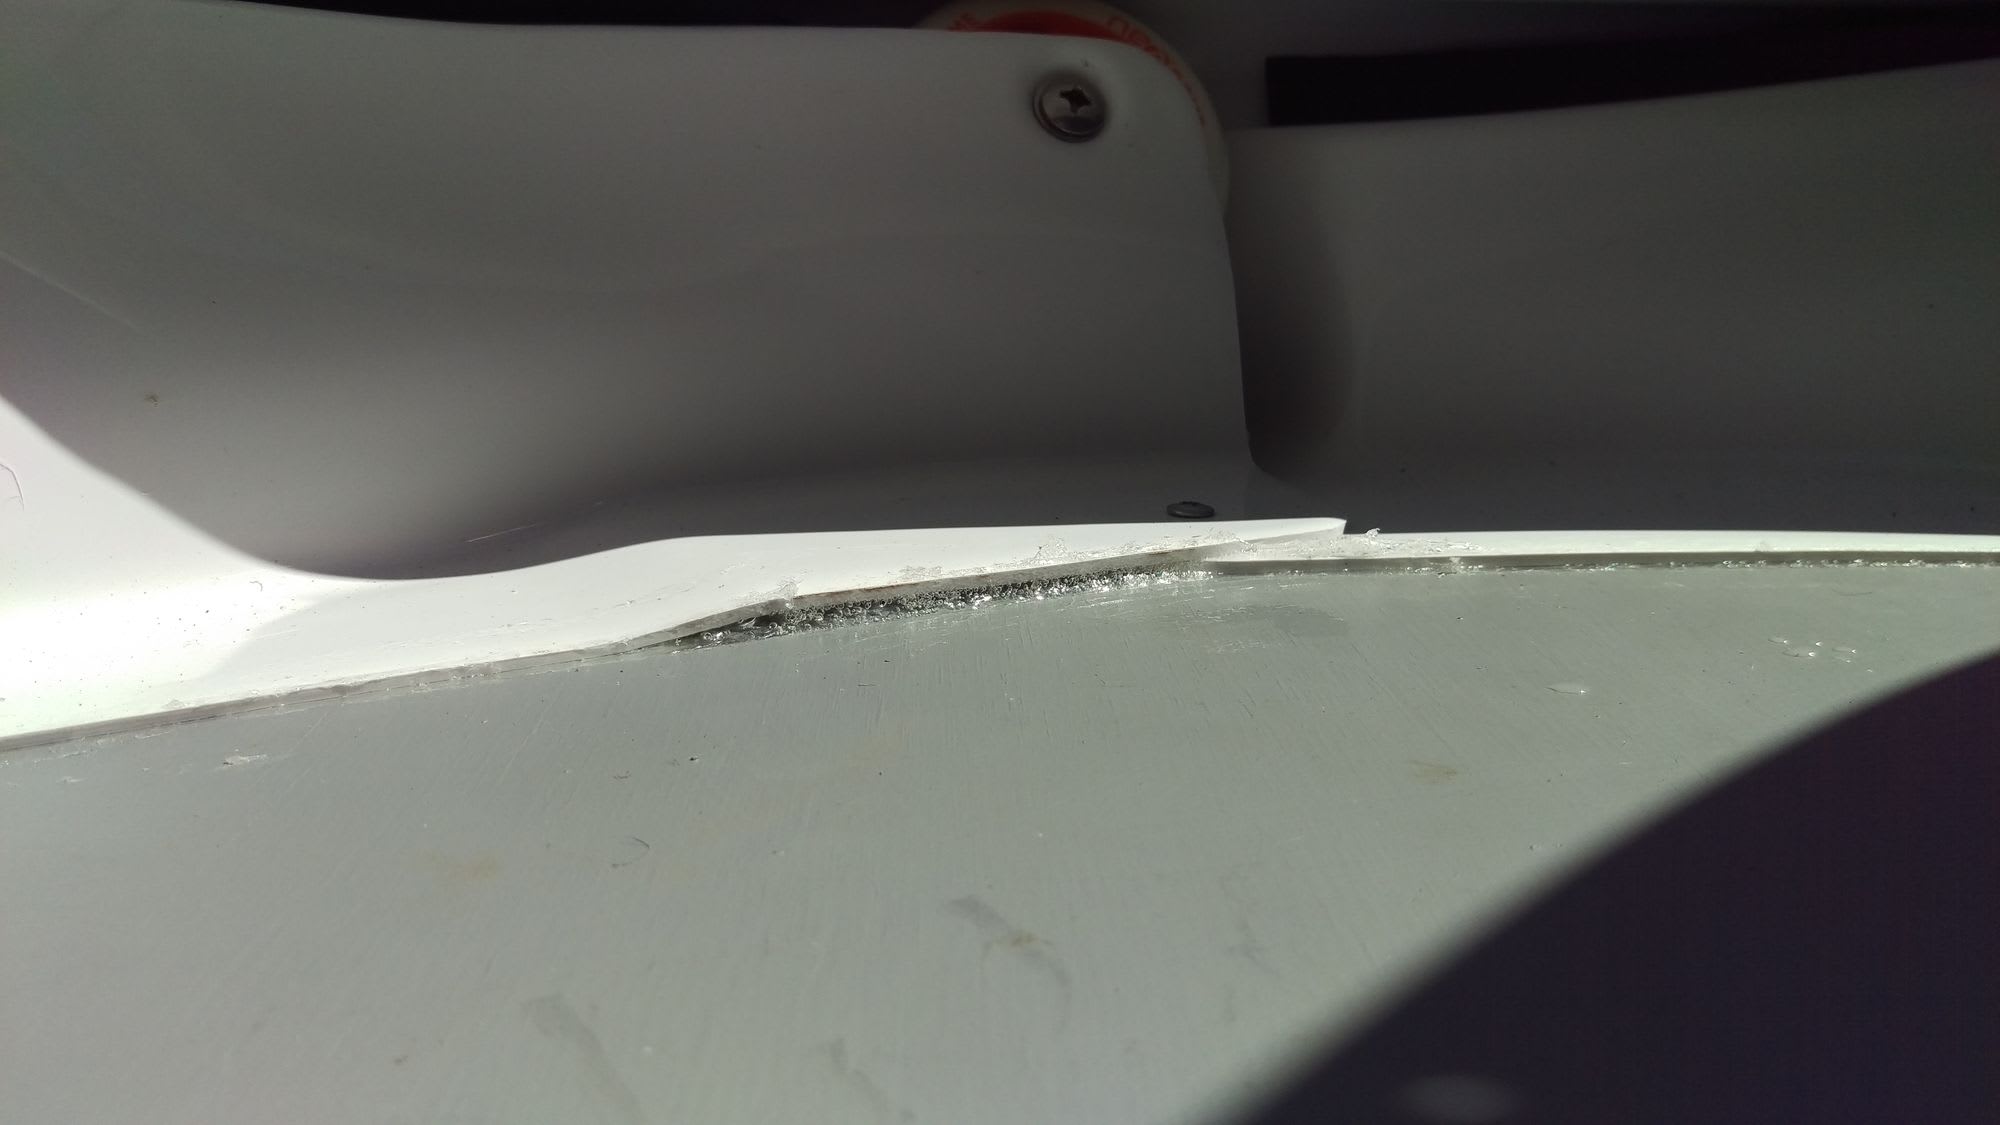
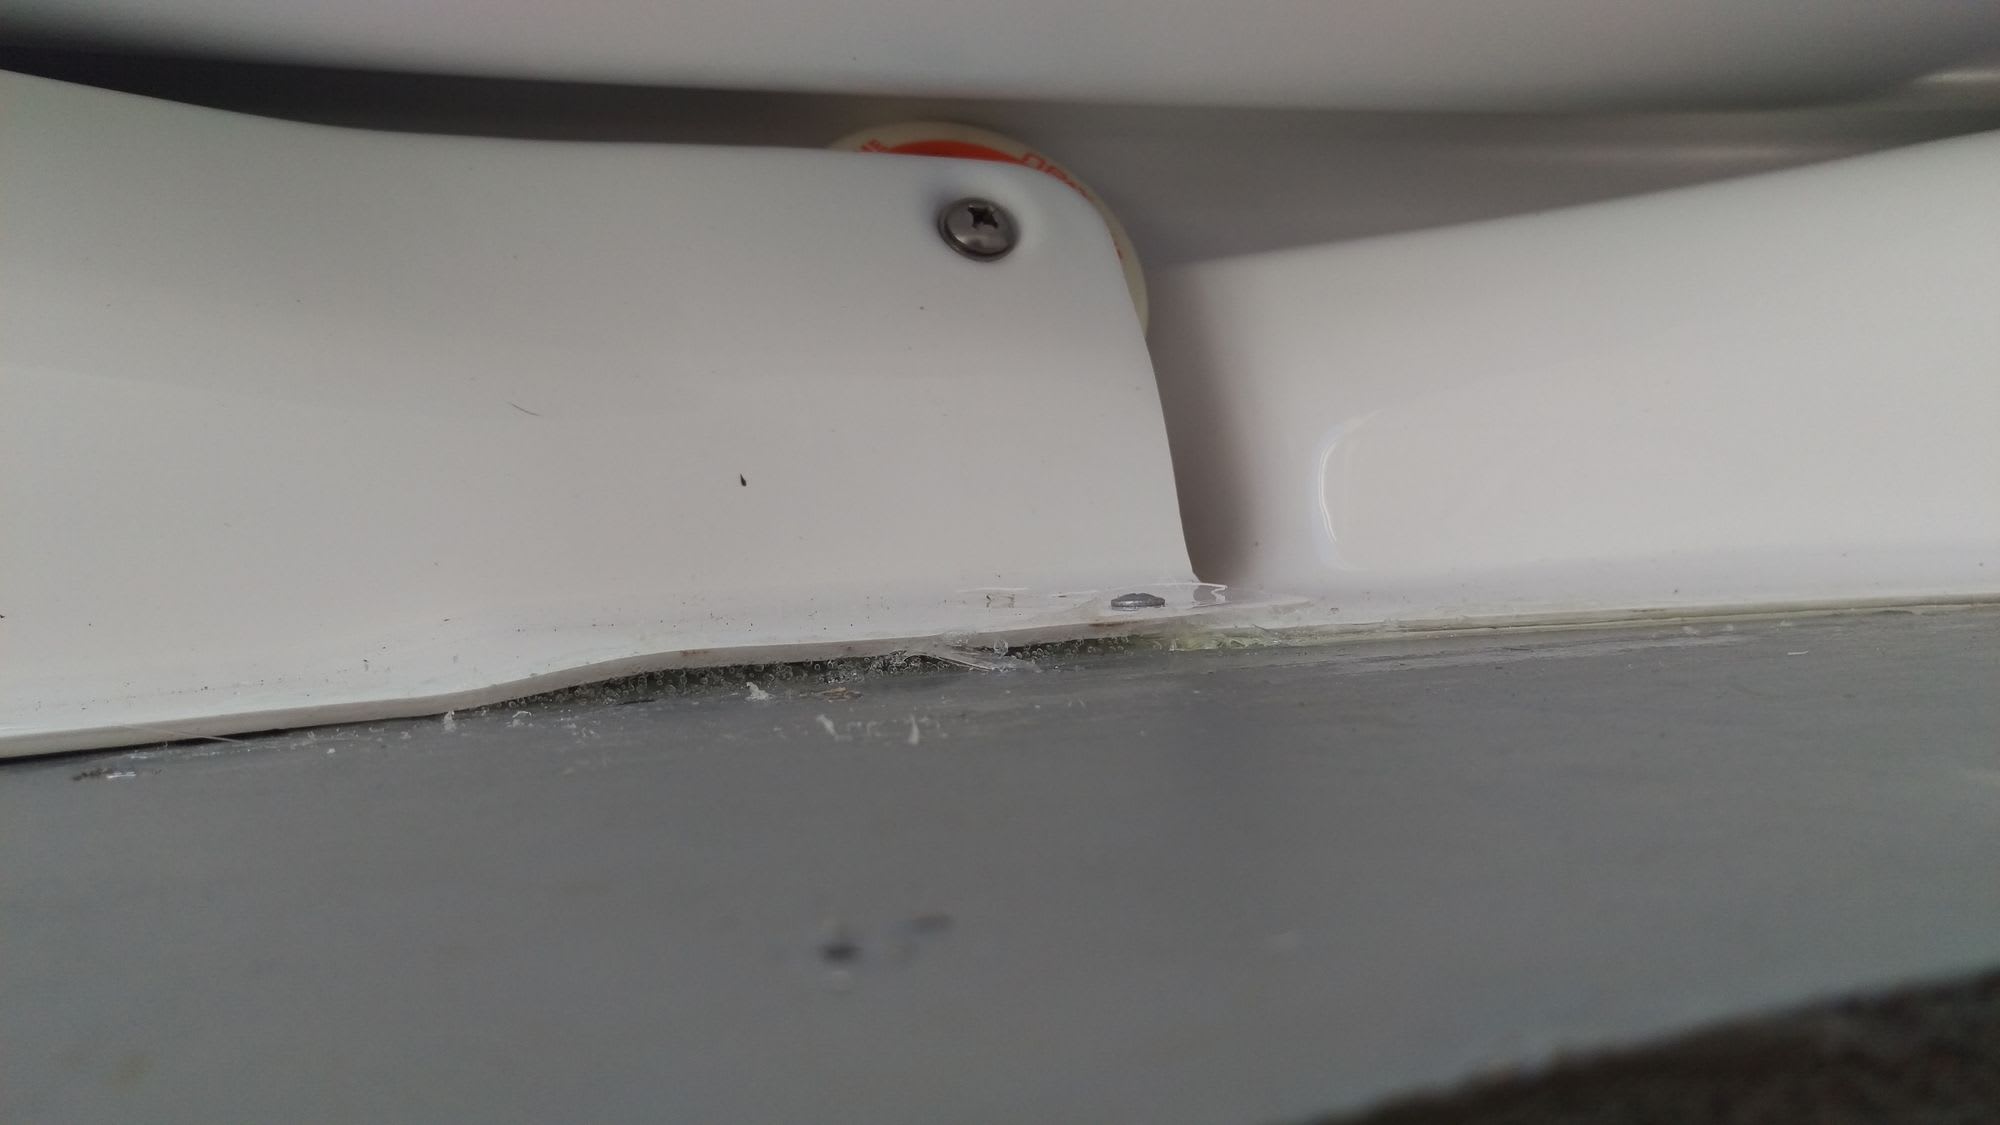
The bottom of the dome ring has a few gaps where the base of its segments interlock. It's possible water could blow underneath in sufficiently high winds so we applied a bit of sealant to these locations.
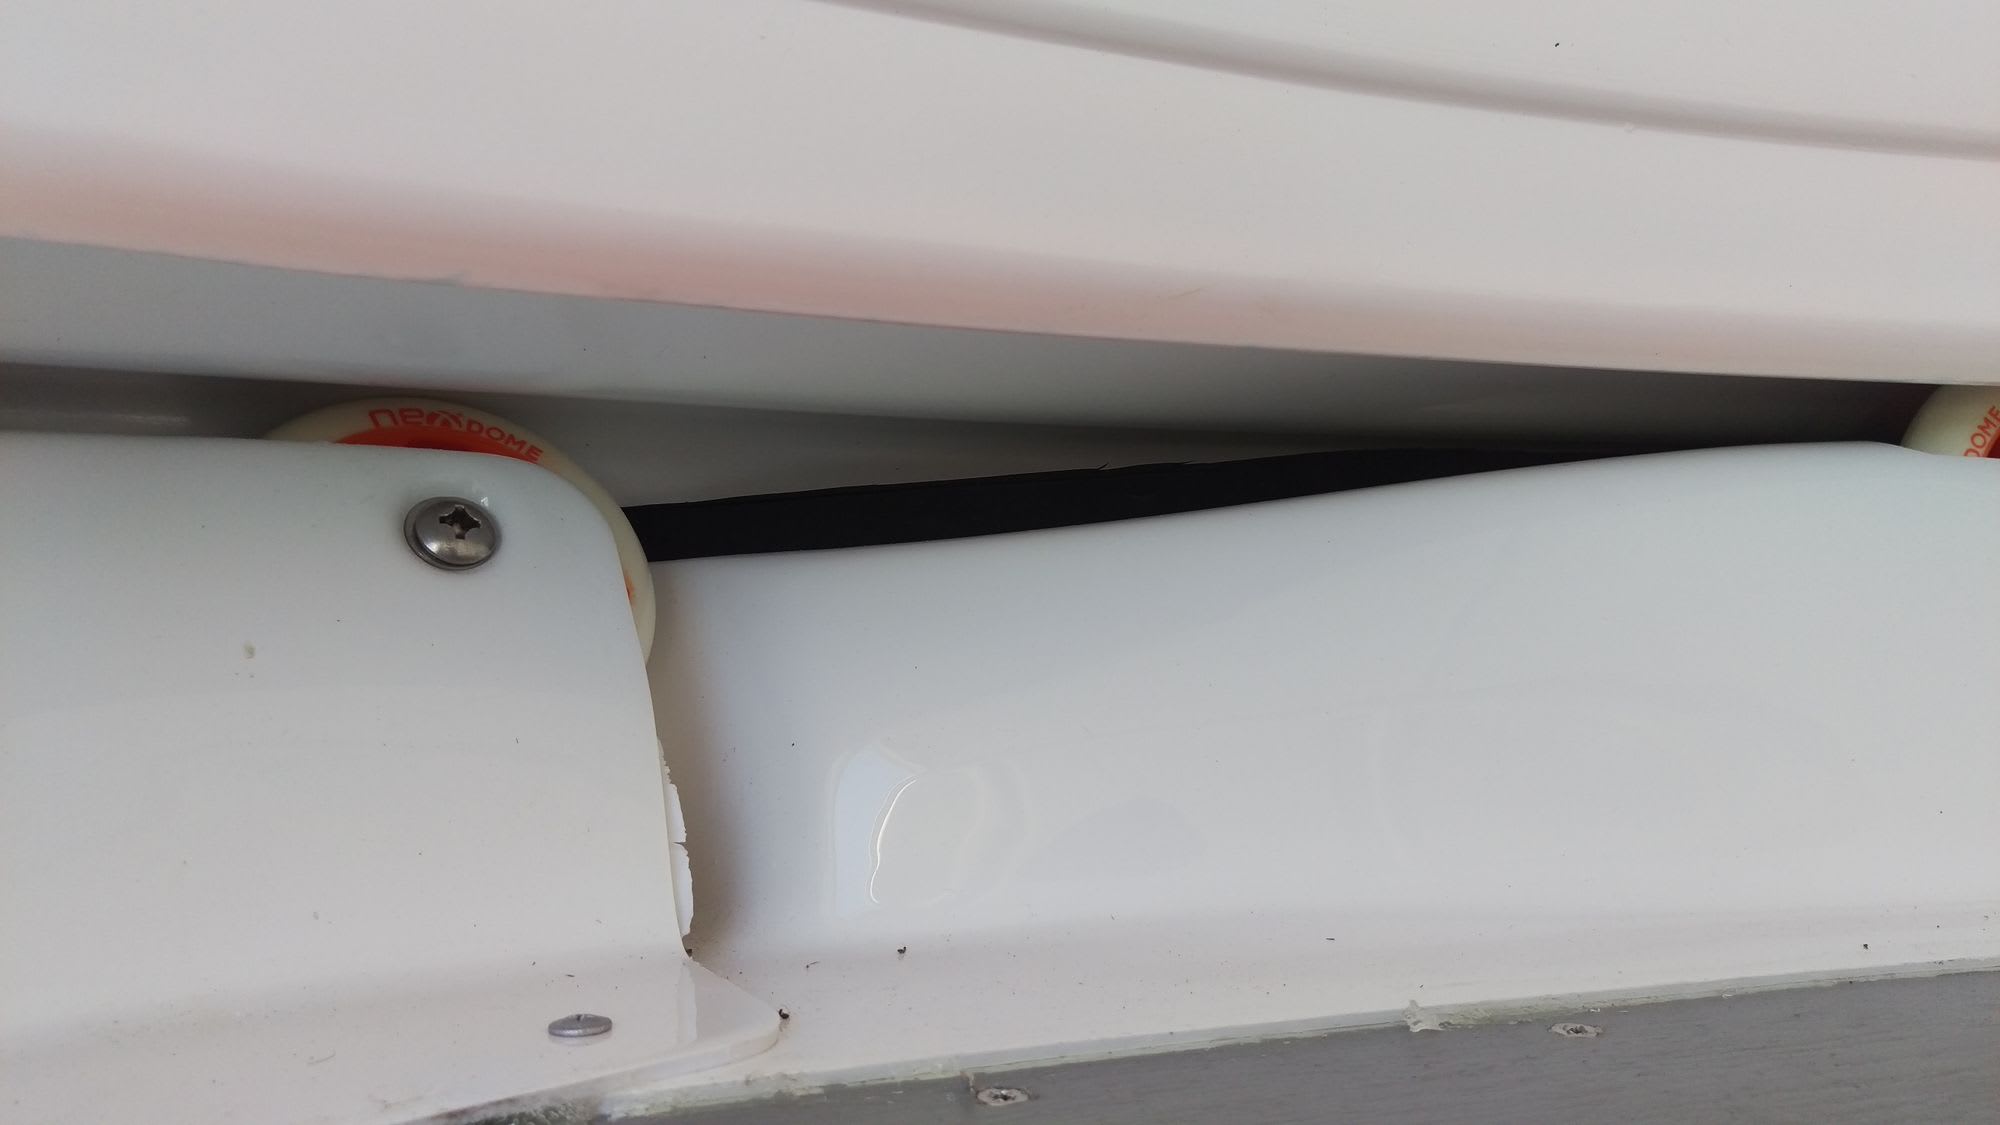
The sealant would only stop water coming into the interior though. It's still possible water could blow under the dome ring then sit on the wooden ring which wouldn't be ideal. To prevent this we stapled some waterproof foam material to the edge of the wooden ring then pulled it up as far as we could between the bottom of the dome and the ring. It doesn't interfere with the motion of the dome and will serve it's purpose although I'm not sure how long the material will last. For now I'm just happy to see how it goes and deal with it in the future if it starts to wear out.
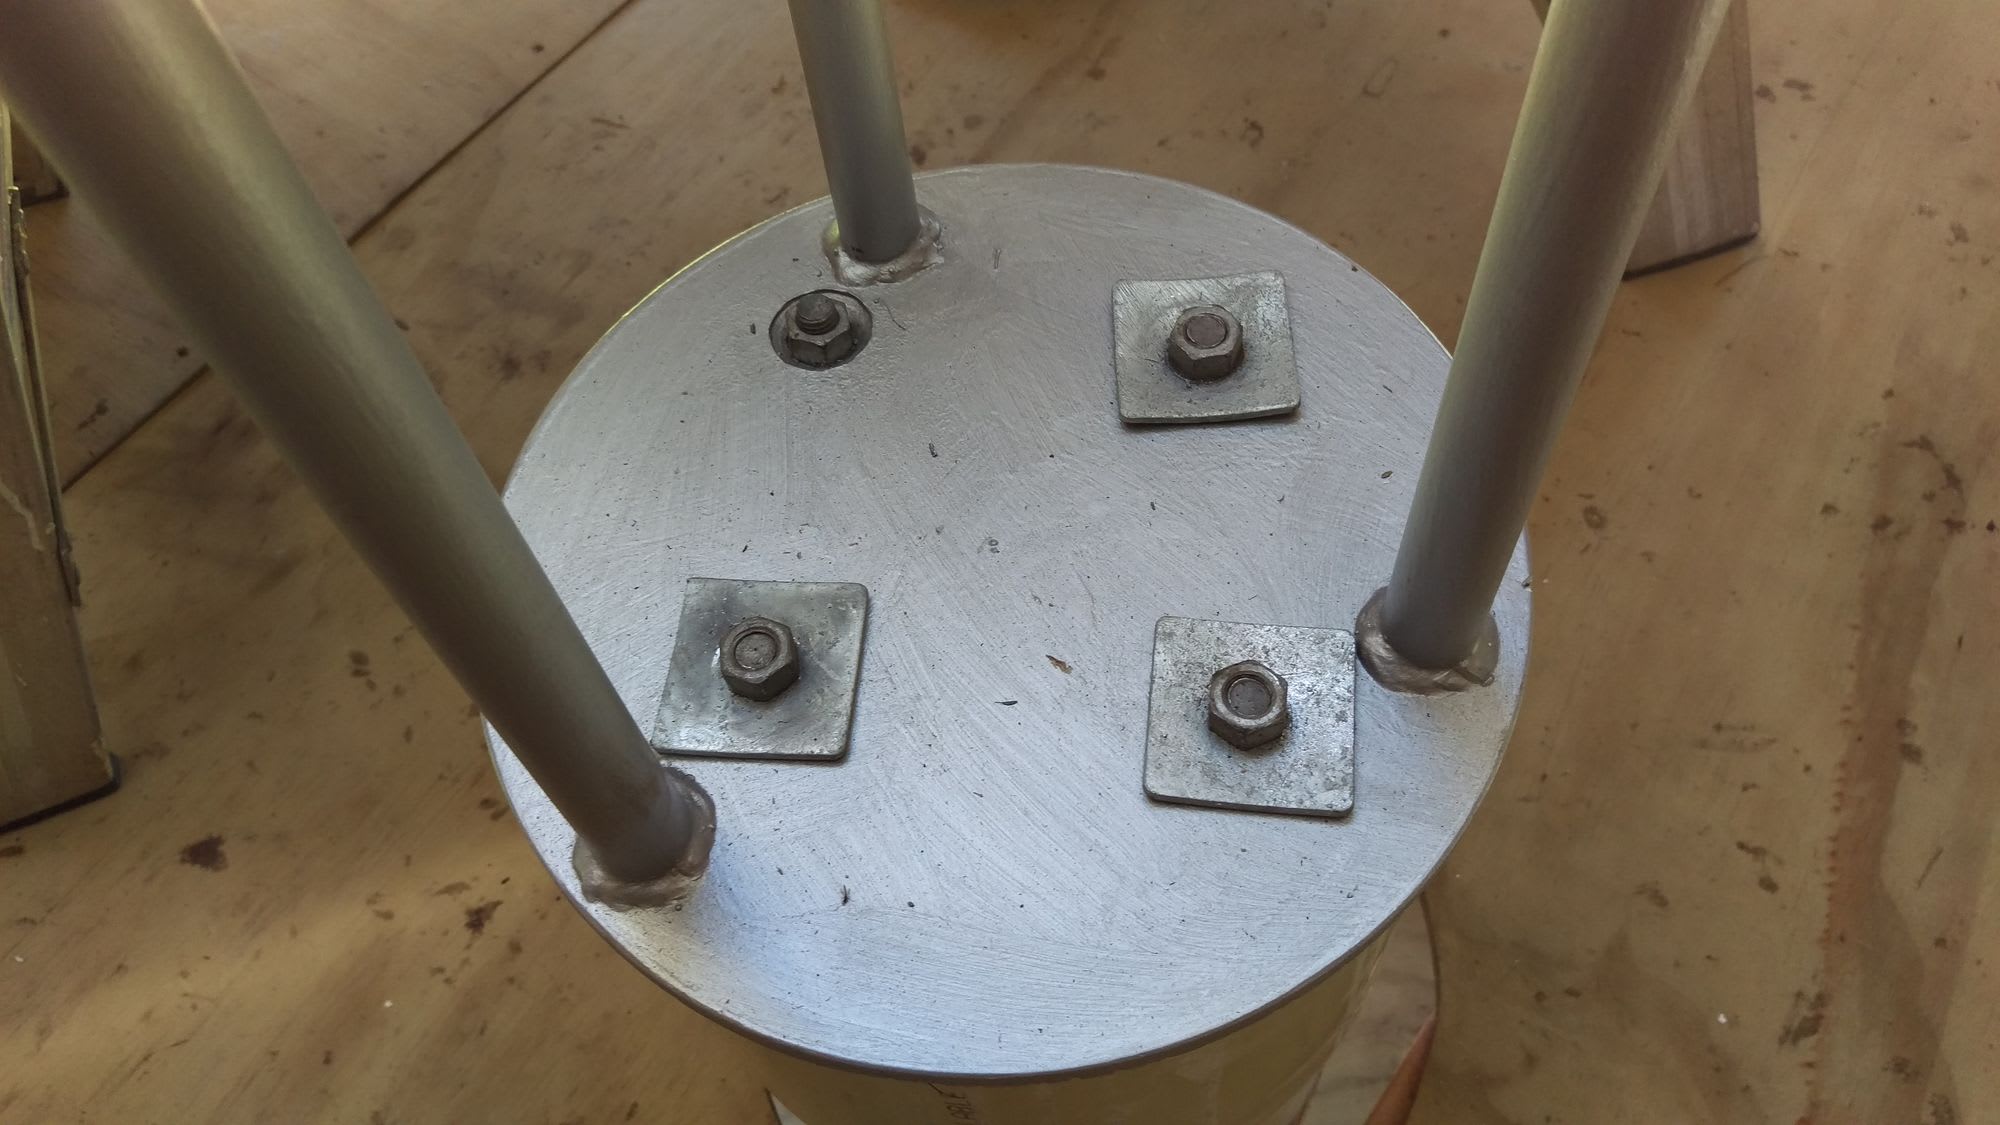
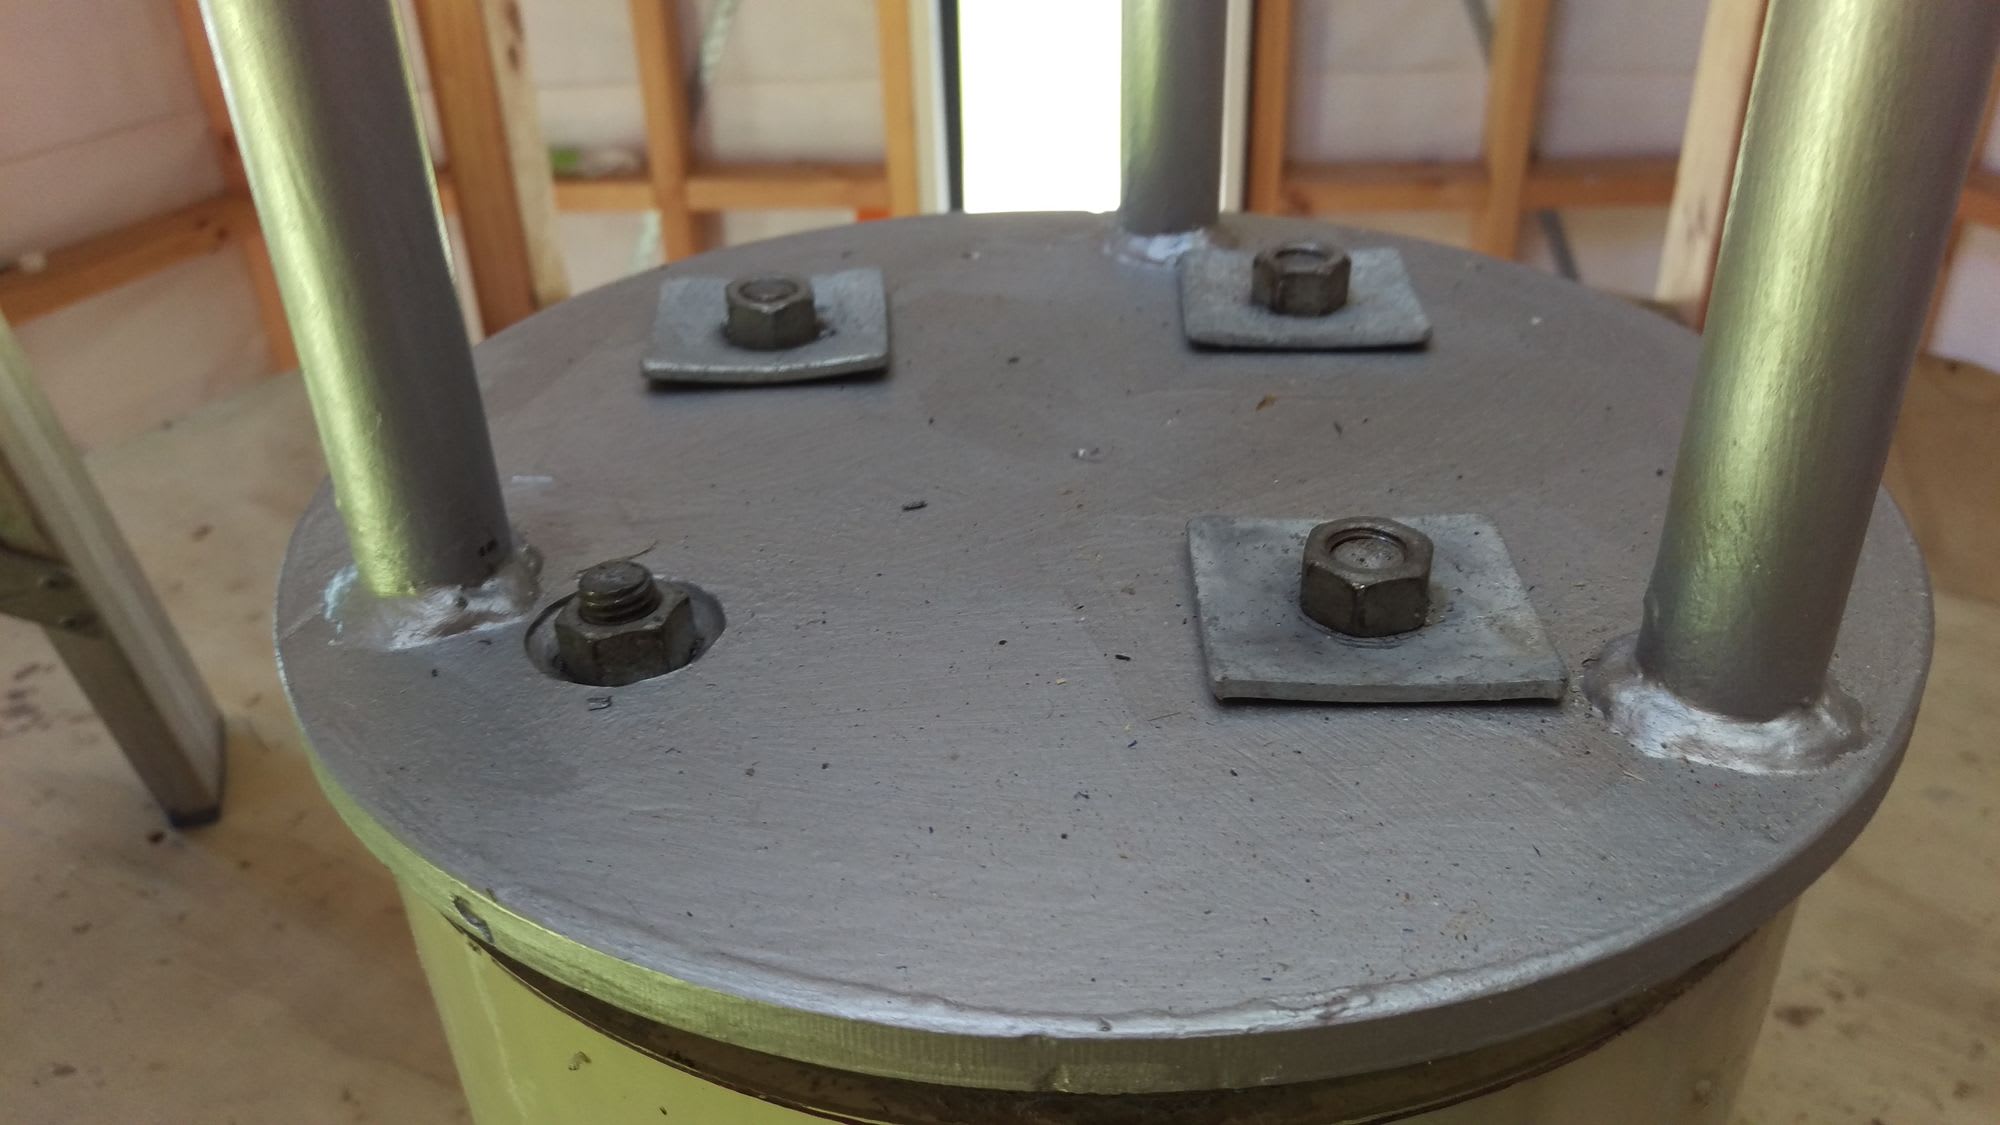
I was eager to get the pier into place and finally see how stable it would be once secured into place. The countersinks in the bottom plate are not flat so I've used some metal plates to give the nuts a better contact area. You can see from the curving of the plates that I've got them pretty damn tight. It took a bit of time but it's level at the bottom too. In future I might fill in the area below the bottom plate to add more stability. Not sure with what material though - maybe more concrete? Will see how it goes for now though.
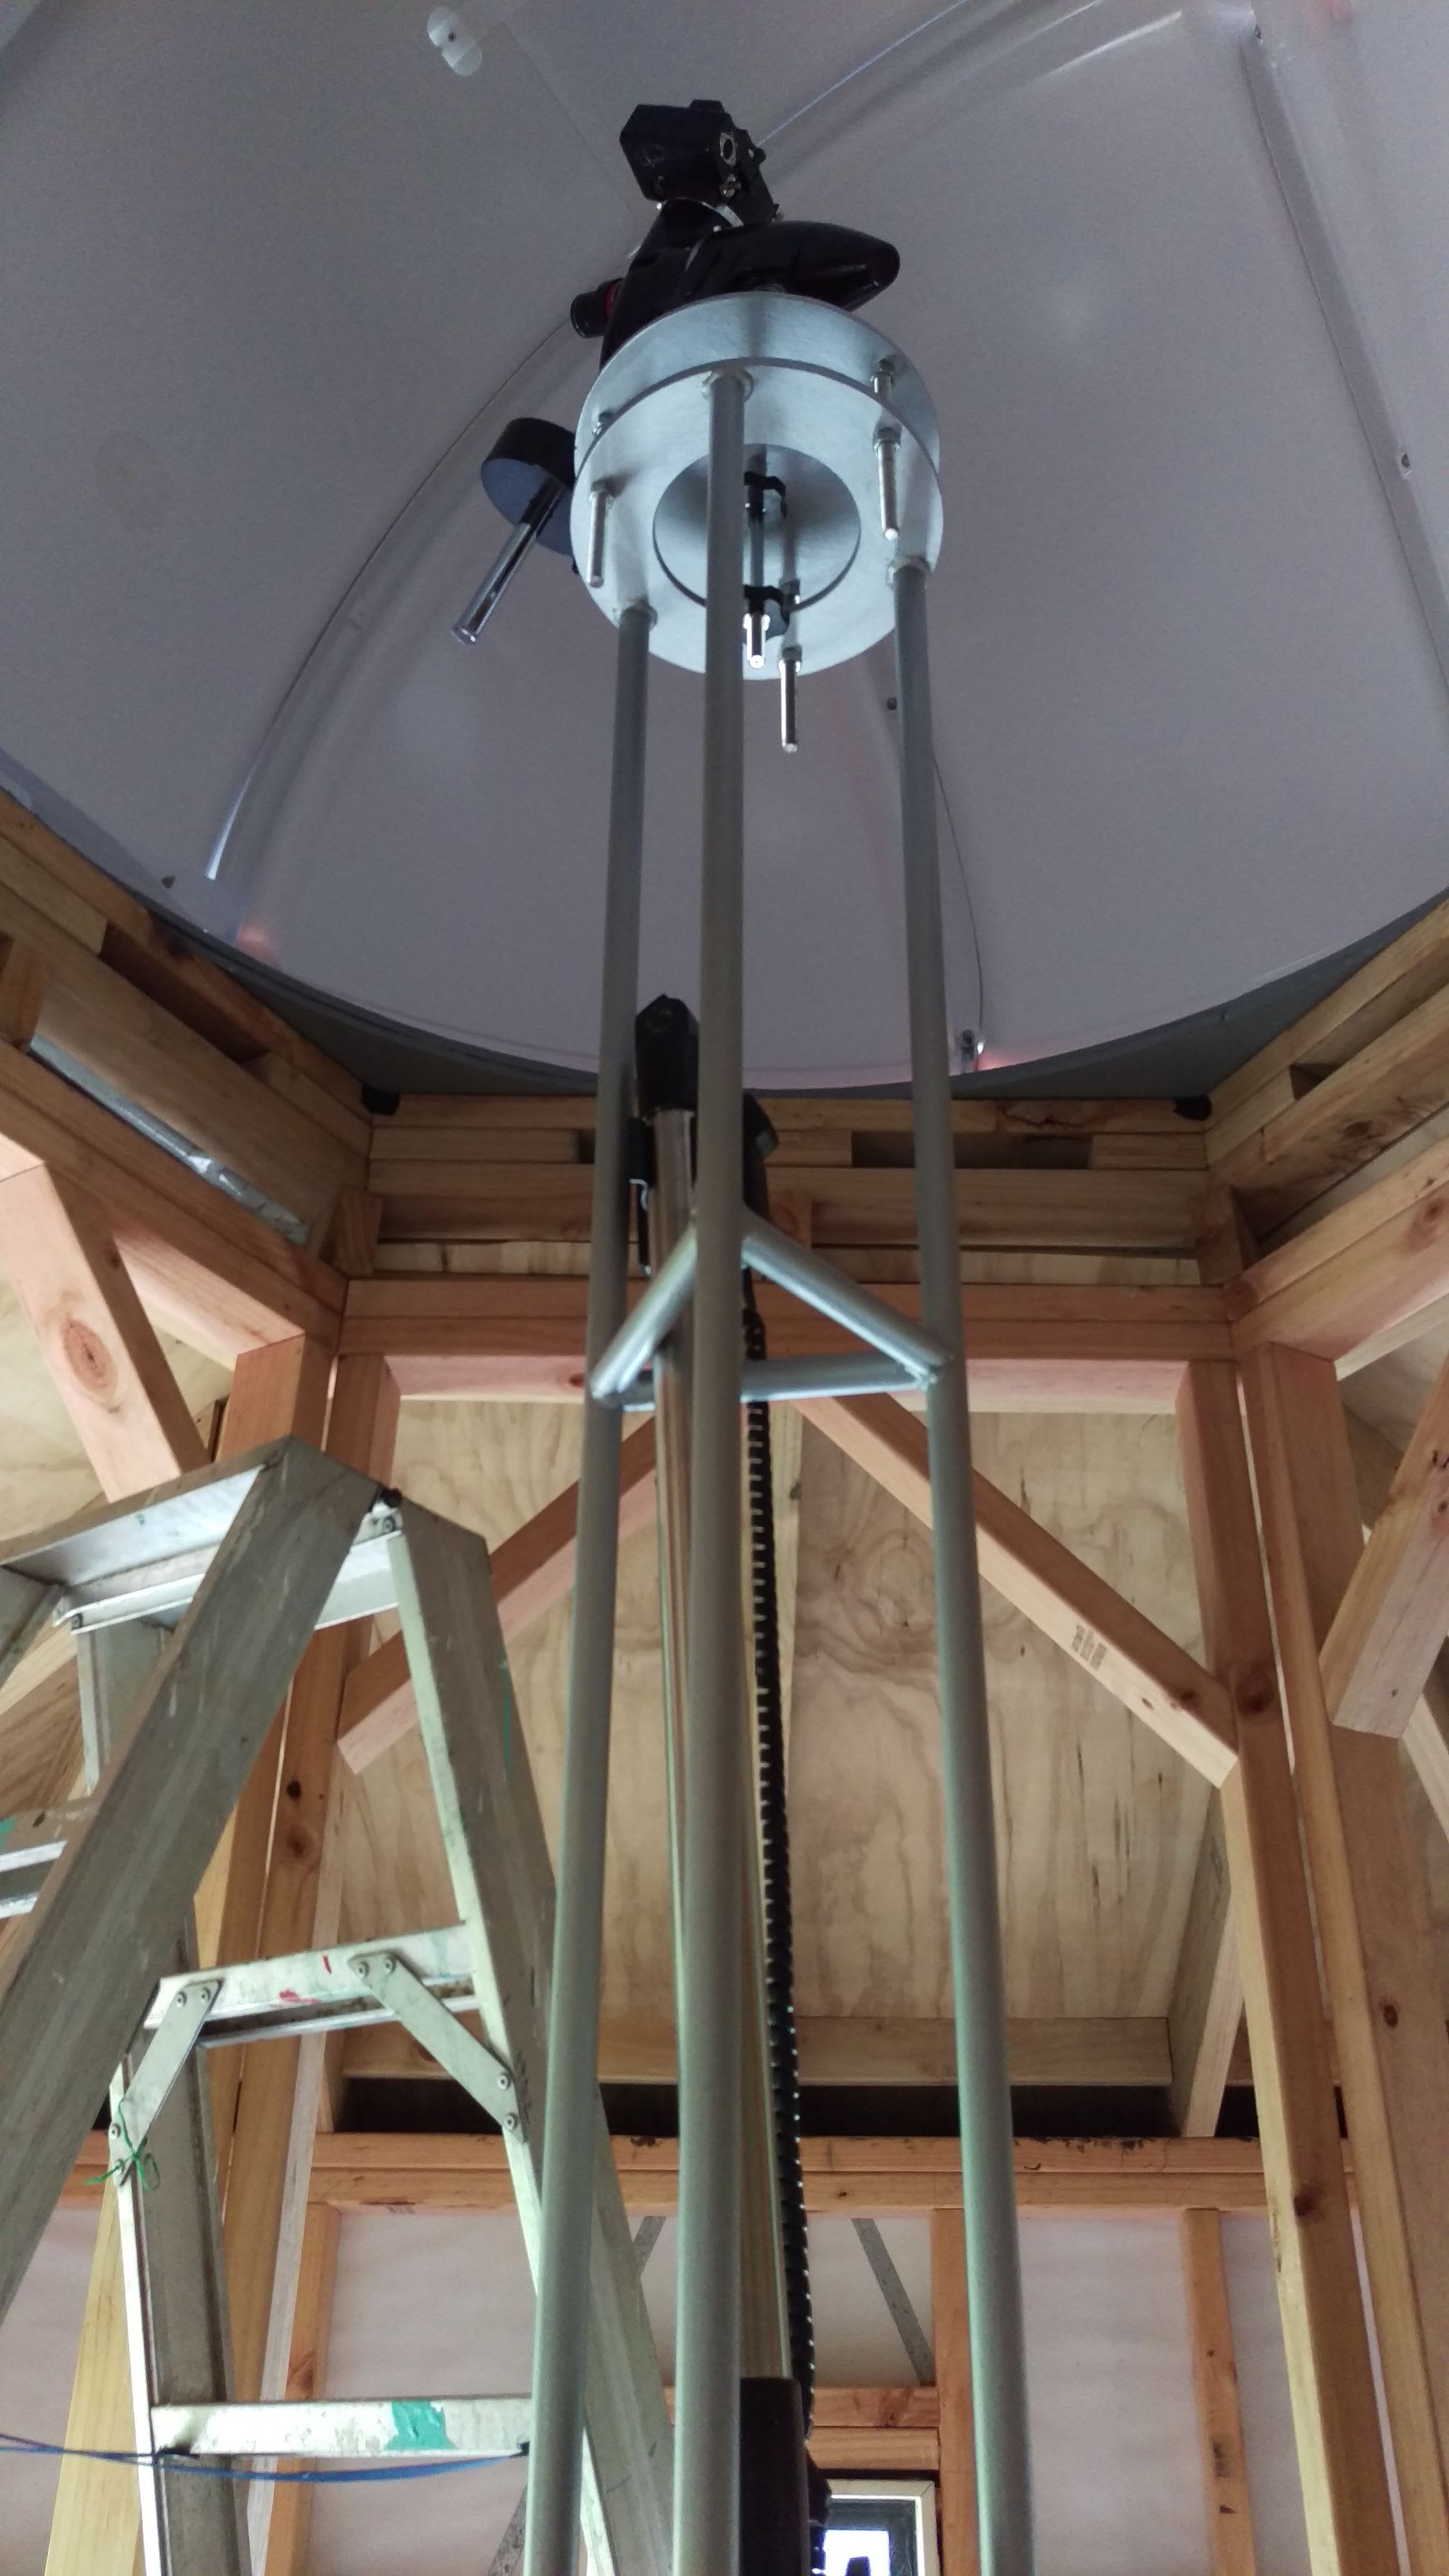
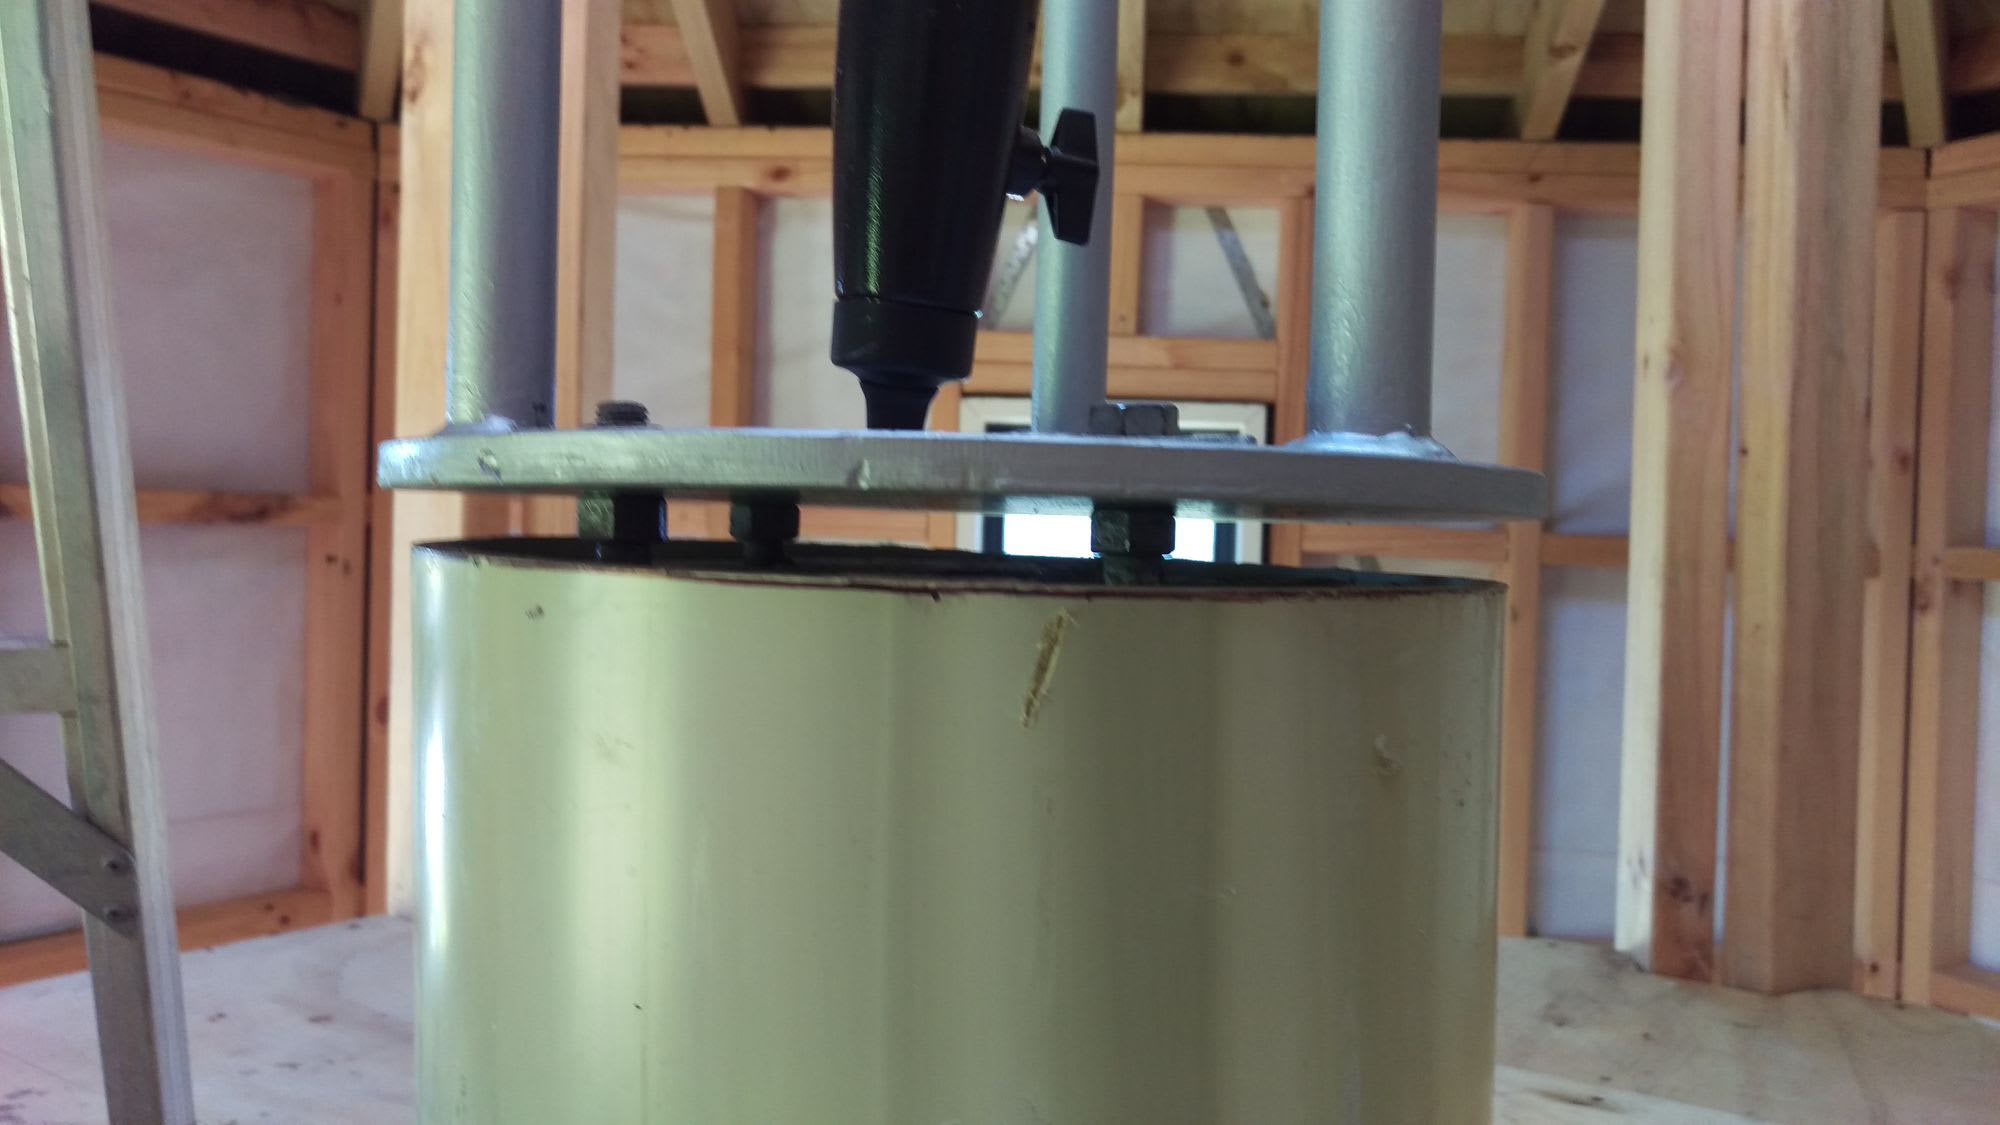
It's a very tall pier so I've always been a bit concerned with how it would turn out but after initial installation I'm happy with how sturdy it feels. With the weight of my mount on top it does get a small wobble/vibration when bumped though. The pillar is isolated from the rest of the structure so I'm just hoping and praying that everything will be fine as long as I don't bump it while it's in use! The viability of this structure as an observatory really will come down to whether the pillar and pier fulfill their role effectively. This factor does weigh on my mind a bit and it won't be dispelled until I can finally do some guided astrophotography.
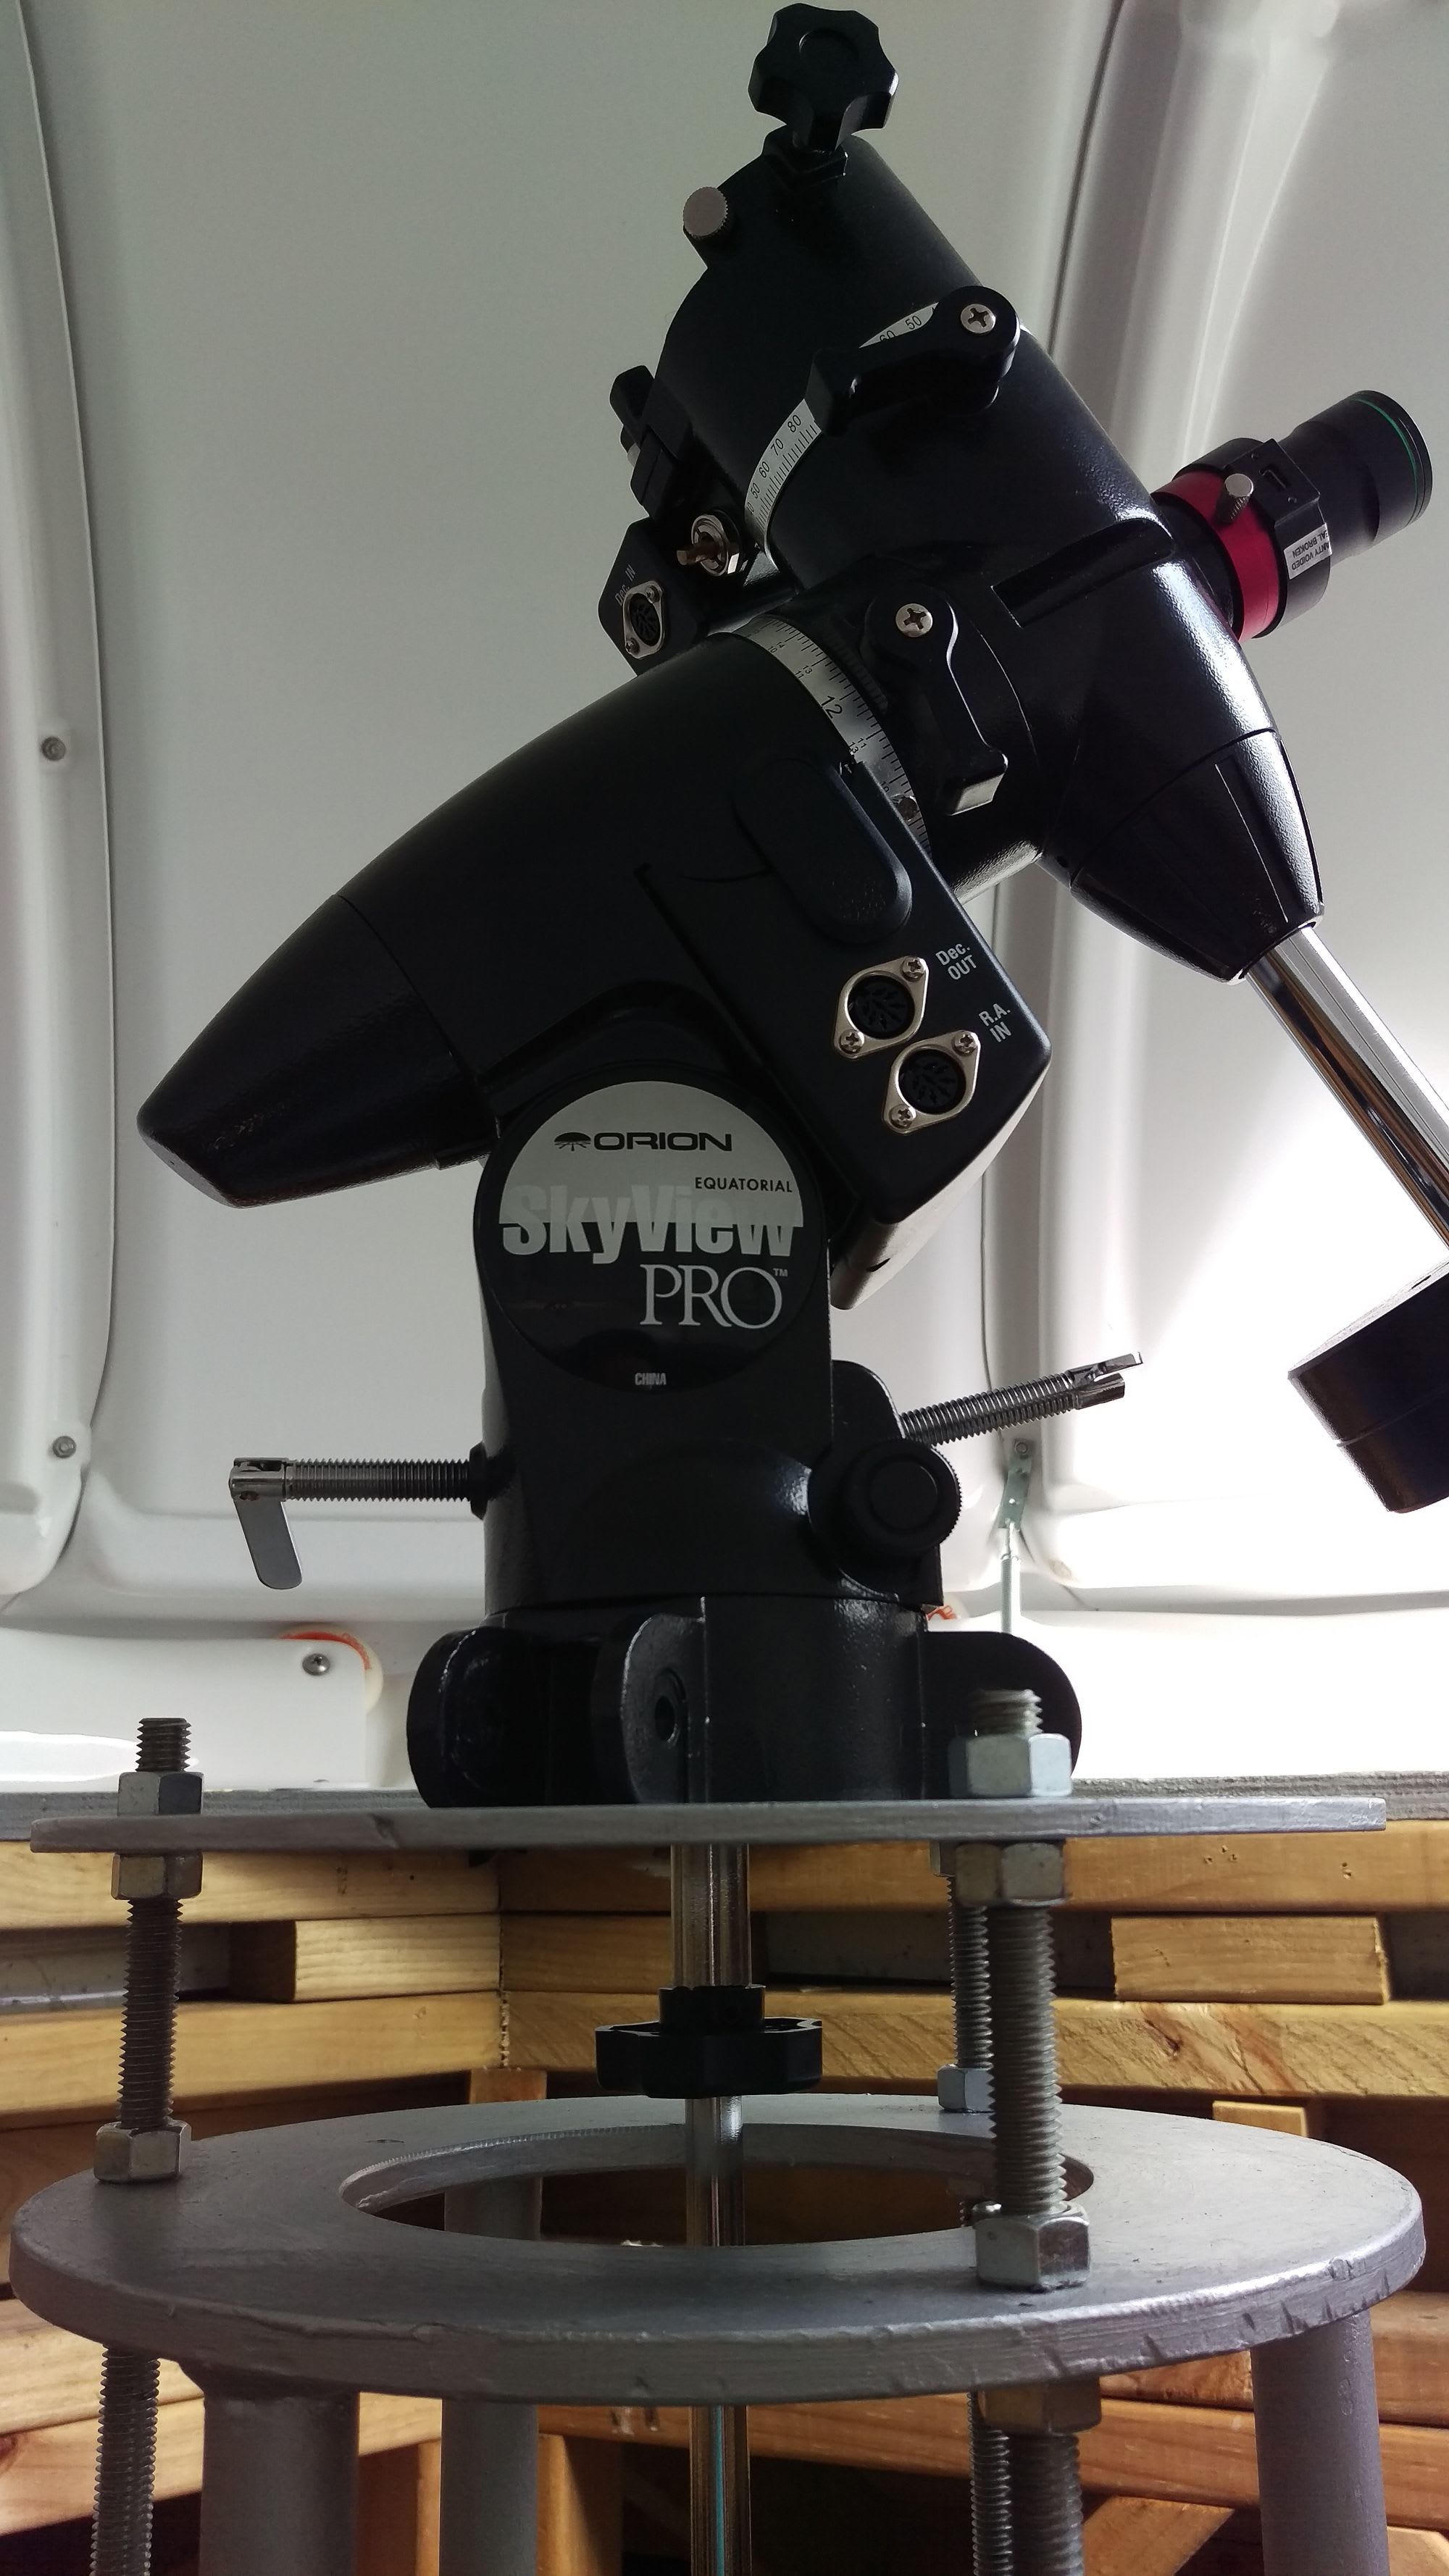
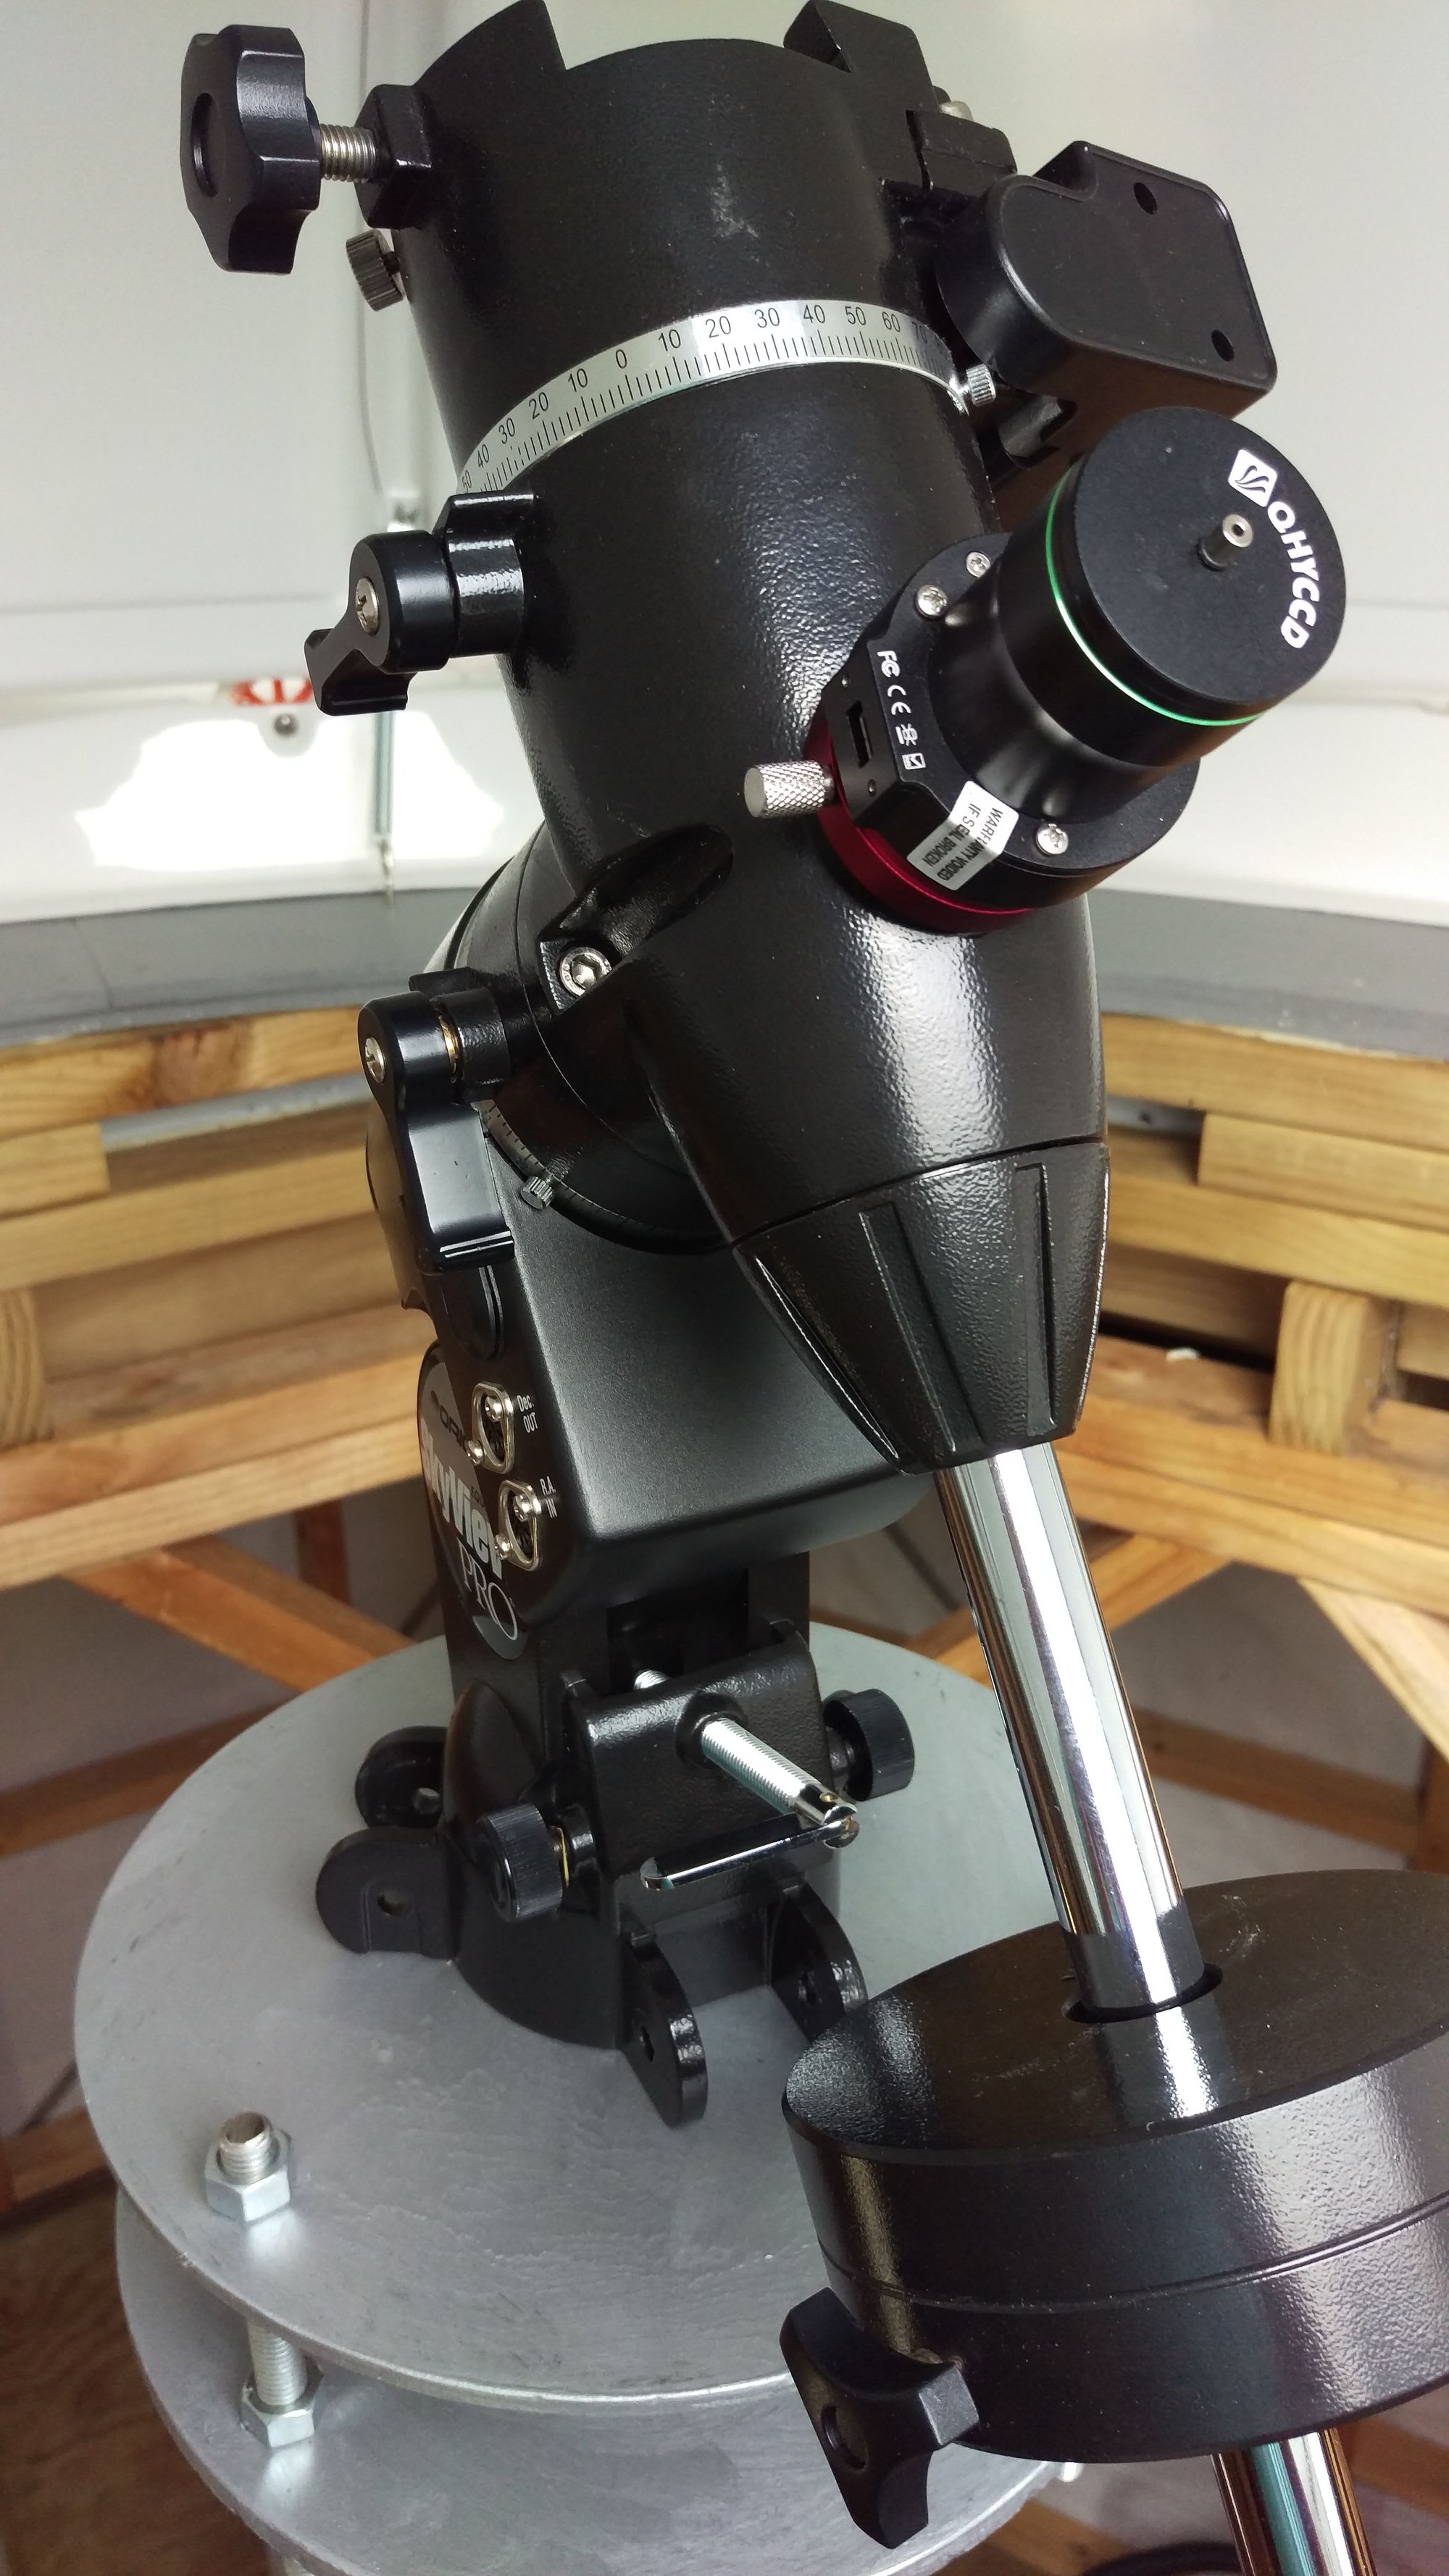
I don't actually have a pier adapter plate for my mount so I'm just using the the top of it's tripod. It's not secured to the pier top plate beyond the central rod that's screwed in pretty snugly so it could potentially rotate but not without the application of at least a little force (like from an inadvertent bump). After the initial polar alignment I will be rechecking it semi regularly just to be sure it's not moving somehow.
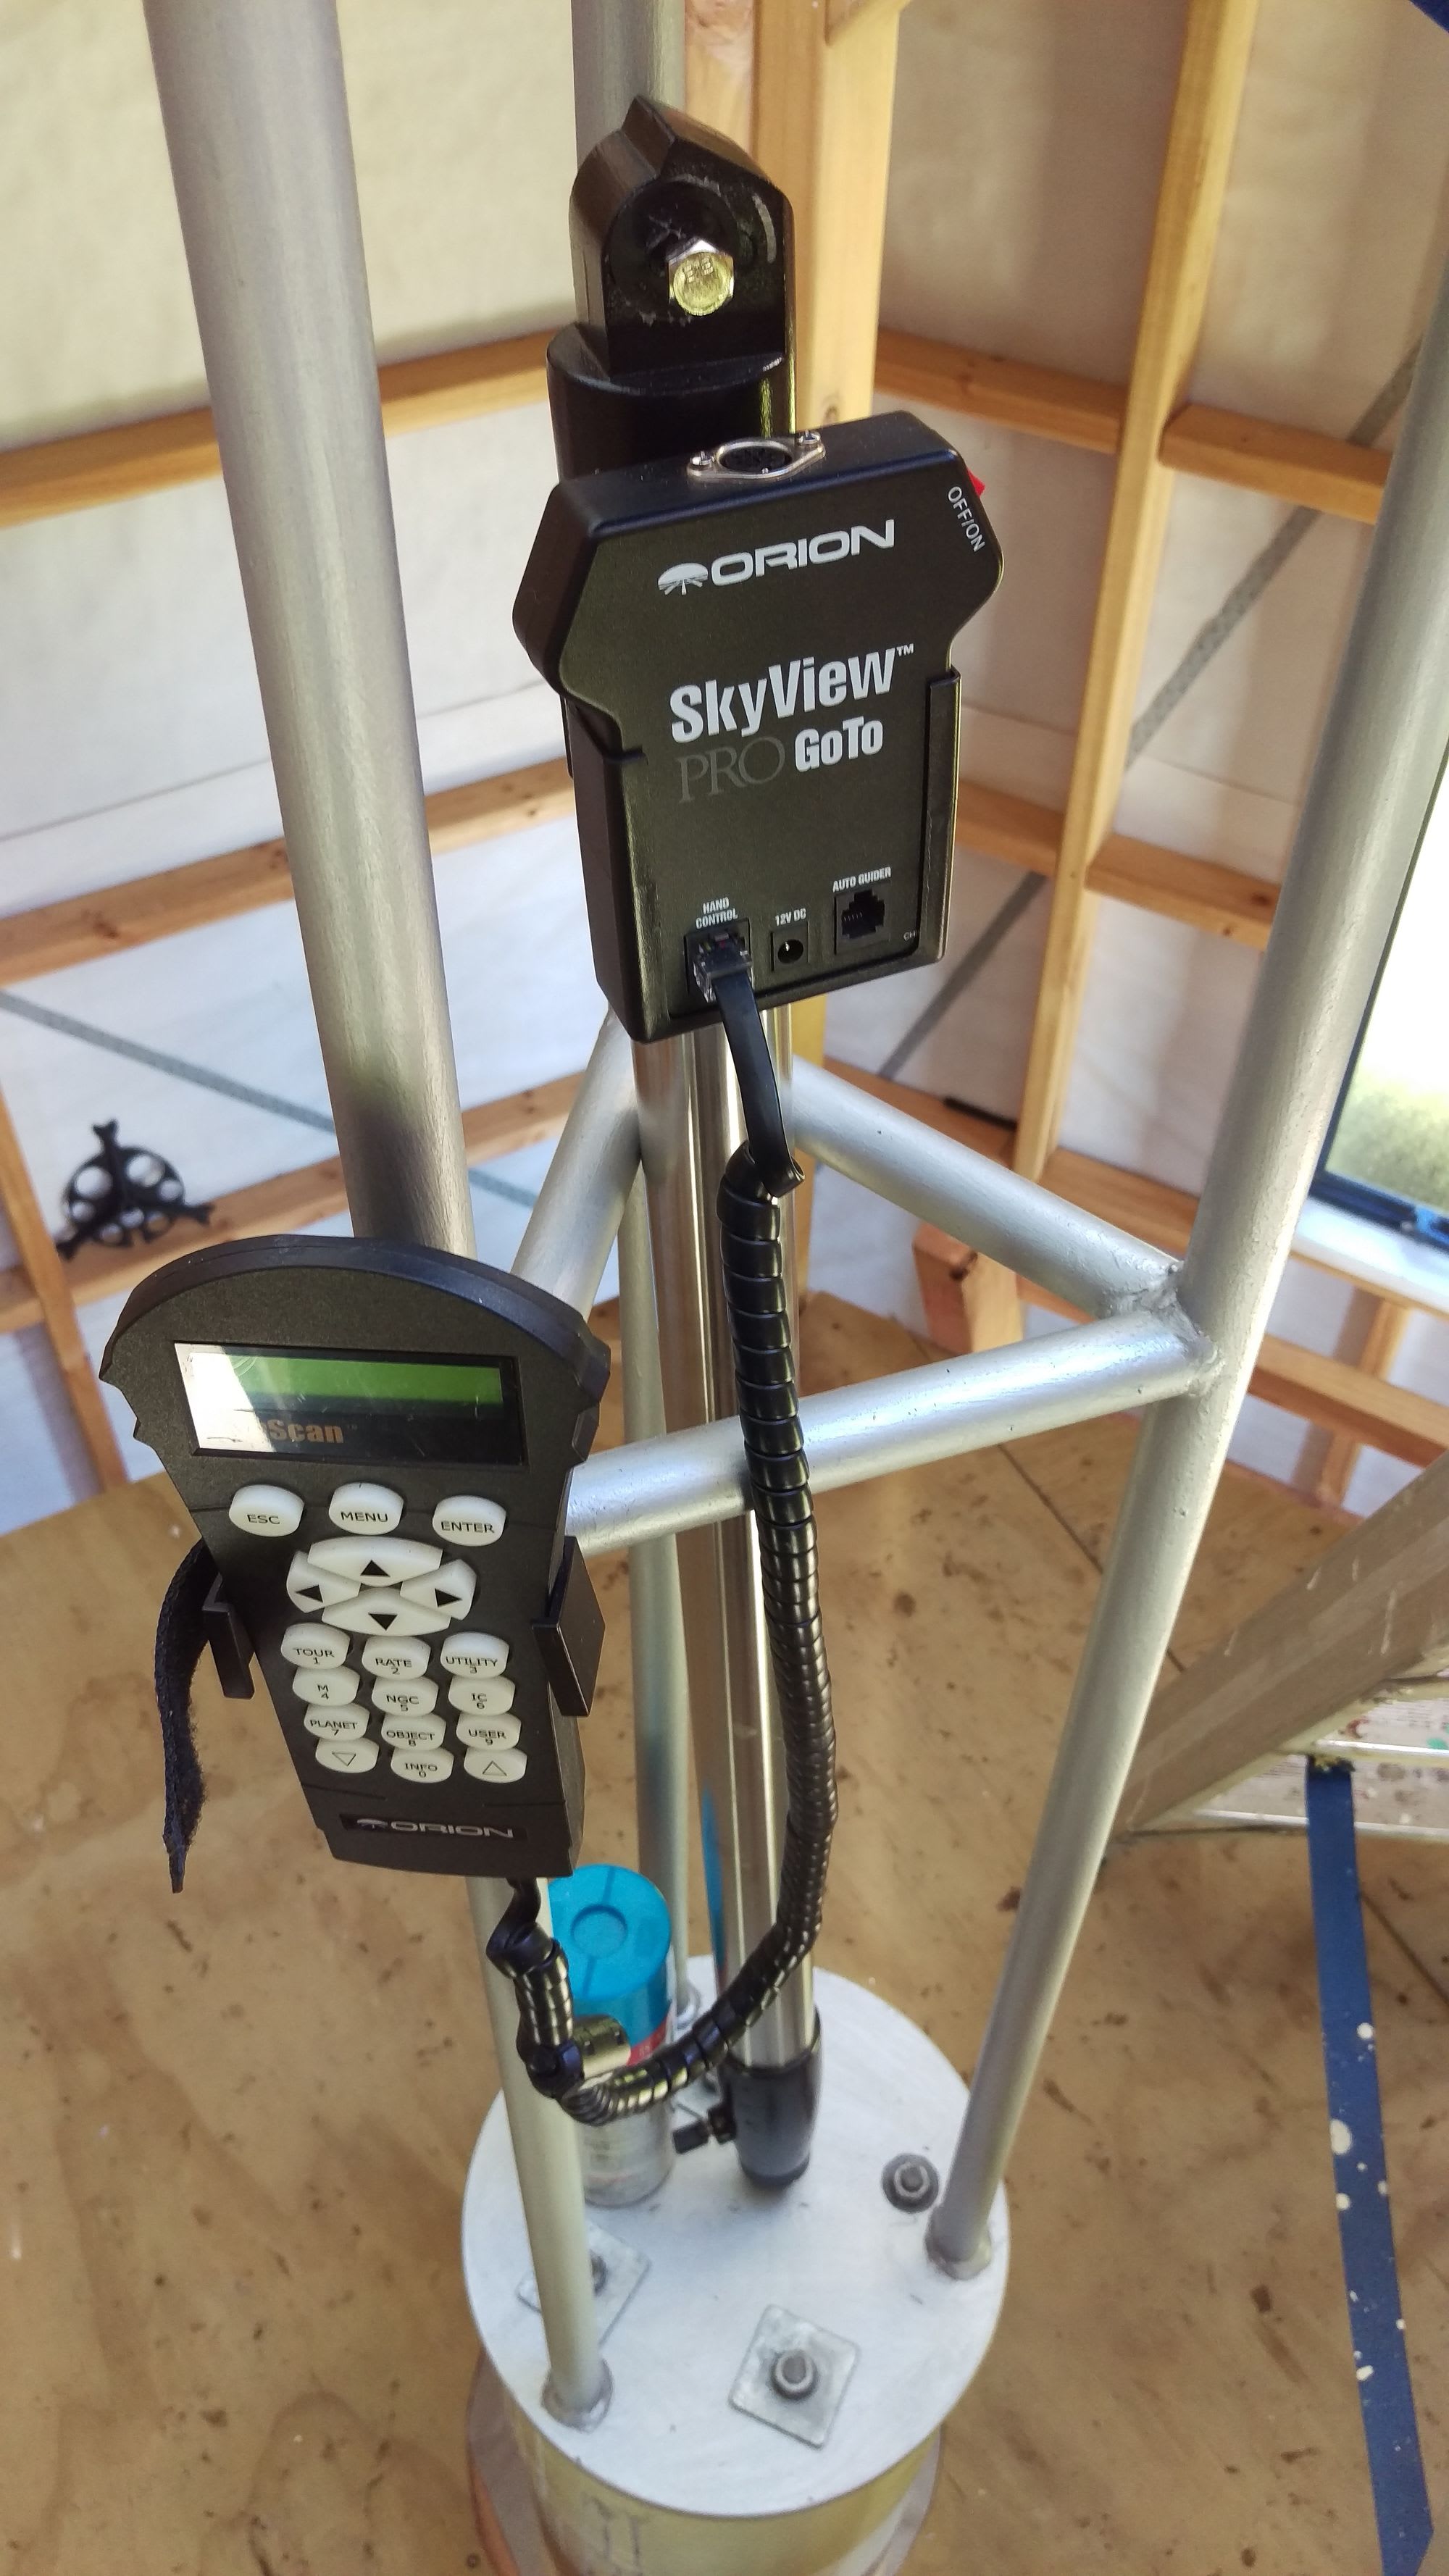
Not sure where to fix the hand controller and junction box but this will do for now. Turns out the tripod leg leaves them at a height which is comfortable to use. I'm also realising now that cable management will be awkward with such a tall pier so I'm still thinking about how I'm going to lay everything out.

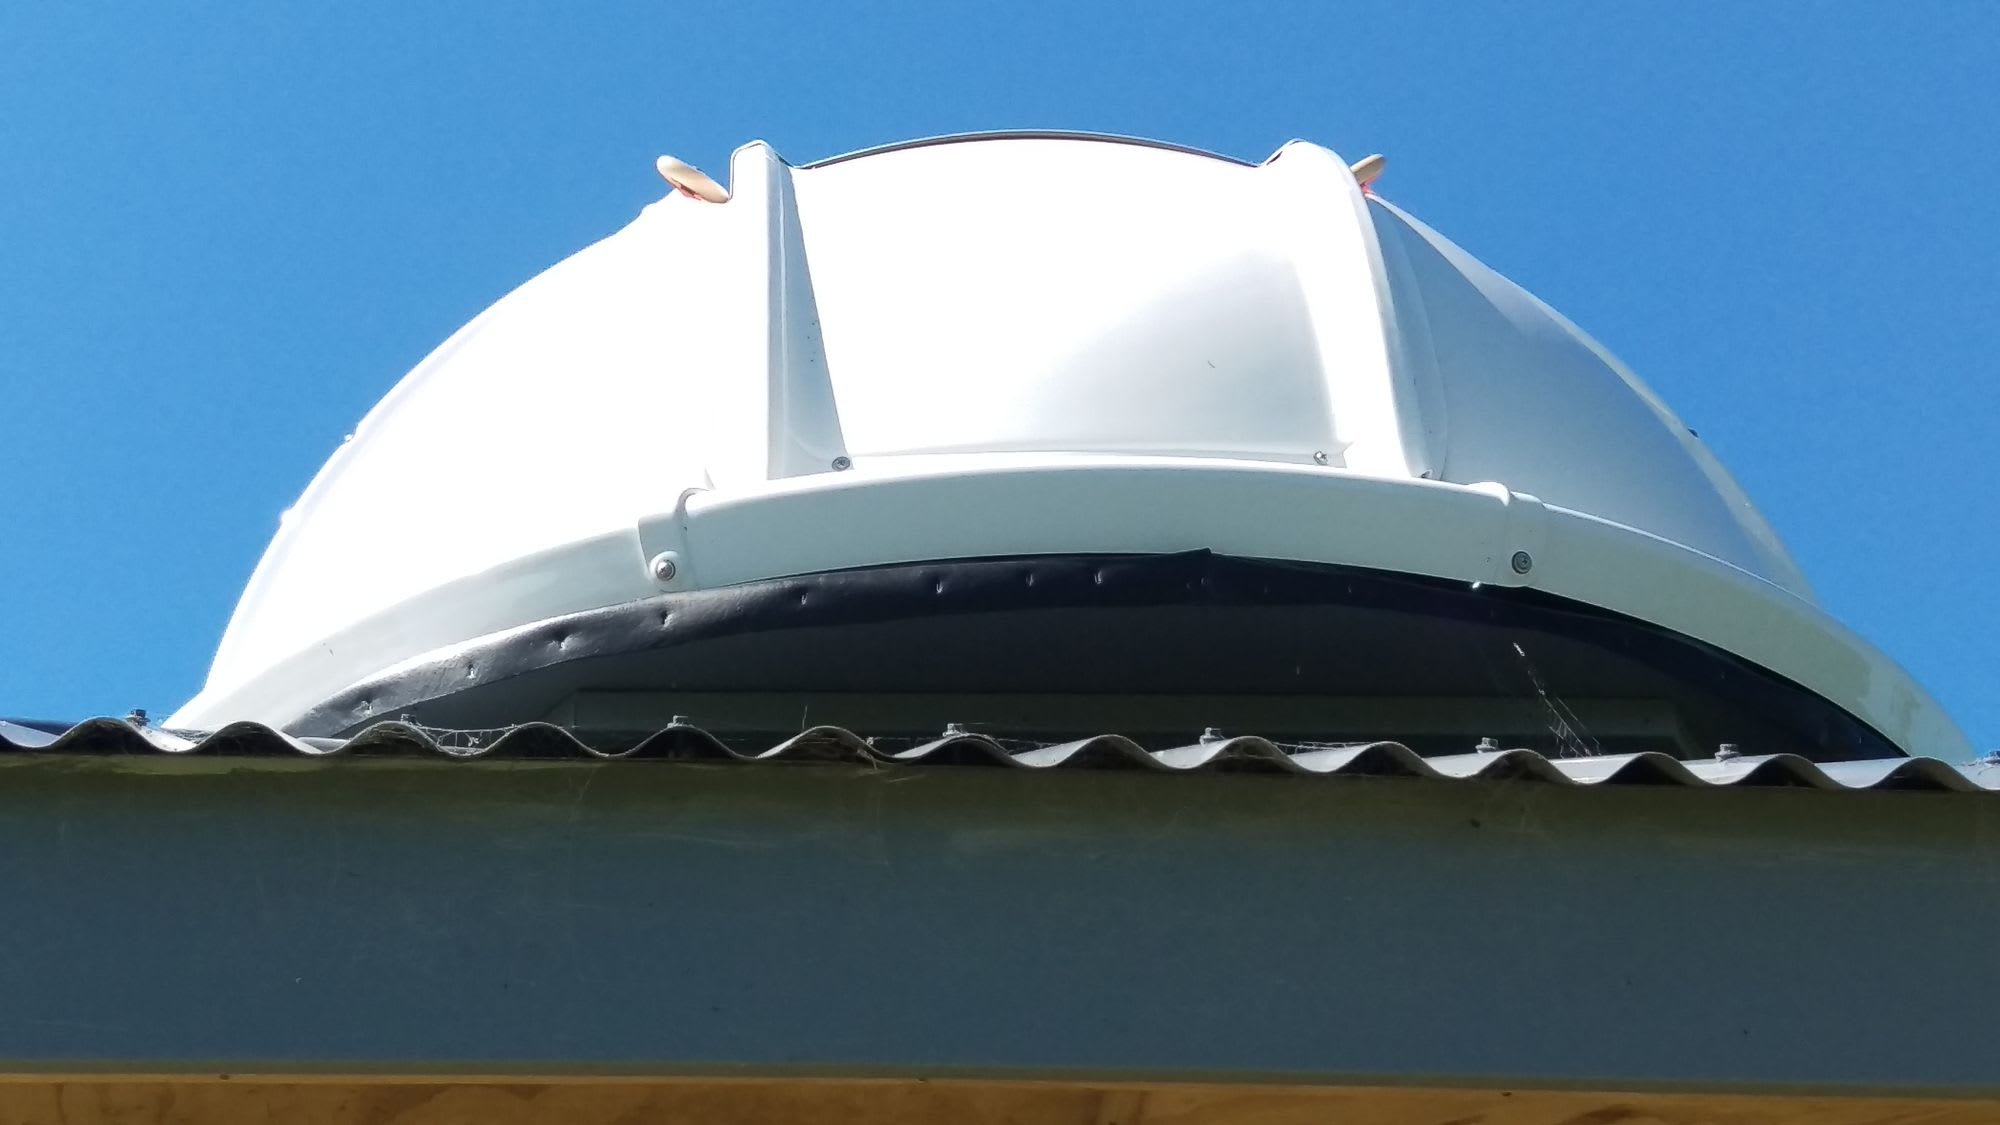
One of the issues I found with the Nexdome is that the shutter can be very difficult to open and close. This is because the lower shutter has to squeeze between the upper shutter and the rear wall panel to fully open and there's no mechanism to mitigate the friction. A liberal application of silicone at the edges went a long way to alleviating this problem although it does mean a bit of shit gets dragged in from the exterior when I close the shutter (as can be seen in the image above). Another issue I've found with the shutter is that it's exterior gutter provides nowhere for water to drain away. This mean a bit of moisture builds up and will drip down as you open it, likely onto your scope and mount. It's not a big deal, and for now I'm content to just wipe it away when opening the shutter, but it is a bit of a flaw in the design. As for a good permanent solution I'm not sure what to do. You couldn't drill any drainage holes as it would just drain into the interior. Maybe it would be best to fill it with something? Or just chuck some sponge in there to absorb it so it doesn't drip? A minor issue for another day...
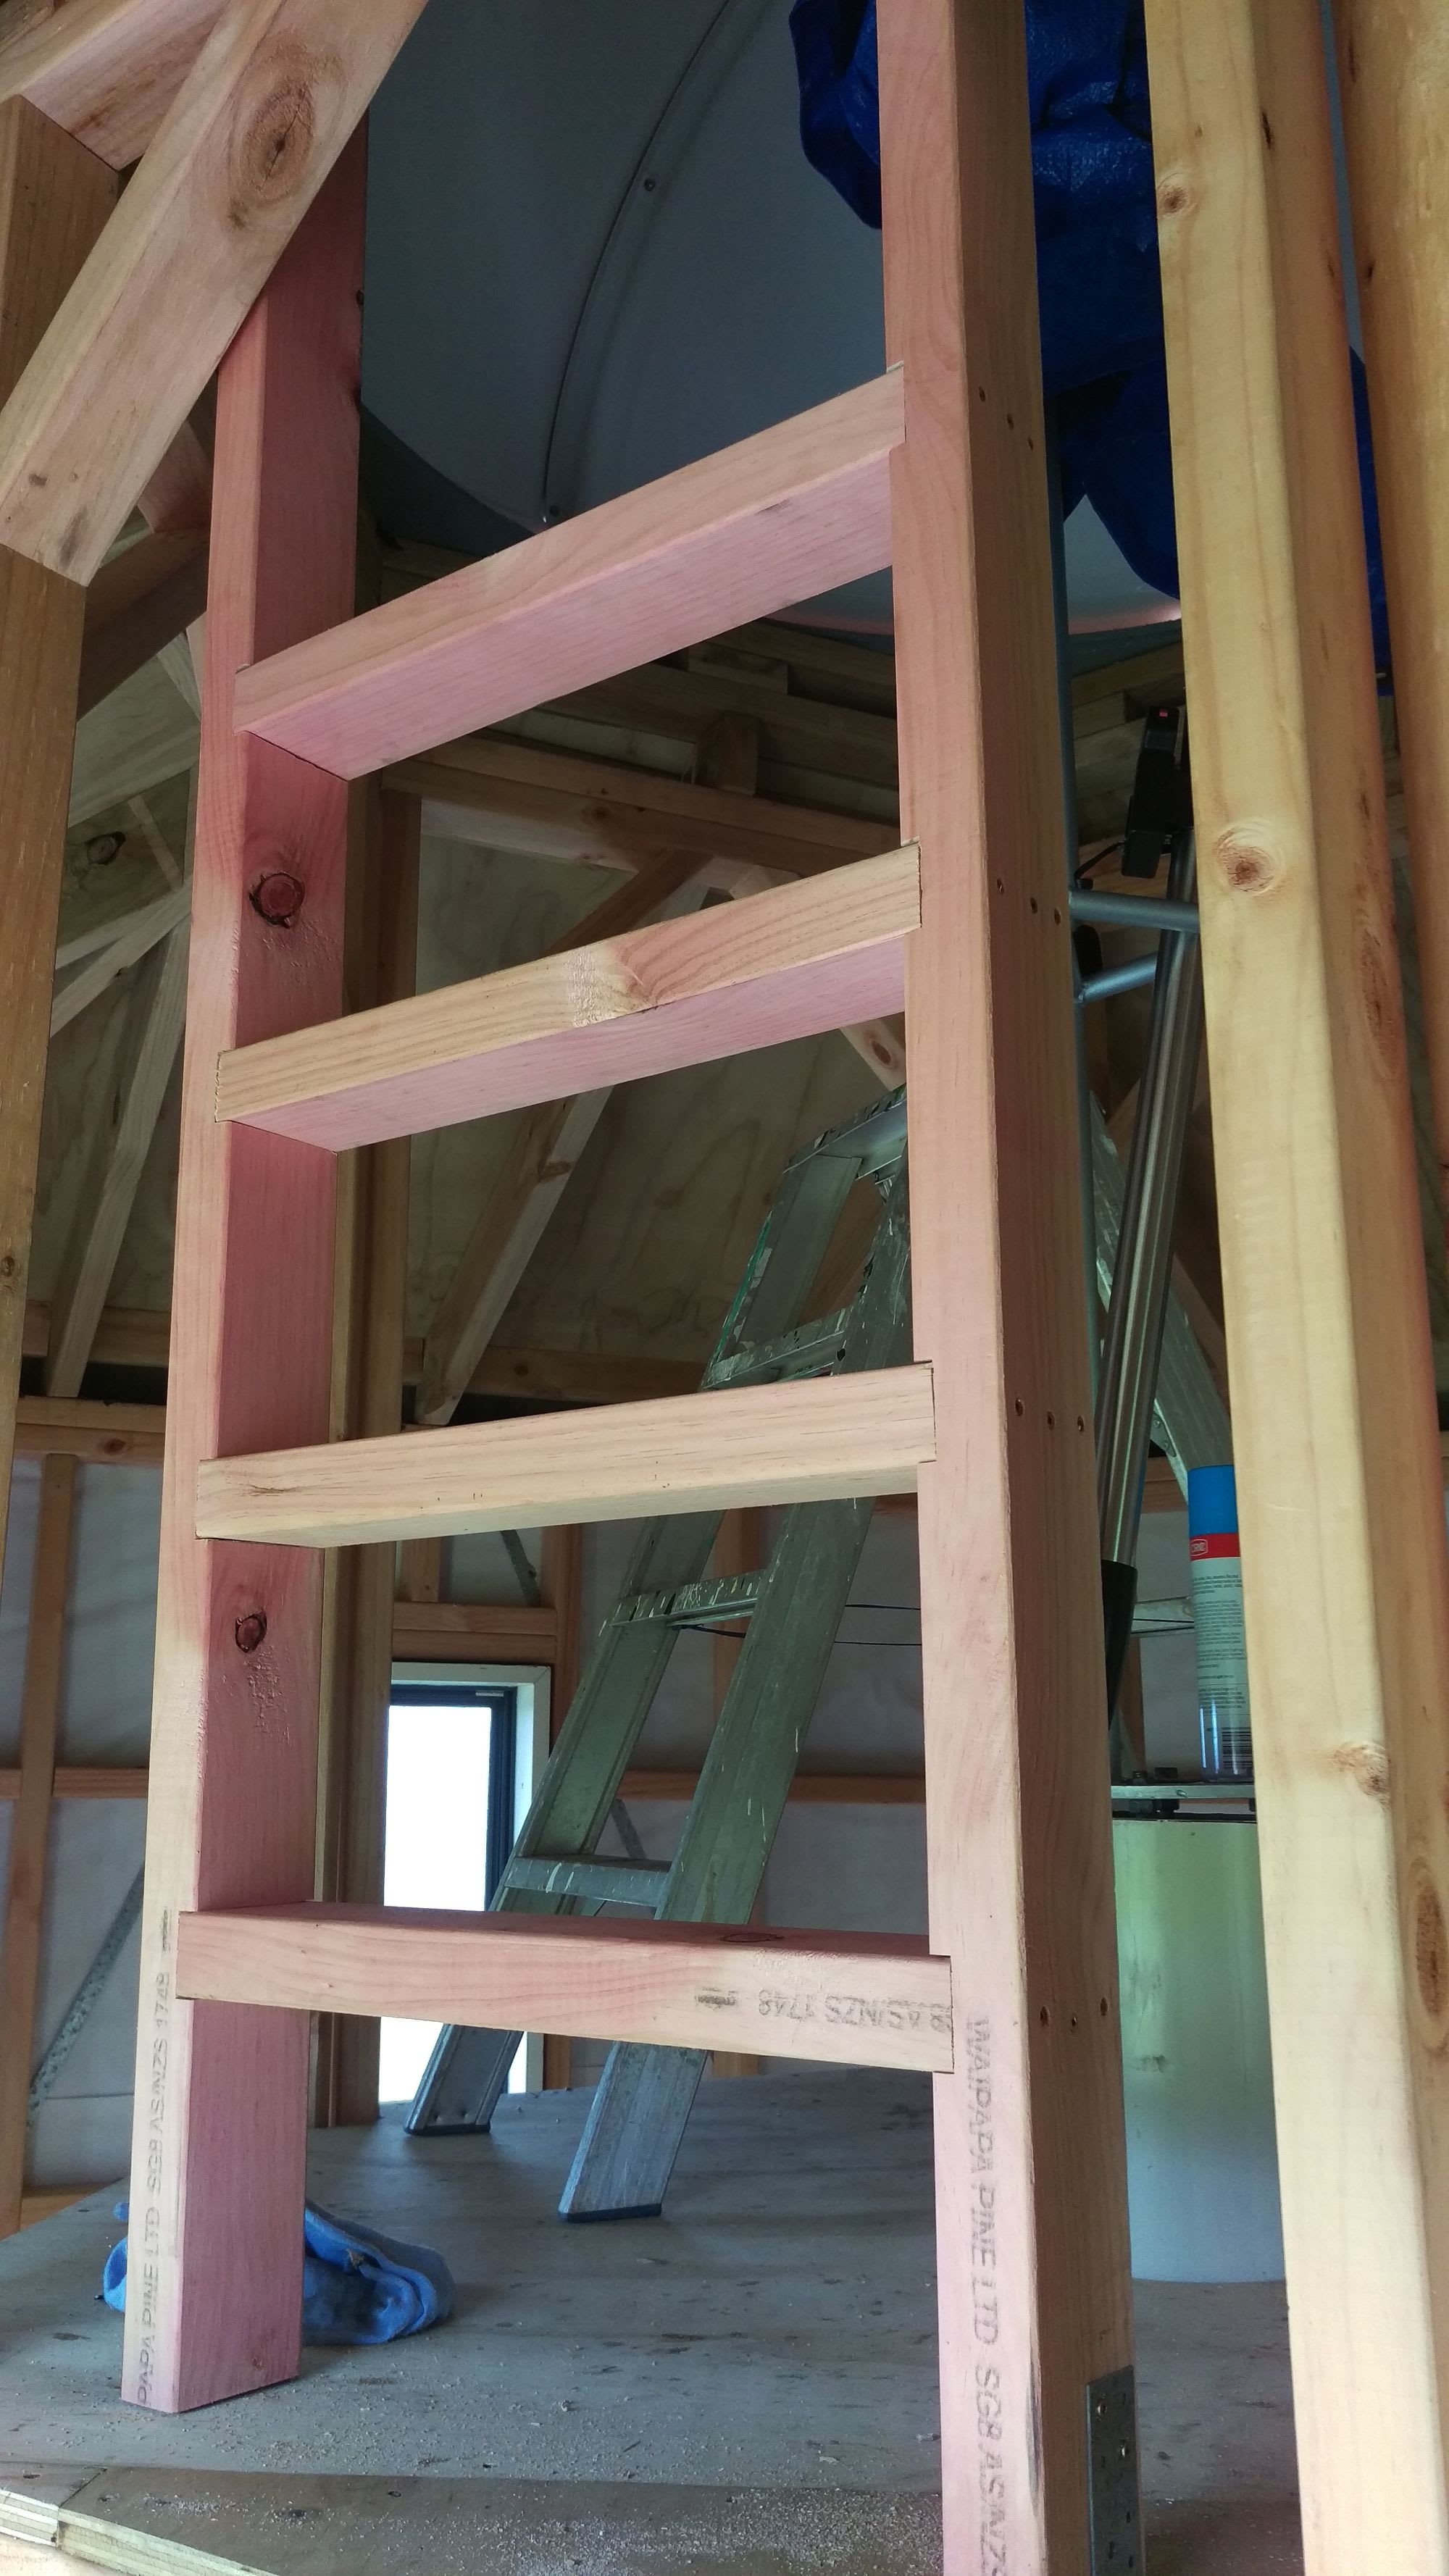
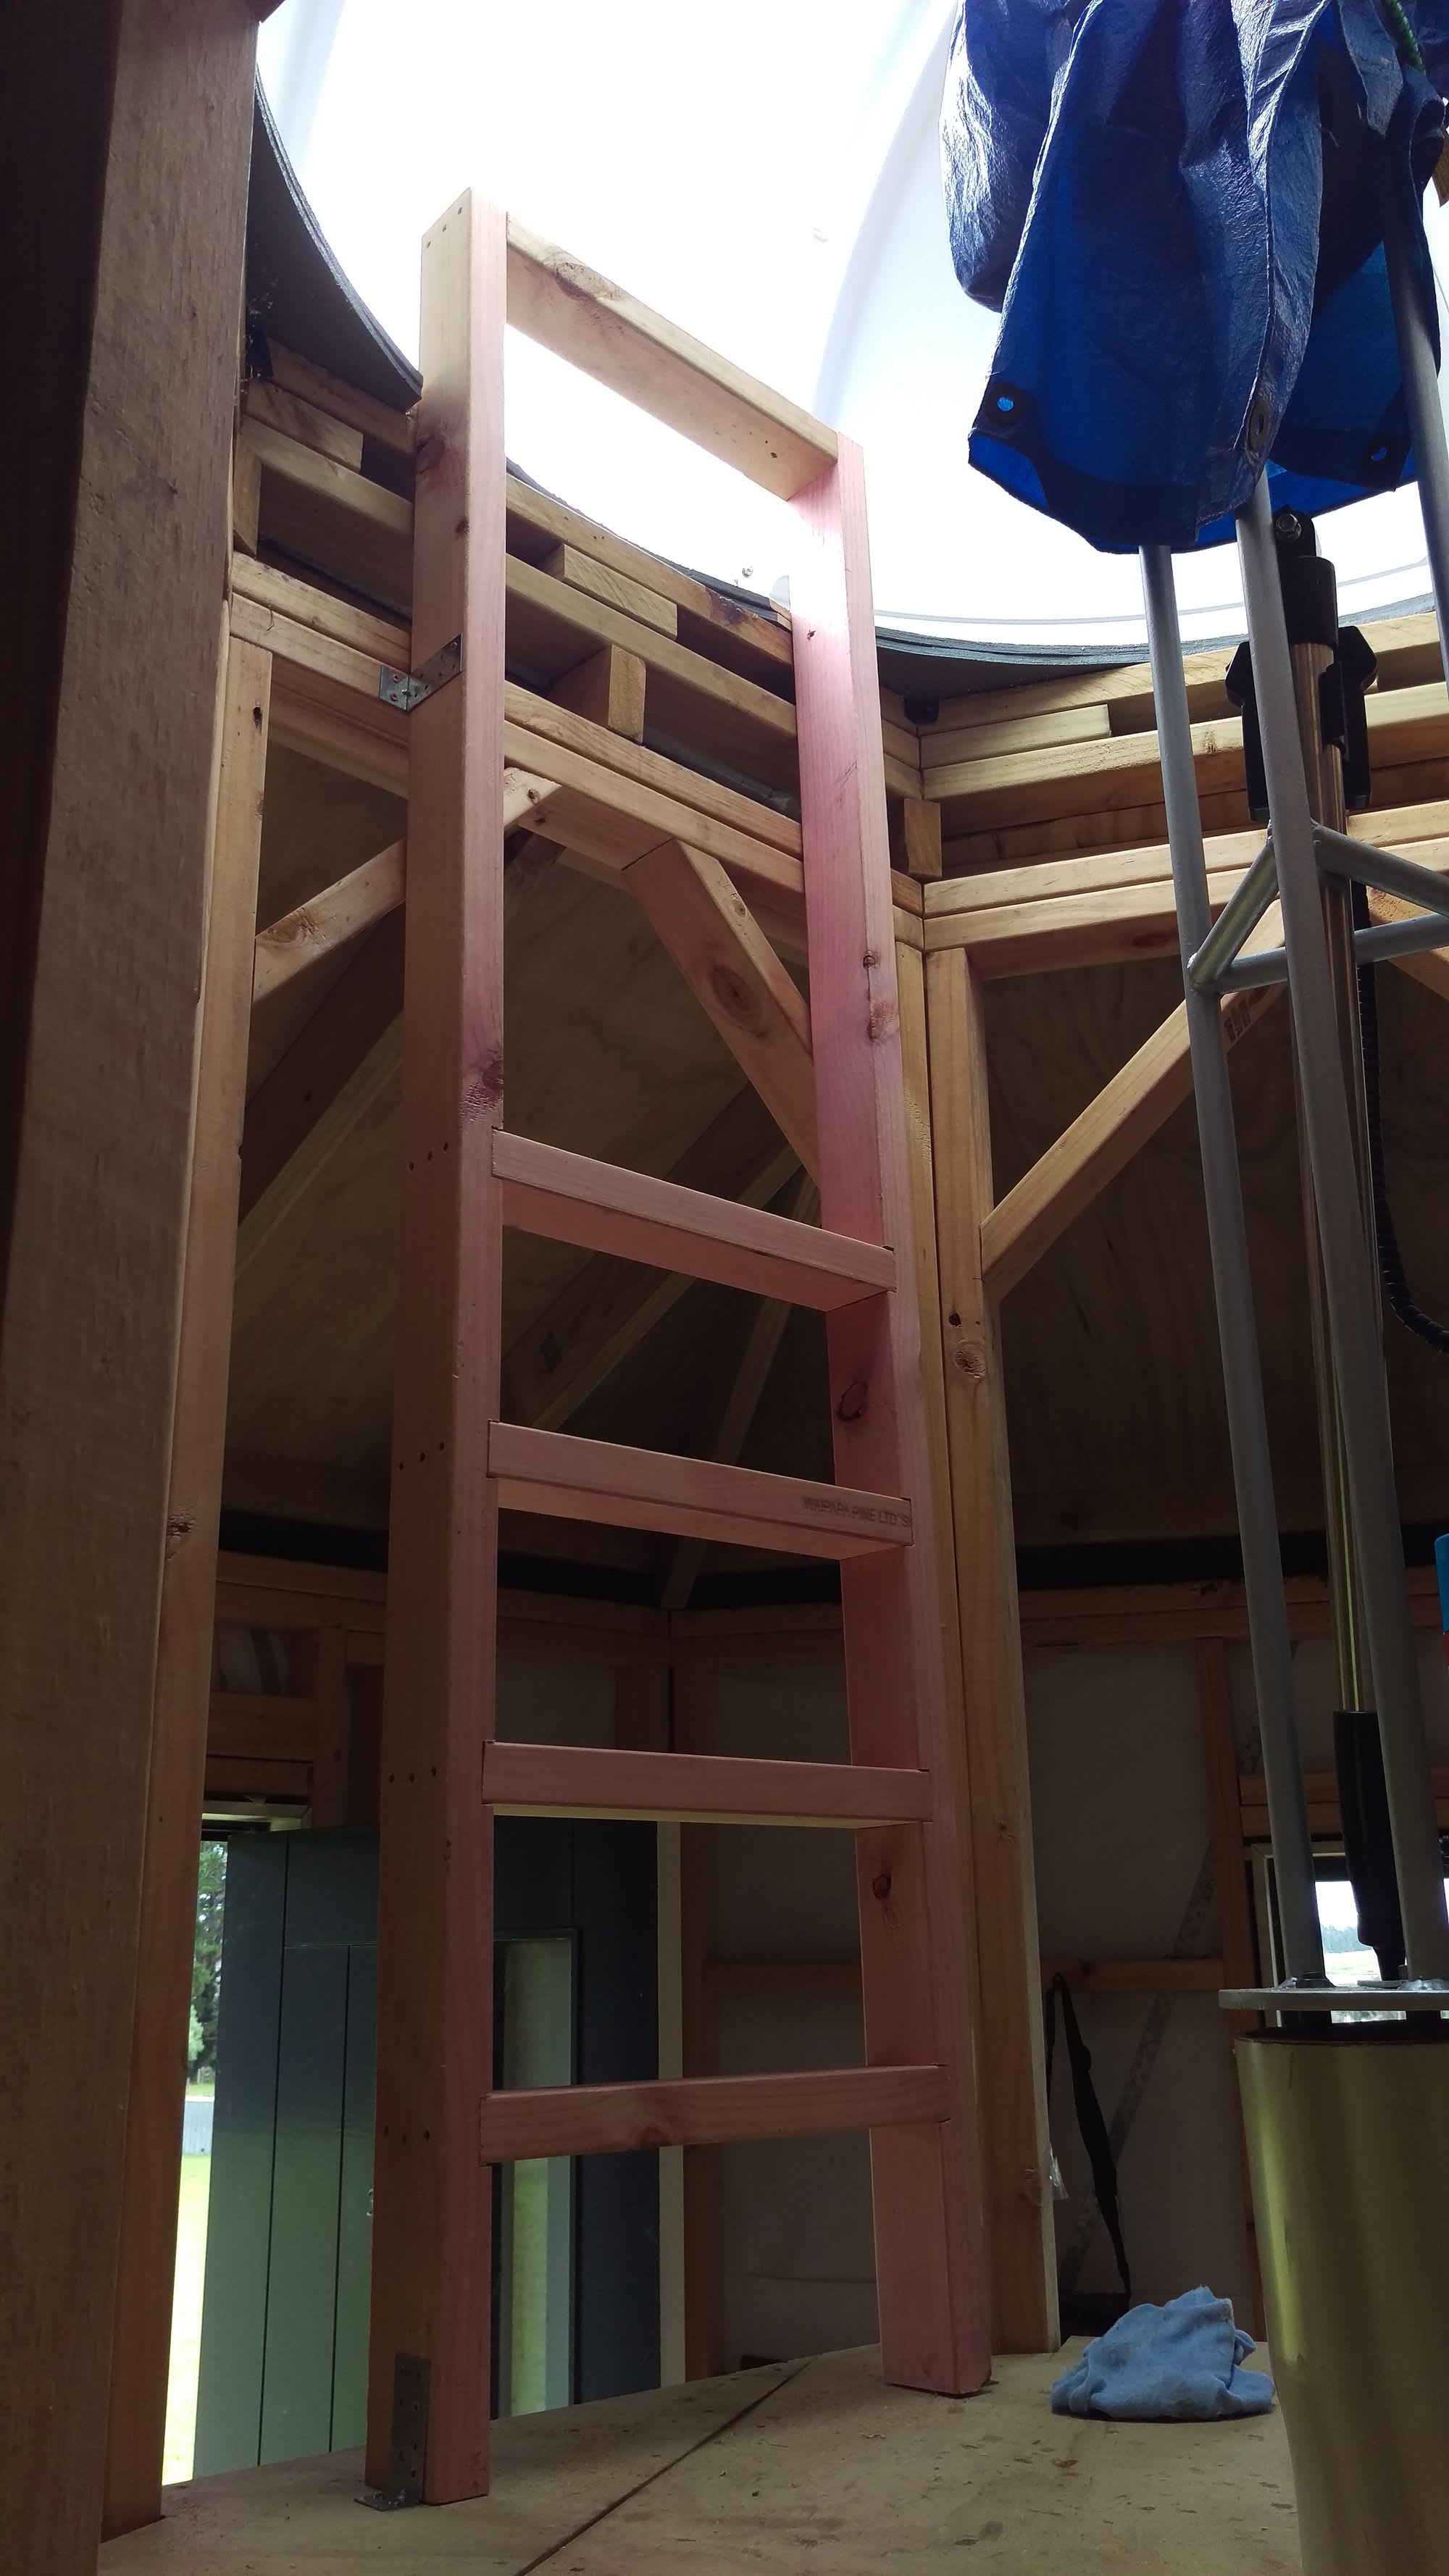
The last obstacle in the way of a finally usable observatory was actually being able to reach up and close the bloody shutter. There's quite a bit of distance from the central platform to the top of the dome and while I can open the shutter from standing position, it's too high to reach when it's fully open. Standing atop a step ladder is somewhat dodgy when your already elevated on a small platform, with no rails for safety, and you need a bit of leverage from somewhere because the shutter is providing some resistance. A fixed ladder was needed and 6 meters of H1 framing timber later, that's what I had. I elected for a straight up and down ladder as opposed to an angled one just to minimize its footprint on the platforms already limited floor area. It's only got 4 rungs as that's all I really need to get high enough to reach the shutter at full extension. The rung at the very top is to provide me a bit of leverage to pull against as the shutter does have a bit of initial resistance when closing and the handle on it is unfortunately a bit flimsy.
So with the ladder done I basically had everything needed to start using the observatory! On the next clear evening I could bring out my telescope, laptop, camera, plug it all in and start dialing in my permanent polar alignment. It was under this halo of great anticipation that I would come to discover that my mounts motor cables were missing! These cables are critical to get any functionality from the motor so I simply can not do anything until they are found or replaced. Unfortunately they are not only proprietary but also unique to my particular model of mount which is now quite a few years old. It doesn't seem like you can get these easily and the manufacturer (Orion) doesn't list them anywhere on their site outside of being included with a whole new mount or GOTO upgrade kit. I emailed them about it but got no response... Fortunately their NZ dealer might be able to get me some replacements from another mount that's being returned (hopefully nothing possibly related to the cables...) and I should get a confirmation of that some time this week. My rs232-to-rj11 and usb-to-serial converter cables have also gone missing with the motor cables but they are much easier to get replacements for at least. It's annoying to have to fork up for these overpriced cables but after turning over the whole house looking for them I don't have much choice. Such is life!